30 Sublimation Tips and Tricks
From The Sublimation Report featured in the April issue of A&E, Condé President David Gross revisits his top tips and tricks for today's sublimation world.


Why do we need tips? More than 20 years ago, when I first began my journey down the Road to Sublimation Success, I started writing down what worked, what didn’t work, and a long list of questions I had. I even started a bucket list of what I wanted to accomplish with sublimation decorating. Documenting this information along the way has been helpful to me and can be to you, too.
This article is an update to my 101 tips and tricks article that appeared in A&E magazine in 2010. Interestingly, many tips have stood the test of time. As another platform to share the things I’ve learned, I’ve begun turning these tips into videos that can be found at www.condetv.com. As a bonus, I have created a “Sublimation Client Sourced” section for additional tips at www.conde.com/nbm. If you wish to add your tips to this collection, email me at dgross@conde.com.
GENERAL
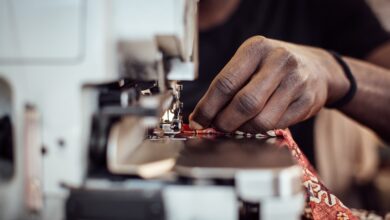
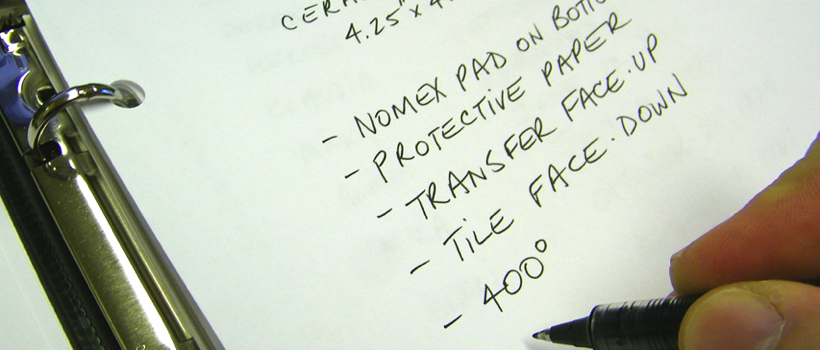
1. Document everything. Keep a sublimation journal containing each of your print job’s transfer details including computer, printer, and heat press settings. Keep your sublimation instructions up to date, and when you master a product, document in your own words what works and then use it as the standard for training others. Use your smartphone to take photos of any error messages on your equipment, problems with substrates, or important on-screen software settings. Writing things down when they happen is the key to receiving good tech support – you would be surprised at how many problems can be quickly solved with good information. (Image 1)
EQUIPMENT
2. Max out the memory (RAM) in your computer. Every new upgrade to MAC OS or Windows uses more RAM, adding to the heavy load graphics files and software puts on your computer’s working memory. If you’re buying a new computer, max out the RAM (I think you need at least 16 GB) or at least make sure that there’s room for expansion at a later time.
3. Backup your computer. Make backups of all artwork and important files using an external USB hard drive and/or a cloud service such as Google Backup and Sync. Every month, rotate your external hard drive out with another one that is stored off-site. This is great insurance in the event of theft, fire, or ransomware.
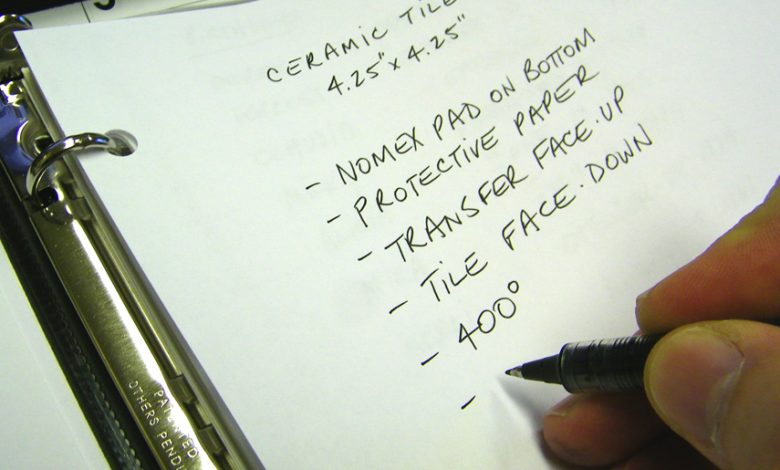
4. Which sublimation printer should you buy? Buy one that is warrantied and supported for sublimation printing (ask about an extended warranty, too). Make sure an ICC profile is provided and that your sublimation partner assists with installation and future support. Be aware that the cost of printing may vary based on the size of the ink cartridge(s) being used (some printers utilize standard-size cartridges while others offer extended-size cartridges that reduce the cost of ink). Keep in mind that the size of the printer determines the size of the substrates you can produce; a larger print size allows you to produce a larger variety of products. (Image 2)
5. Which heat press should you buy? I always recommend USA-made presses to ensure many years of service with excellent support (we recommend presses made by Geo Knight Company). Swing-away style presses are my personal favorite because they provide adjustable pressure for substrates up to 2 inches thick. With desktop, mid-format, and large-format presses available, choosing a model depends on your production level and the size of the substrates you’ll be producing. A good sublimation partner can give you the guidance needed to make the right choice.
6. Heat press accessories. A green heat conductive rubber pad is a must for products such as SubliSlate and porcelain ornaments. A Vapor Foam Kit helps prevent unsightly transfer creases and marks on fabric. A Nomex pad helps reduce press time on ceramic tiles. Always check our instructions for special accessories.
7. Metal fabrication. Don’t limit yourself to traditional metal shapes and sizes! Use a metal fabrication accessory such as a shear, corner cutter, or roller to create custom metal products that will dazzle your customers (we recommend products made by Accucutter). (Image 3)
PROCESS
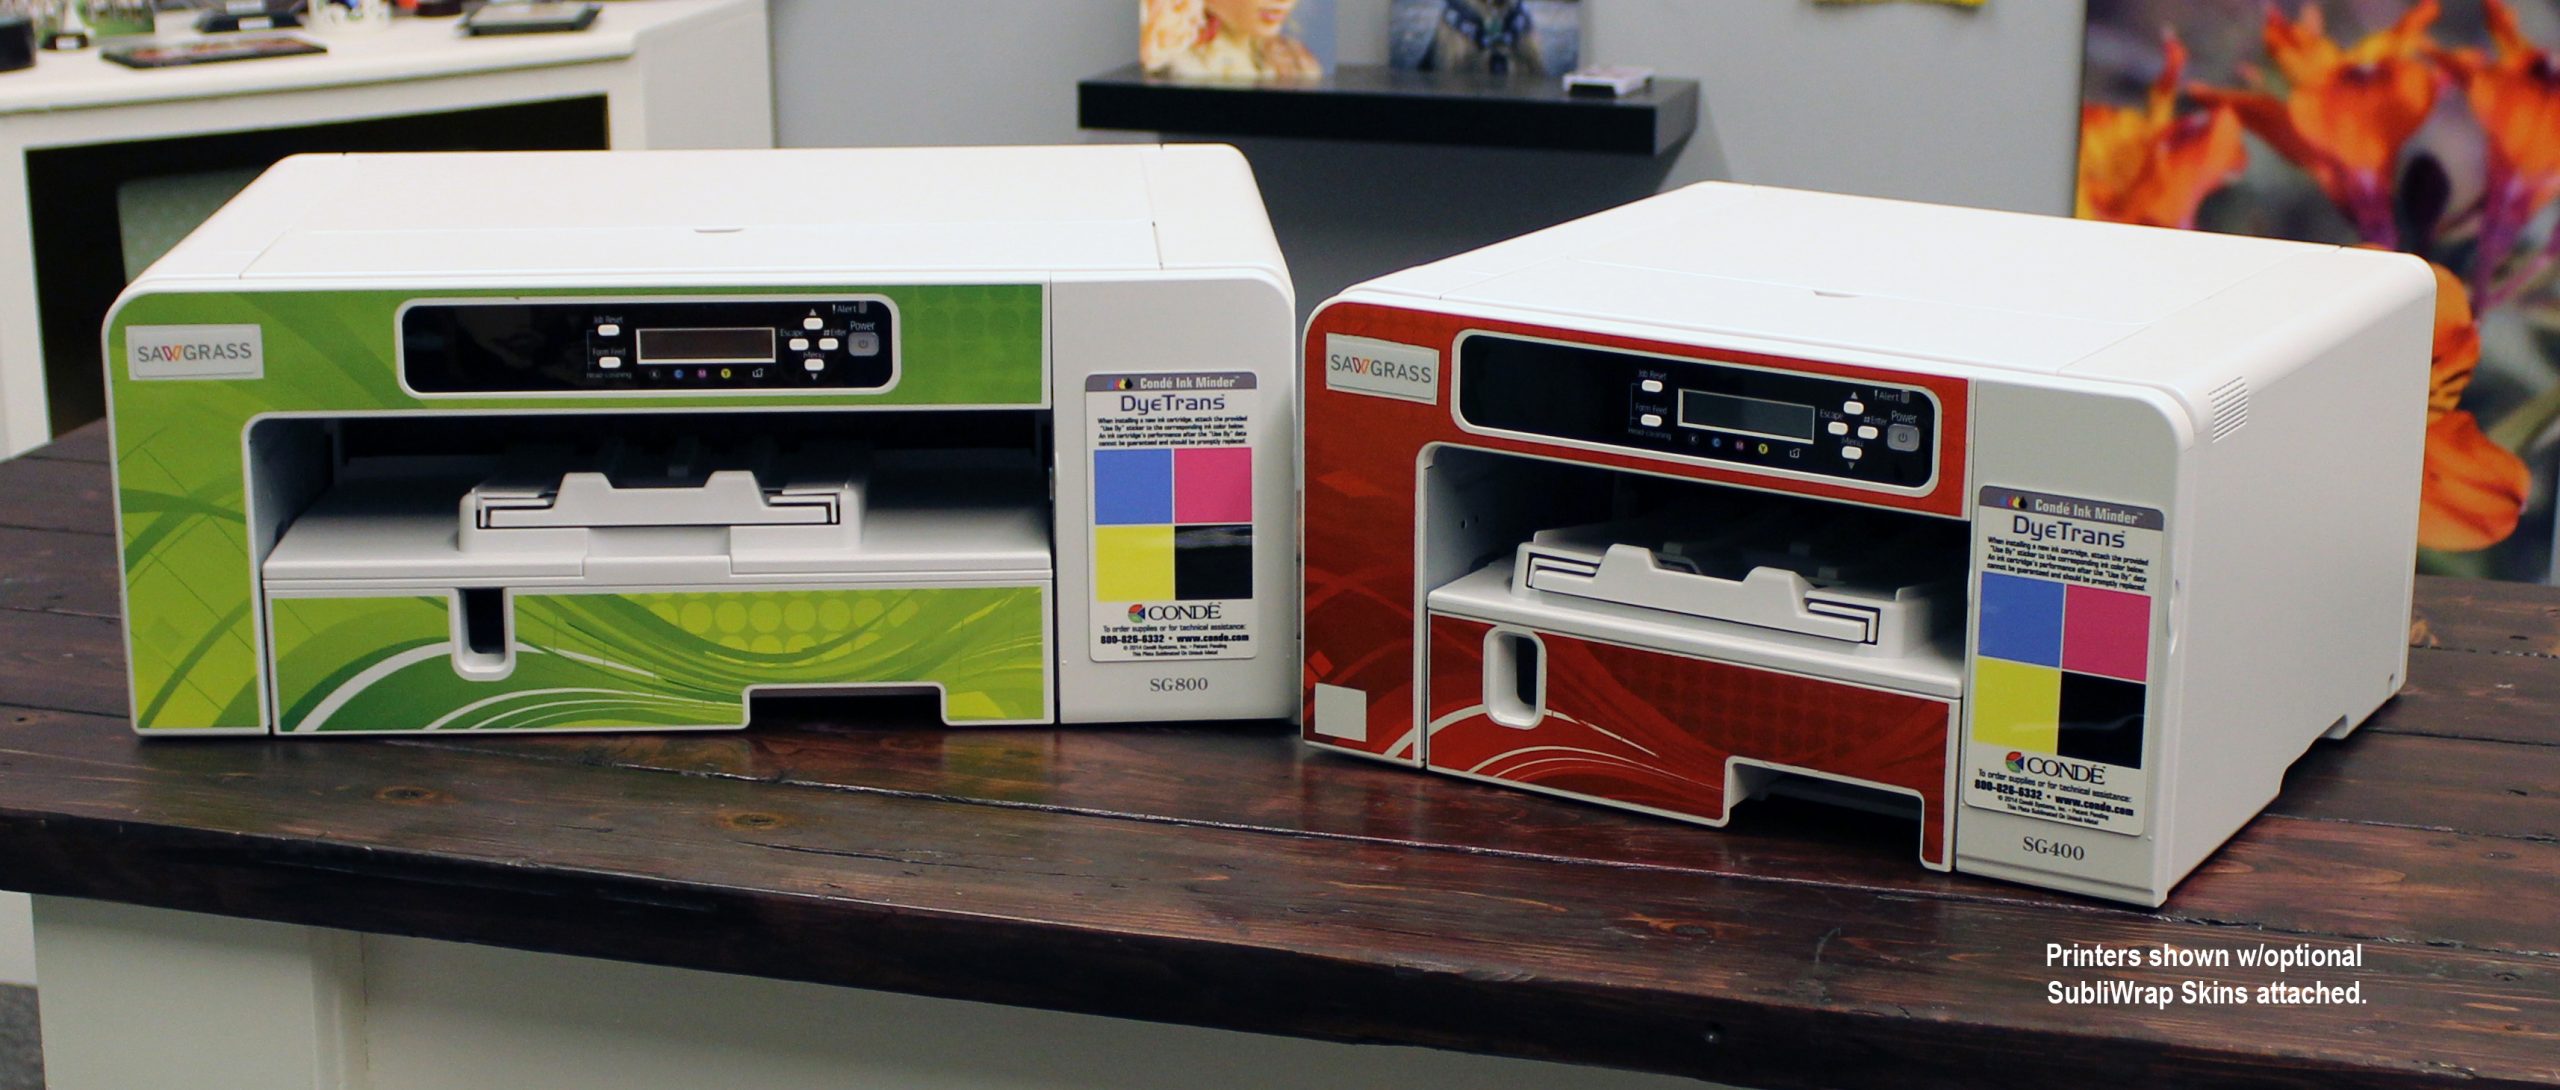
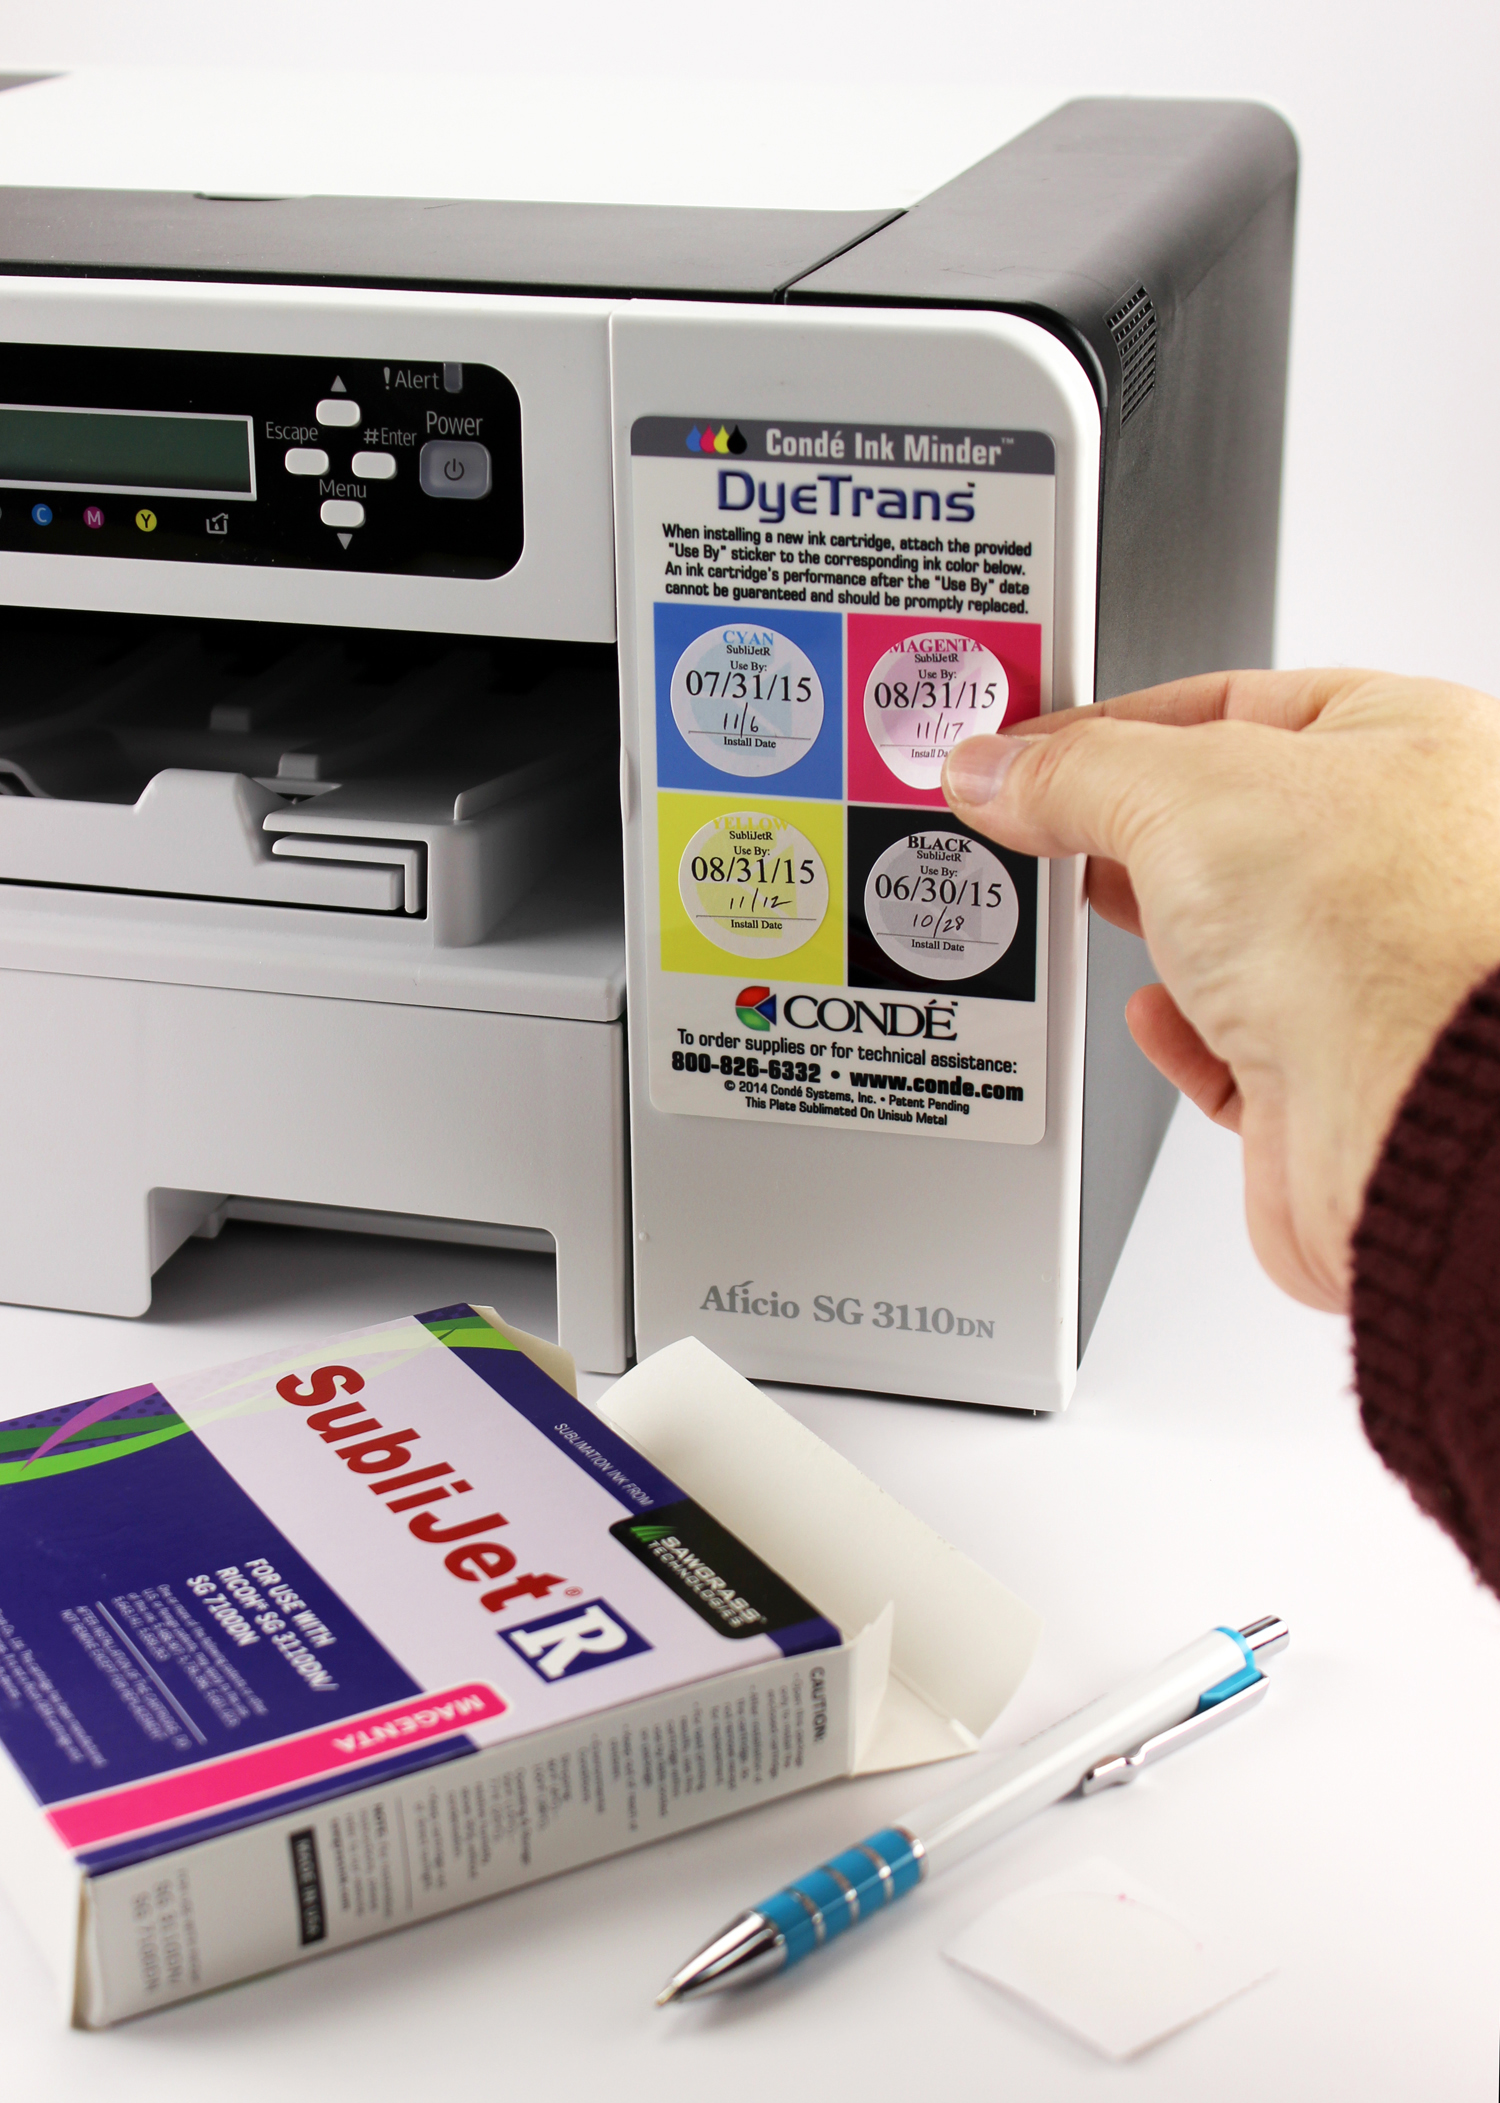
8. Sublimation inks. Always use brand name inks to ensure consistency from batch to batch and insist on an ICC profile for accurate/vibrant colors. Don’t use expired inks. (Image 4)
9. Sublimation paper. Choose the right media for the right application to ensure superb transfer quality. Standard paper provides image clarity and color on hard substrates such as ceramic tiles, award plaques, name badges, and coffee mugs. High-release paper is designed to release more sublimation ink in the transfer process, resulting in vibrant transfers on soft (thirsty) substrates including T-shirts, mousepads, towels, and tote bags. Also consider pre-cut mug paper. This simple change can help digital decorators at all levels of production eliminate paper waste and drastically reduce the time and effort involved in producing mugs in an oven or traditional mug press. (Image 5)
10. Quality substrates. Not all substrates and coatings are created equal. Mugs are an excellent example of a product that vary greatly among suppliers. Are they dishwasher safe? Do they meet FDA requirements? How well will they hold up in the real world? Be sure to do your homework before making a decision based on a low price. You get what you pay for.
11. Evil Teflon. Avoid using Teflon unless recommended in our instructions, as it traps moisture and will most likely transfer sublimation ink to the next substrate unless it is properly cleaned. I do, however, recommend it for products with adhesive backs such as Rowmark’s MATES material and our fabric patches.
12. Protective cover paper. Unless otherwise instructed, always use uncoated white butcher paper on the top and bottom of your sublimation sandwich (available from Uline or Sam’s Club). The paper, thrown away after each use, protects your heat platen, bottom pad, and substrate from ink and other debris. Poly-poplin fabric is recommended for ChromaLuxe metal and glass.
13. Wall of shame. My friend Trish Lambert suggested that I keep my production mistakes prominently displayed on a wall near my heat press instead of throwing them in the trash. Her theory was that this Wall of Shame would remind me not to make the same mistakes again. (Image 6)
14. Test kits. Buy inexpensive substrate test kits and/or samples of polyester fabric to master a transfer technique or to test a design before transferring onto the actual substrate. Test kits are also a great way to make personalized samples for prospects.
15. Horizontal banding on your transfers. When you see lines running across a printed transfer, that’s horizontal banding. Possible causes include: (1) an incomplete nozzle check; (2) wrong driver settings; (3) printer out of alignment; (4) computer is not sending information fast enough; or (5) encoder wheel needs cleaning. Call your sublimation supplier’s tech support department for assistance in determining which problem you have and how to correct it.
16. Do the black test. Did you know that black is the last color to sublimate during the heating process? A good way to determine your optimal pressing technique is to print an RGB black image (0,0,0) and then transfer onto the desired substrate. If you get a great black, you are dialed in. If you don’t, adjust your press’s time and/or temperature until you get it right.
17. Clean swipe! Use a lint roller to remove loose fibers and debris from T-shirts and other fabric products before pressing. This usually removes the blue lint that sometimes shows up after sublimation and also works for hard substrates.
18. Sublimating to non-white polyester shirts. Sublimation ink is not opaque. Once an image is transferred onto a substrate, the substrate’s color shows through the transferred image. For white- and light-colored shirts, this works out quite well. For darker shirts, the limited color range is typically unacceptable. Keep in mind that you must use colored shirts that are certified for sublimation transfer because a standard colored polyester shirt will un-sublimate its color when hit with heat.
DESIGN
19. Design in RGB for best results. Even though these printers use CMYK ink, the drivers and ink set are optimized for the larger RGB color gamut. When creating new artwork, make sure that you use an RGB color palette. If editing someone else’s artwork, you may want to substitute RGB colors in the place of the original CMYK colors.
20. Image resolution. When transferring onto hard substrates, I suggest images be at least 200 dpi (at print size) to look good. Only 150 dpi is needed (at print size) when transferring onto soft substrates. Web graphics, which are often 72 dpi, give you poor and typically unacceptable results. “At print size” means that if you’re transferring an 8-by-10-inch image onto a hard substrate, the image needs to be at least 200 dpi. Especially useful for large tile murals, On1 Perfect Resize is a software tool that I use to quickly enlarge images without loss of sharpness or detail.
21. Learn to use CorelDRAW’s Color Replacement Wizard. In CorelDRAW, the Replace Wizard can easily convert all of the spot colors used in a graphic (Pantone, CMYK, etc.) to RGB for printing. When in CorelDRAW, choose Edit>Find and Replace>Replace Objects. The Replace Wizard menu will pop up. Select Replace a Color Model or Palette>Next. Select Find Any Color Model or Color Palette, and next to Replace with the Color Model:, select RGB. A Find & Replace box will pop up. Push the Replace All button. Depending on the image’s complexity, it’ll take a few moments for CorelDRAW to search the entire page and replace any non-RGB colors with their RGB equivalents.
22. Great color is the name of the game. Everyone wants accurate and vibrant colors. To achieve it, you’ll of course need a great printer, ink, paper, and substrates. What really makes the difference, however, is a great ICC profile and the proper print settings.
23. What design software should you use? I suggest starting with the software you already know. Although most professional sublimators use an Adobe or CorelDRAW product, many new folks in sublimation are using Silhouette software that works just fine. For folks that don’t own or know how to use any of these programs, I recommend CreativeStudio. CreativeStudio is a cloud-based designer with Corel-like features that is bundled with the purchase of Sawgrass Virtuoso printers.
SALES/MARKETING
24. Don’t let your opinions get in the way of making money. Just because you don’t like a product has nothing to do with what your customers will buy. Let them decide. Try out new products to gauge interest and keep your product offerings fresh and exciting.
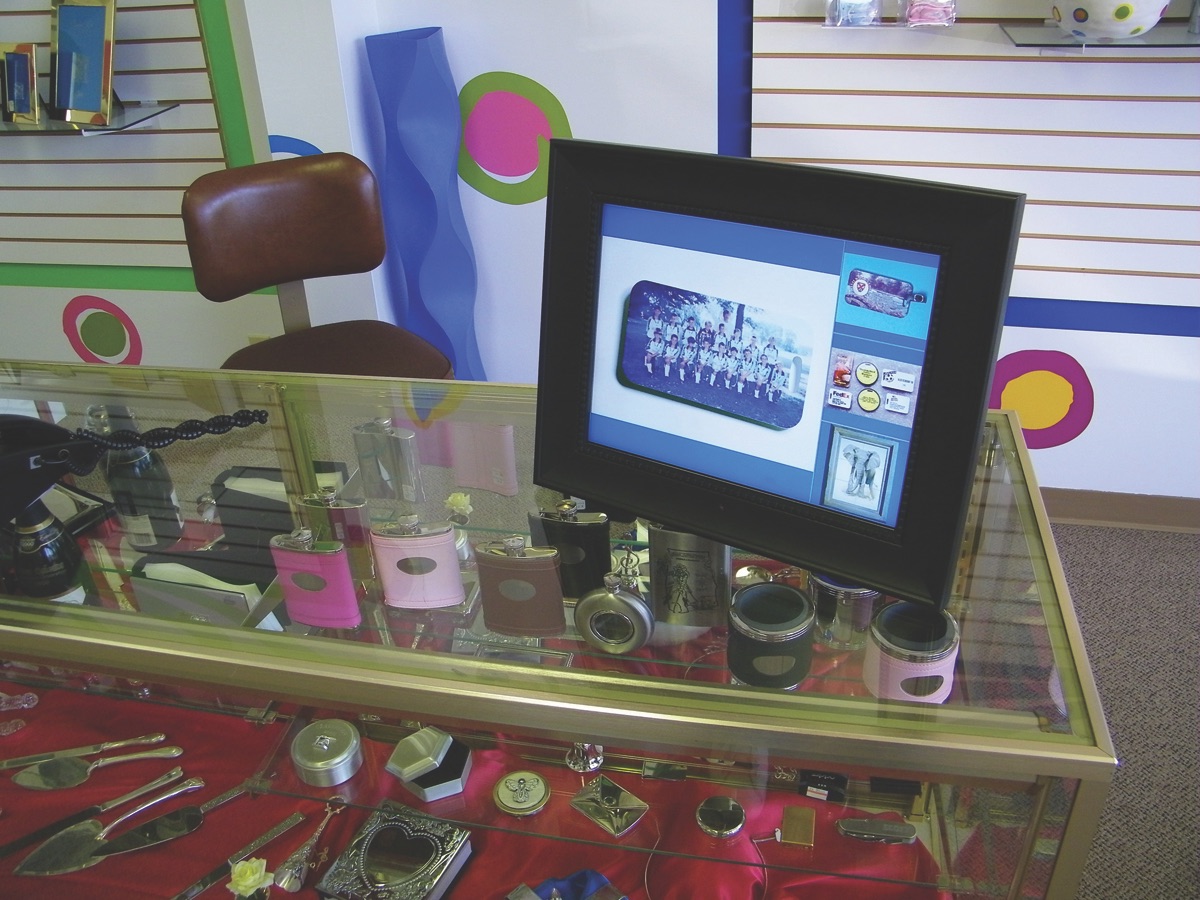
25. Show off what you have done. You won’t sell it if your customers don’t know you offer it. Take photos of every product you produce and, with the owner’s permission, post it on Facebook and/or Instagram. If you have a storefront, play a slideshow of your products on a digital picture frame. (Image 7)
26. Always sell and promote product bundles. If the customer buys a mug, offer a discount if he/she also buys a mousepad.
27. Go mobile. Consider a mobile sublimation setup to profit at special events such as car shows, pet shows, and all sorts of sporting events.
28. Sell name badges. Perhaps my favorite product, name badges are sold once and then reordered time and time again. Schools, churches, and businesses always need traditional or slotted name badges, and profits are excellent. Sublimate your reorder information on the back along with appropriate client info such as a company mission statement. (Image 8)
29. Don’t leave money on the table. Price your products for the value they represent.
30. Lagniappe. Always look for ways to deliver a little more than the customer expects. Consider including an extra sample or, when designing artwork, look for ways to add value or personalize. This will keep your clients coming back for more.
Note: This article appeared in the April 2018 issue of A&E magazine.