Abrasive etching — more commonly known as sandblasting or sandcarving — is a process that requires some careful thought when planning your shop floor layout. Before you can do this, it’s important to understand the basics of the actual process and be familiar with each of the steps required before and after the actual etching process.
Before you begin
We will address each of these processes in more detail later, but first, we need to bring into play the single most important question in the planning process: How many awards are you planning to etch and ship on average, each day? 10 pieces a day? 100? 1,000?
During my 30 years in the glass and crystal award industry, I visited and toured hundreds of facilities that utilize abrasive etching. These visits have included small mom-and-pop shops, medium-sized shops, and several large-scale facilities capable of etching and shipping well over 1,000 pieces every day.
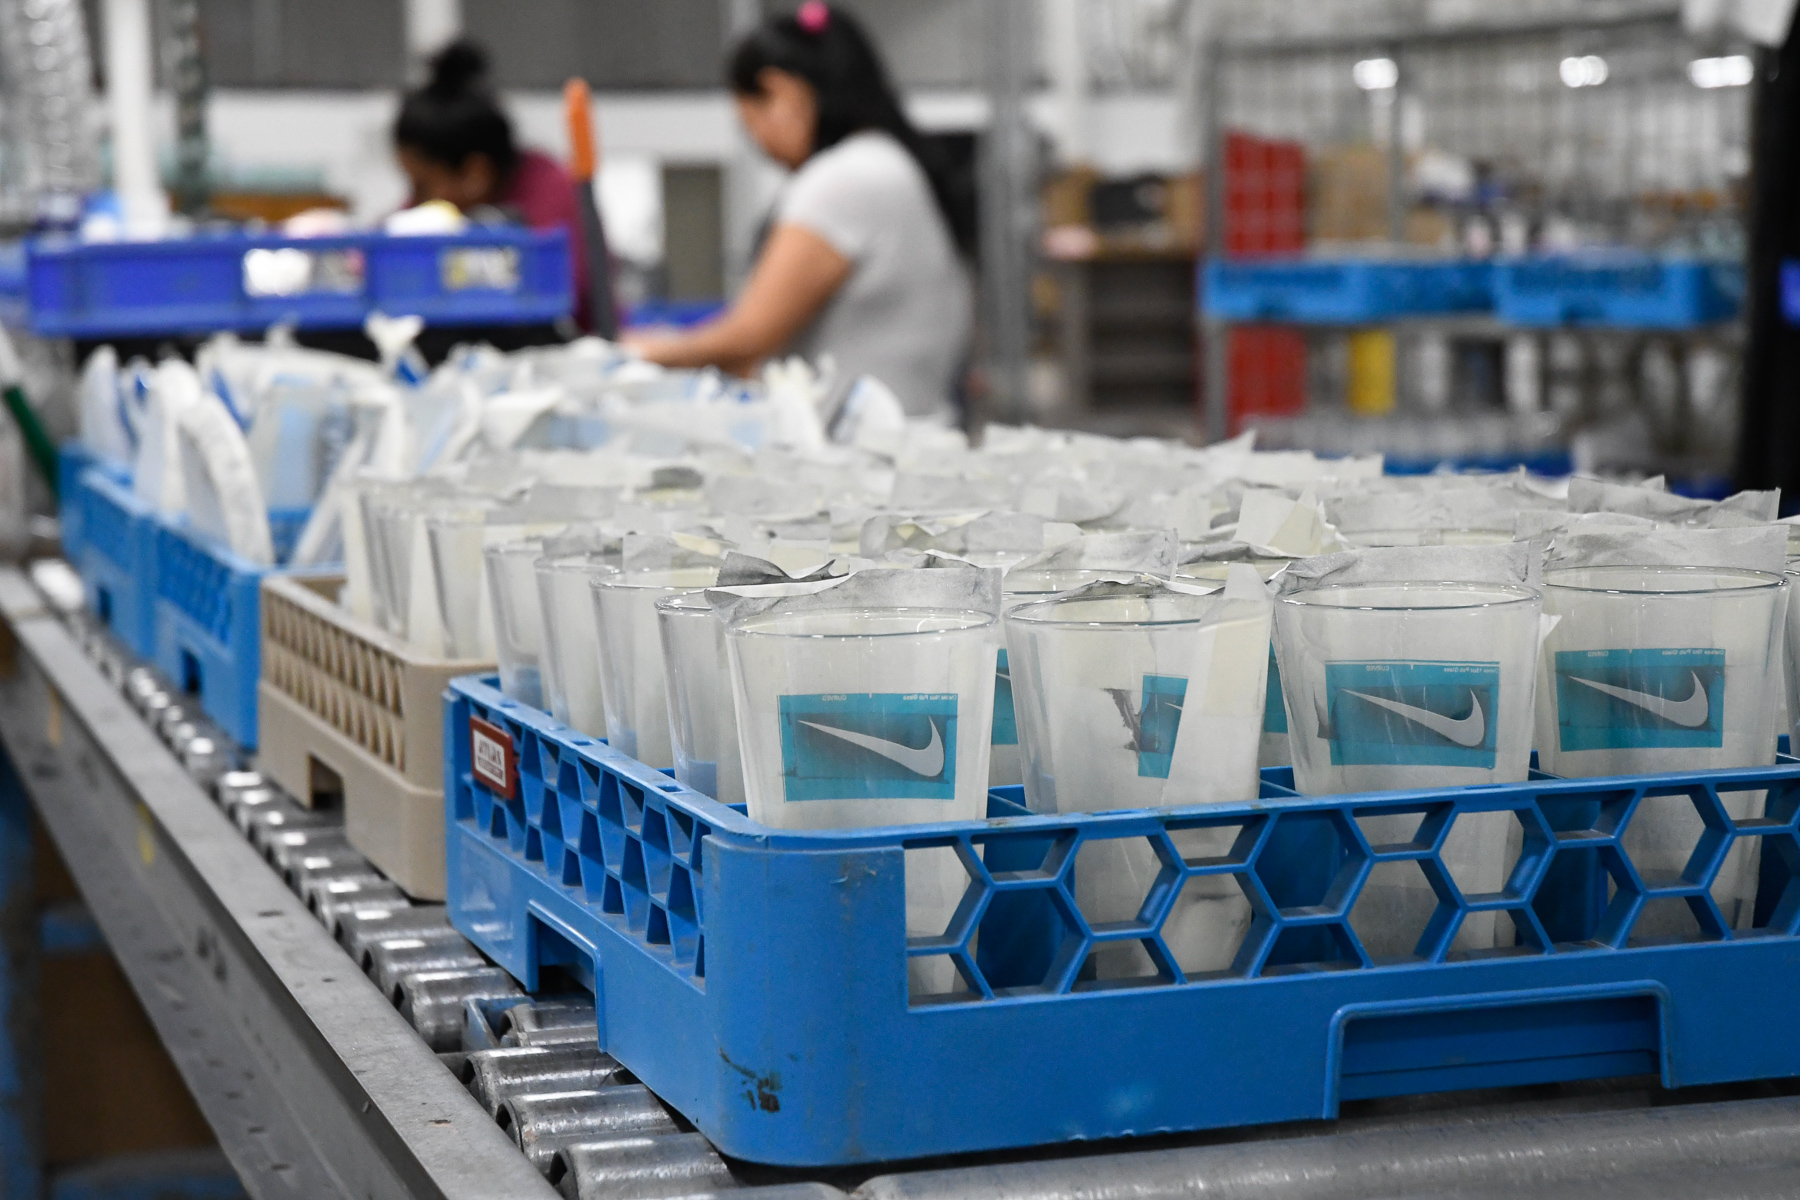
A thousand pieces during an eight-hour day is 2.1 pieces every minute, or 125 pieces every hour. Experience has shown that up to approximately 100 pieces a day can be handled in batches and moved through the production steps manually, but when you start to exceed this, a well-thought-out production line with a continuous flow should be considered.
At 1,000 or more pieces a day, the process steps need to be interconnected with conveyers and baskets so that material flow is smooth, consistent, and not interrupted. It also requires premium-level industrial equipment that is reliable and can be automated as much as possible. These large abrasive etching operations cannot afford downtime due to equipment failures.
The majority of smaller and medium-sized trophy and award shops I have visited process on average between 10 and 50 pieces a day. These shops make up about 80% of trophy and awards businesses. The other 20% are the larger operations, which process about 80% of the overall abrasive etched industry volume.
I am not focusing on the large producers. I want to target the smaller trophy and award shops that make up 80% of businesses in our industry, and for any shop planning to add abrasive etching for the first time, these tips will help.
What you need
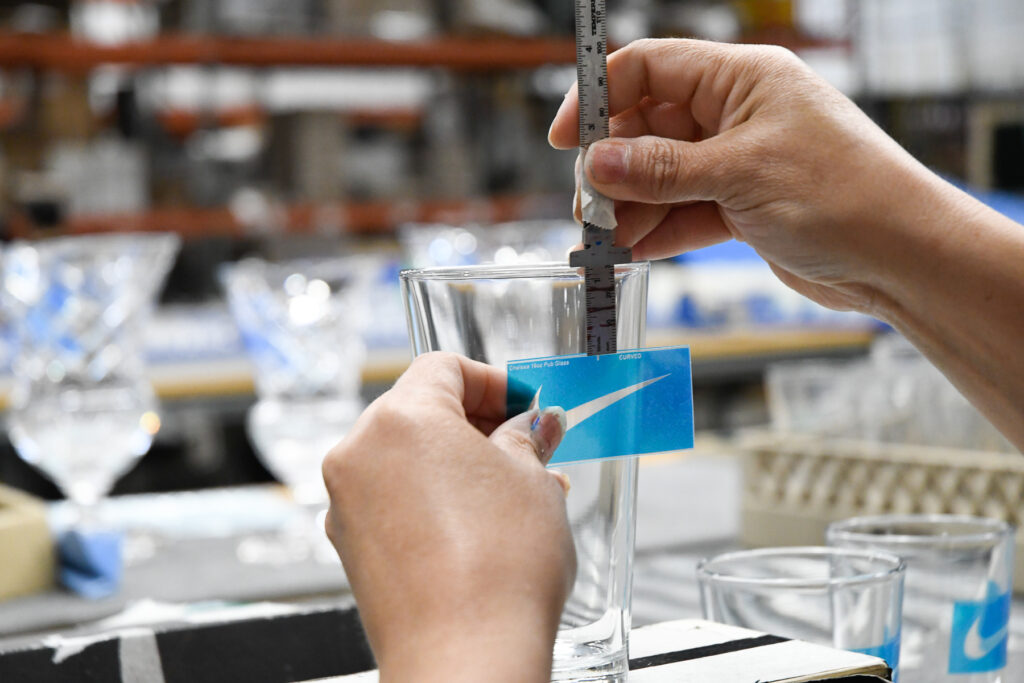
It is important to understand some of the advantages (and disadvantages) of the abrasive etching process itself and the equipment that is available. The equipment on the market today has come a long way from when I entered the industry in the early 1990s.
Equipment is now considerably quieter, more efficient, and significantly cleaner, as the units are much better sealed and self-contained. Having said this, glass dust particulate created by the abrasive etching process is extremely fine, and it is difficult to always contain it totally within the etching chamber. Abrasive grit is easier to contain as this particulate is larger and is recycled, but it still has a habit of occasionally escaping.
The problem is that any minor amount of glass dust or abrasive grit that settles on any work surface is the enemy and will easily scratch glass and crystal. I recommend that whenever possible, keep abrasive etching away from other processes. My suggestion is to purchase the best equipment (and definitely the best sealed) that you can afford. As we all know, you get what you pay for, so compare equipment carefully and invest wisely.
When compared to the cost of purchasing a new laser or UV printer, abrasive etching equipment is still a relatively low-cost capital equipment purchase, with small benchtop versions starting around $3,000 to top-of-the-line units at $10,000-plus. Do your homework and buy the best and cleanest equipment you can afford.
If possible, I recommend that abrasive etching equipment be installed in a separate room to contain any glass dust particulate and abrasive grit within the room. I have seen some messy abrasive etching rooms with glass dust and abrasive grit everywhere, but at least it’s contained.
Ideally, the room should also have some external ventilation and filtration. Any surface glass dust or residue on etched pieces can also be blown off with compressed air inside the room before they are taken outside the room to be unmasked and cleaned up. This helps prevent glass dust or abrasive grit from getting into the rest of your shop.
Some of the top abrasive etching units have compressed air blow-off nozzles that are located inside the blasting chamber, which is a plus. If a separate room is not possible, try to locate abrasive etching equipment in a remote corner away from your main assembly activities.
To learn more about setting up your sandcarving shop, check out Shop Floor Layout Considerations for Abrasive Etching Glass or Crystal.
