The Envelope feature in CorelDRAW has some impressive abilities. Similar to but a little different than the Perspective tool, Envelope is another way to render images with a specialized view.
Altering text with the Envelope feature
The most basic use of the tool is altering text. Often, Envelope is needed to conform text to a shape. Clicking the Envelope tool icon on the Interactive Tool flyout is the most direct way to access the tool.
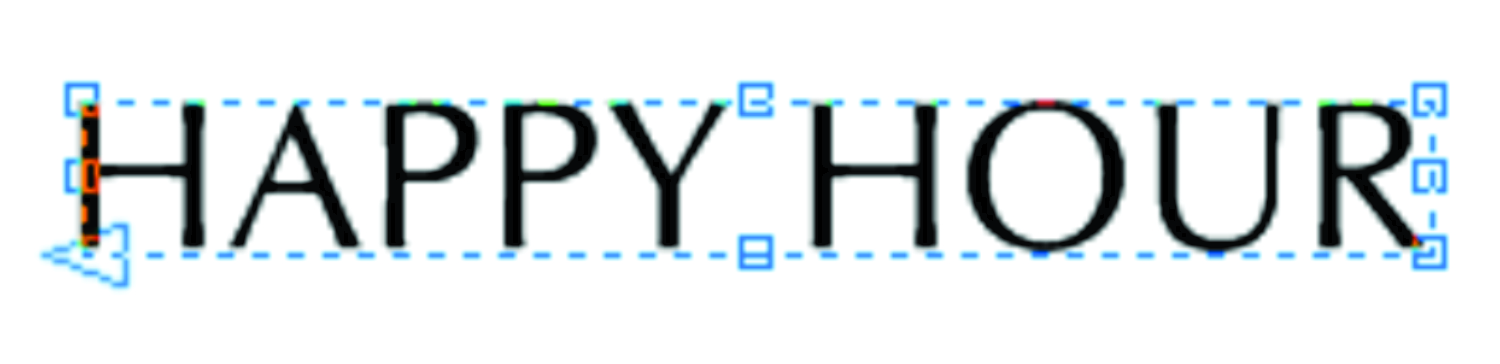
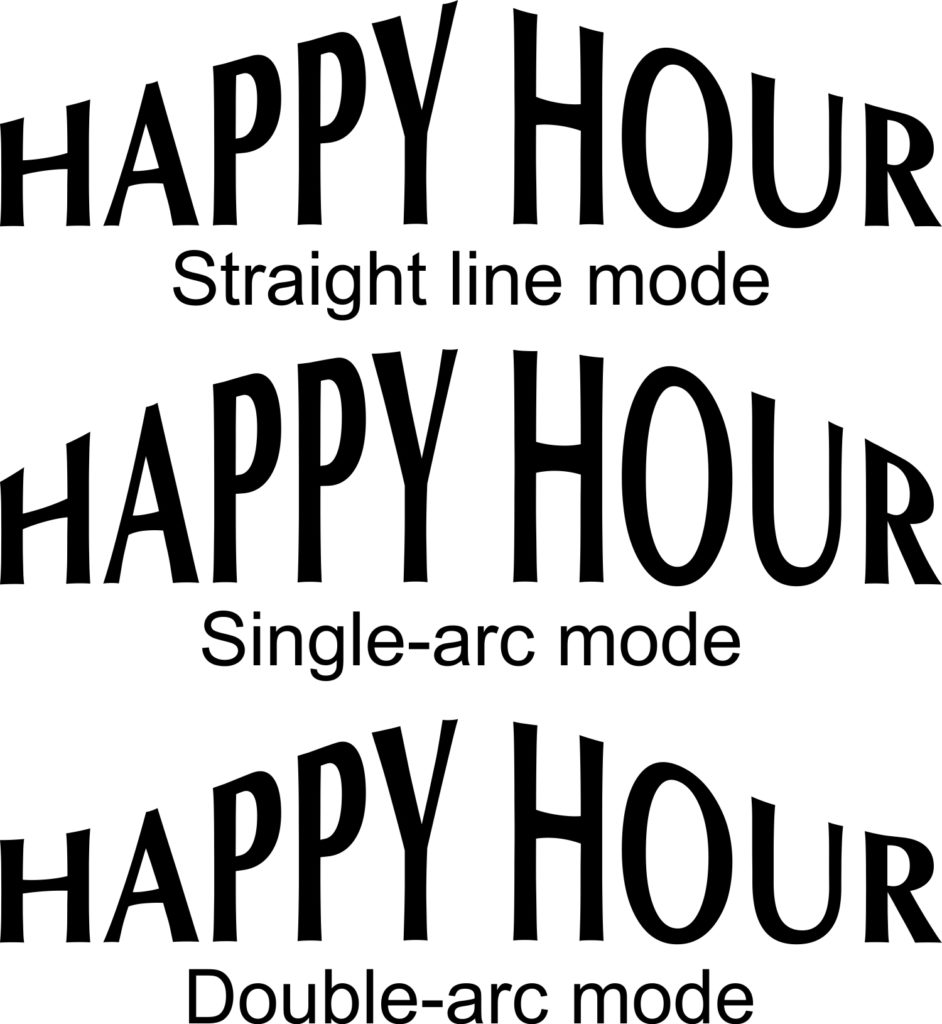
In Fig. 1, I have typed the words “HAPPY HOUR” and accessed the Envelope tool. A rectangle appears around my text with eight control points visible. On the taskbar are four modes:
- Unconstrained mode
- Straight Line mode
- Single-Arc mode
- Double-Arc mode
The Unconstrained mode allows all control points (nodes) to be individually manipulated as one desires. Each node can be designated as Cusp, Smooth, Symmetrical, Line, or a Curve. This mode is used if a custom shape is necessary but is primarily reserved only for a specialty purpose.
The Straight Line mode constrains the object to a predetermined shape (Fig. 2), which compares it with the other two—Single-Arc and Double-Arc modes—selecting the top center node and dragging it upward. Holding the Ctrl key while dragging causes the bottom shape to follow equally in the same direction. For my purposes, the Single-Arc mode is most often preferred (Fig. 3). Holding the Shift key while dragging causes the bottom shape to move equally in the opposite direction.

Advanced Envelope features
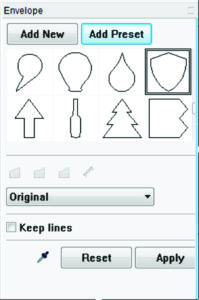
The more advanced Envelope features are usually best accomplished with the Envelope docker open (Fig. 4): Effects>Envelope (Ctrl+F7). The docker displays a large number of preset shapes available.
Though fun to play with, most of the presets, in my experience, are of little practical value, though a few have proven to be somewhat helpful. There is a small slider to scroll through the preset options available. The other abilities of the docker are well worth some explanation, so we’ll start there.
Four additional options appear in the docker: Putty, Horizontal, Original, and Vertical. Putty allows shapes and angles to be altered as necessary. Horizontal keeps all horizontal lines intact, adjusting only the other lines and angles. Original is nearly equal to Putty with slight variations. Vertical maintains all vertical lines intact while distorting all others.
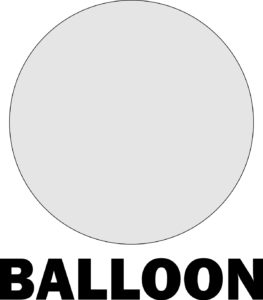
Best described visually in Fig. 5, I have drawn a circle and typed the word “BALLOON.” With the text selected, I clicked on the eyedropper (create from) icon and, with the resulting arrow, clicked on the circle then pressed apply. I did this four times, each using one of the four rendering options. Fig. 6 is a comparison of the different results.
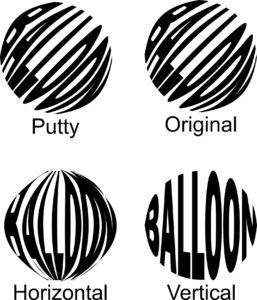
Note that the Putty and Original are virtually identical, and both are rotated. This is not a bug in the program but probably due to how it redraws the distorted vectors. Sometimes converting text to curves yields different results.
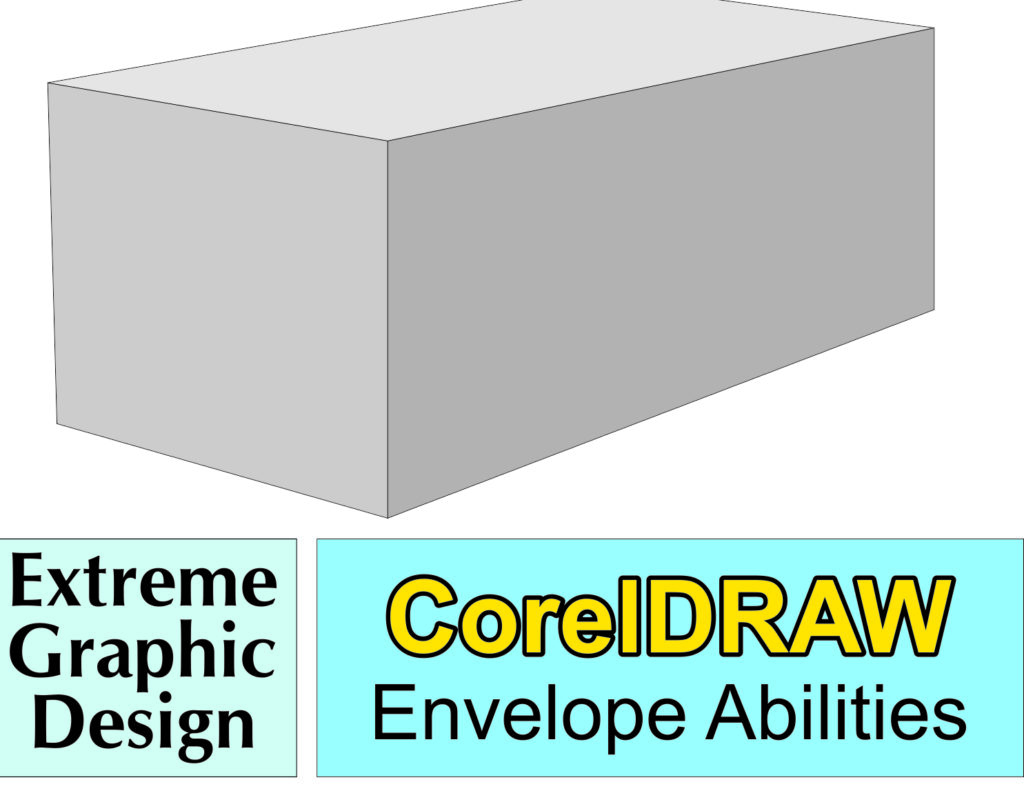
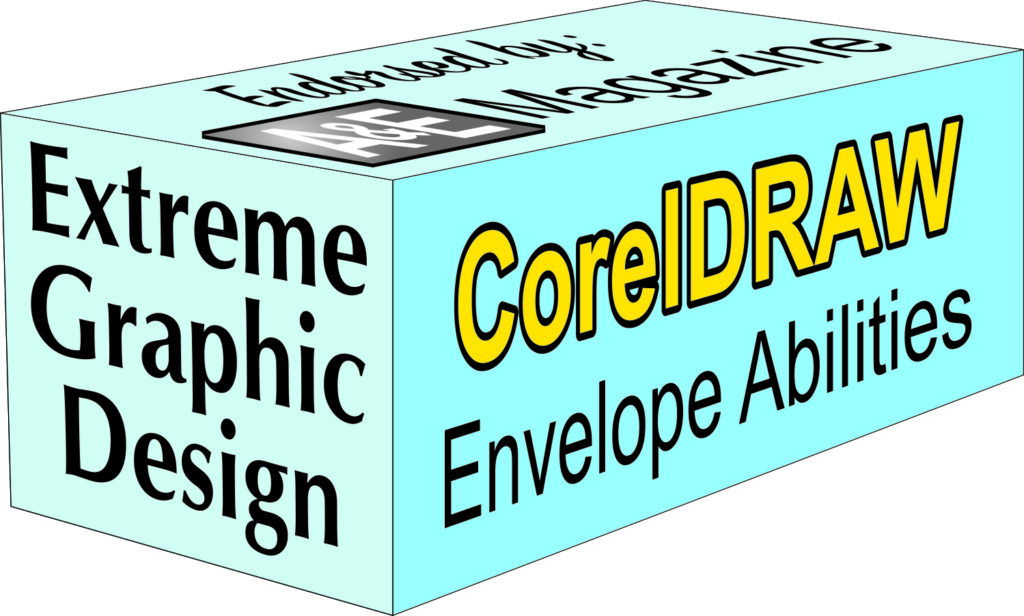
In Fig. 7, I have drawn a three-sided box and then created three panels to which I want to add envelopes. Each of the panels is a group of objects. I first selected the right panel, then the eyedropper, and clicked on the right side of my box, and clicked apply. The panel was distorted appropriately and then moved into place on the box with Snap to Objects enabled. Each of the remaining panels had an envelope applied in the same fashion. The finished result is shown in Fig. 8.