In this tutorial, we’re going to cover how to create an outdoor family name sign. One of my dear friends married, and a few days before the big day, she asked if I could sandcarve her new family name on a large stone, which would go at the entry of her home.
The first task was finding the stone. We visited a local builder’s supply and went looking through various types of stone. We came across this large sandstone block. The surface was fairly consistent with some small pits. The stone weighed over 70 pounds, but we loaded it in my SUV and headed to our facility.
Step-by-step tutorial
I gave her several concepts on what I could achieve with the stone, but she knew what she wanted. She wanted a simple design: her new last name and the text “Welcome to our home.” Our art department created the layout, and the photomask stencil was produced.
Materials used:
- SR2000 6-mil
- RZ 2 brush-on adhesive
- Sandstone item
- Wire wheel brush
- 2034VXA Sandcarving System (blasting settings listed in the following steps may change if using a different machine)
- Aluminum oxide 120 grit
- Sandcarving vinyl tape
Step 1: Create the photoresist stencil. Since I was going to blast on stone, I chose SR2000 6-mil with heavy adhesive to achieve a blast deep with coarse abrasive at high pressure. (If using a different film, consult proper settings and applications as they may differ.)
Step 2: The surface of the sandstone had a few pits. To prep the stone, I blasted at a high pressure to create a smooth surface. We blasted the stone at 65-70 psi with no stencil.
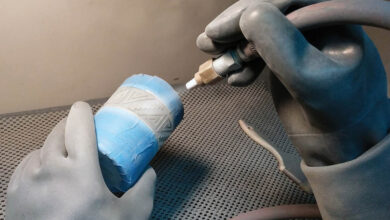
Step 3: Heat the surface. The photomask with adhesive will adhere adequately to the uneven porous surface when the stone is heated. Heat the stone with a mini torch just until the surface is hot to the touch. It is important not to overheat the sandstone material.
Step 4: Apply the SR2000 with adhesive to the heated surface and squeegee with a burnisher. Remove the clear liner and apply strips of sandcarving vinyl tape to the edges.
Step 5: Use a wire wheel brush to remove any air pockets.
Step 6: Place it in your sandcarving system and blast. The blasting pressure was set at 50 psi in our machine using aluminum oxide 120 grit. The SR2000 6-mil can handle 120 grit at a higher pressure. Blast until the desired depth is achieved. It is important to hold the nozzle at a consistent distance throughout the entire blasting process. Sandstone blasts quickly, and keeping the nozzle at a consistent distance provides an even blast.
Pro tip: A higher blast pressure and coarser grit meant that the desired depth was obtained quicker.
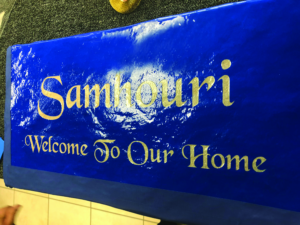
Step 7: Once the stone is blasted, clean the surface with a low-pressure air gun to remove any dust from the etched area. Leave the photomask stencil on the stone and apply Stone Tone (or equivalent product) paint. Shake the can well and paint in light coats. The paint should cover the entire etched area without any dripping or running of the paint. Stone Tone paint is warrantied for stone materials placed outdoors.
Important safety tip: Painting should be done in a well-ventilated area.
Step 8: Remove the photomask stencil and clean the surface with glass cleaner.
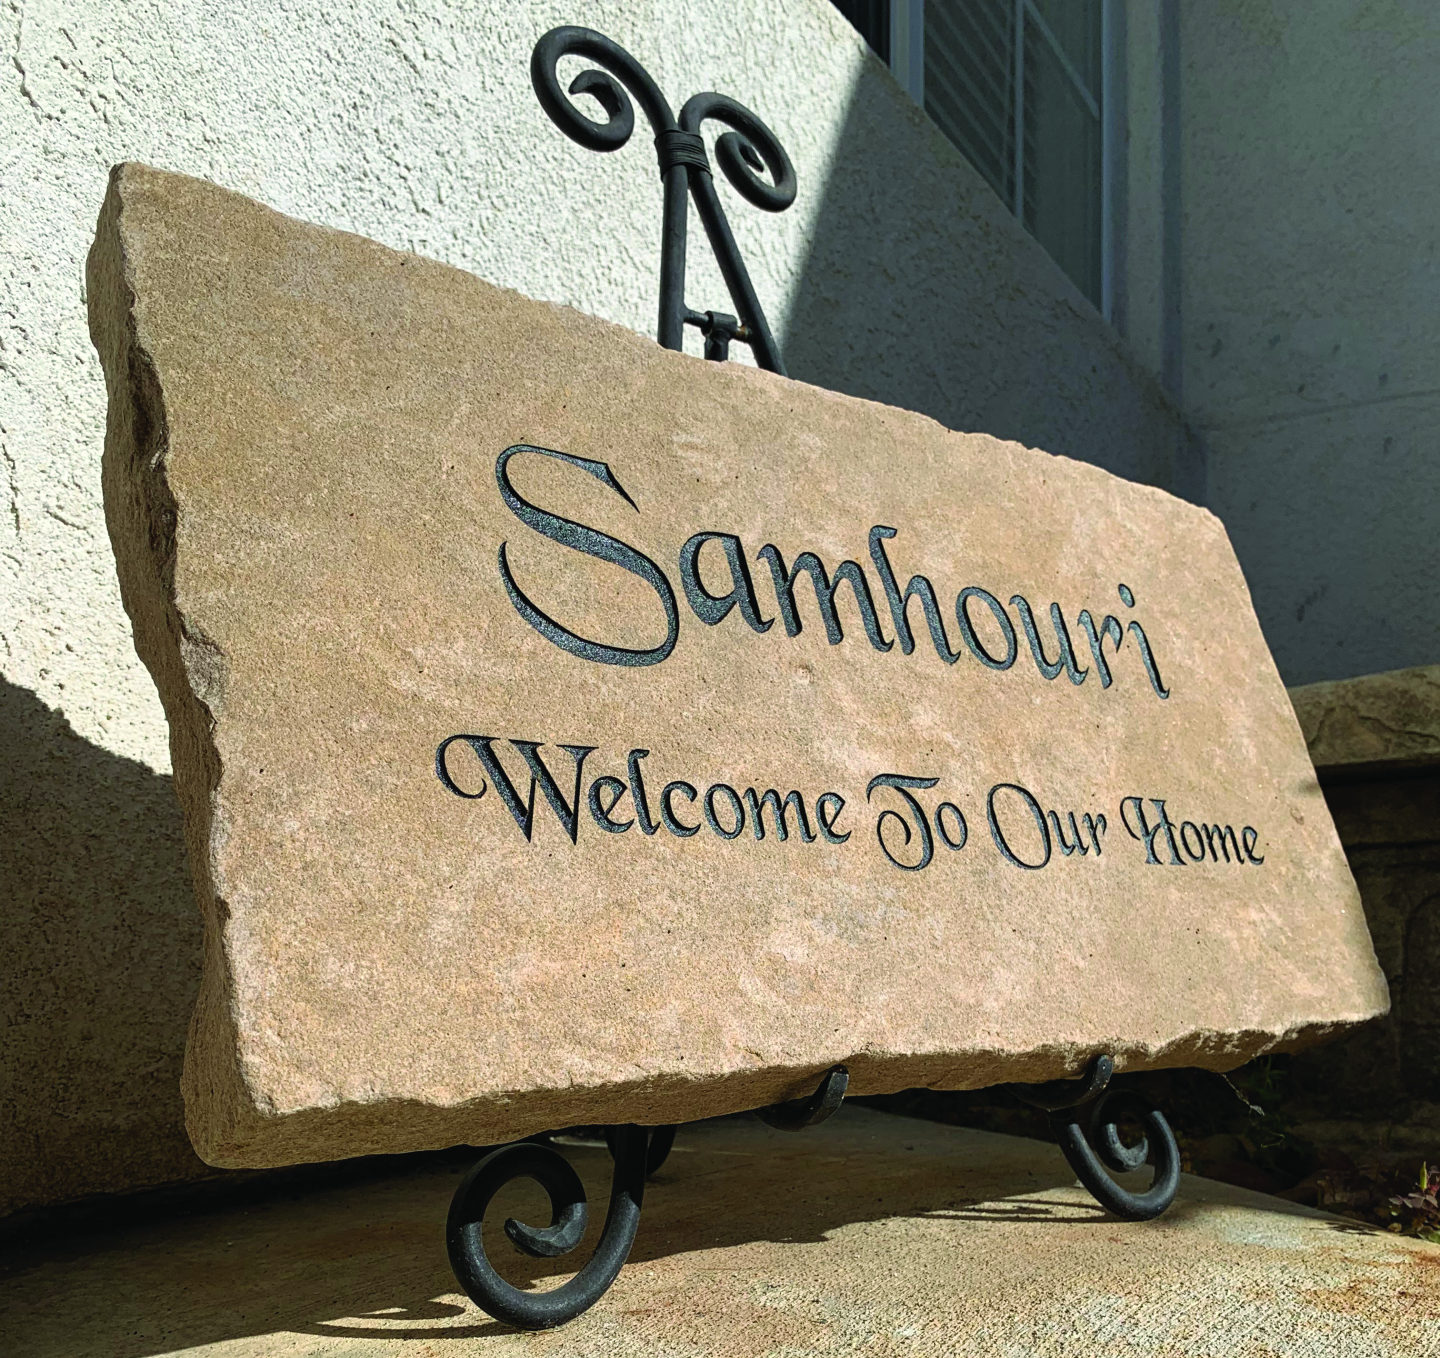
The outdoor family name sign turned out beautiful. My friend was pleased with the results, and the stone will last a lifetime. It’s currently placed on a sturdy easel at the front entrance to their home, offering a warm welcome to all that visit.