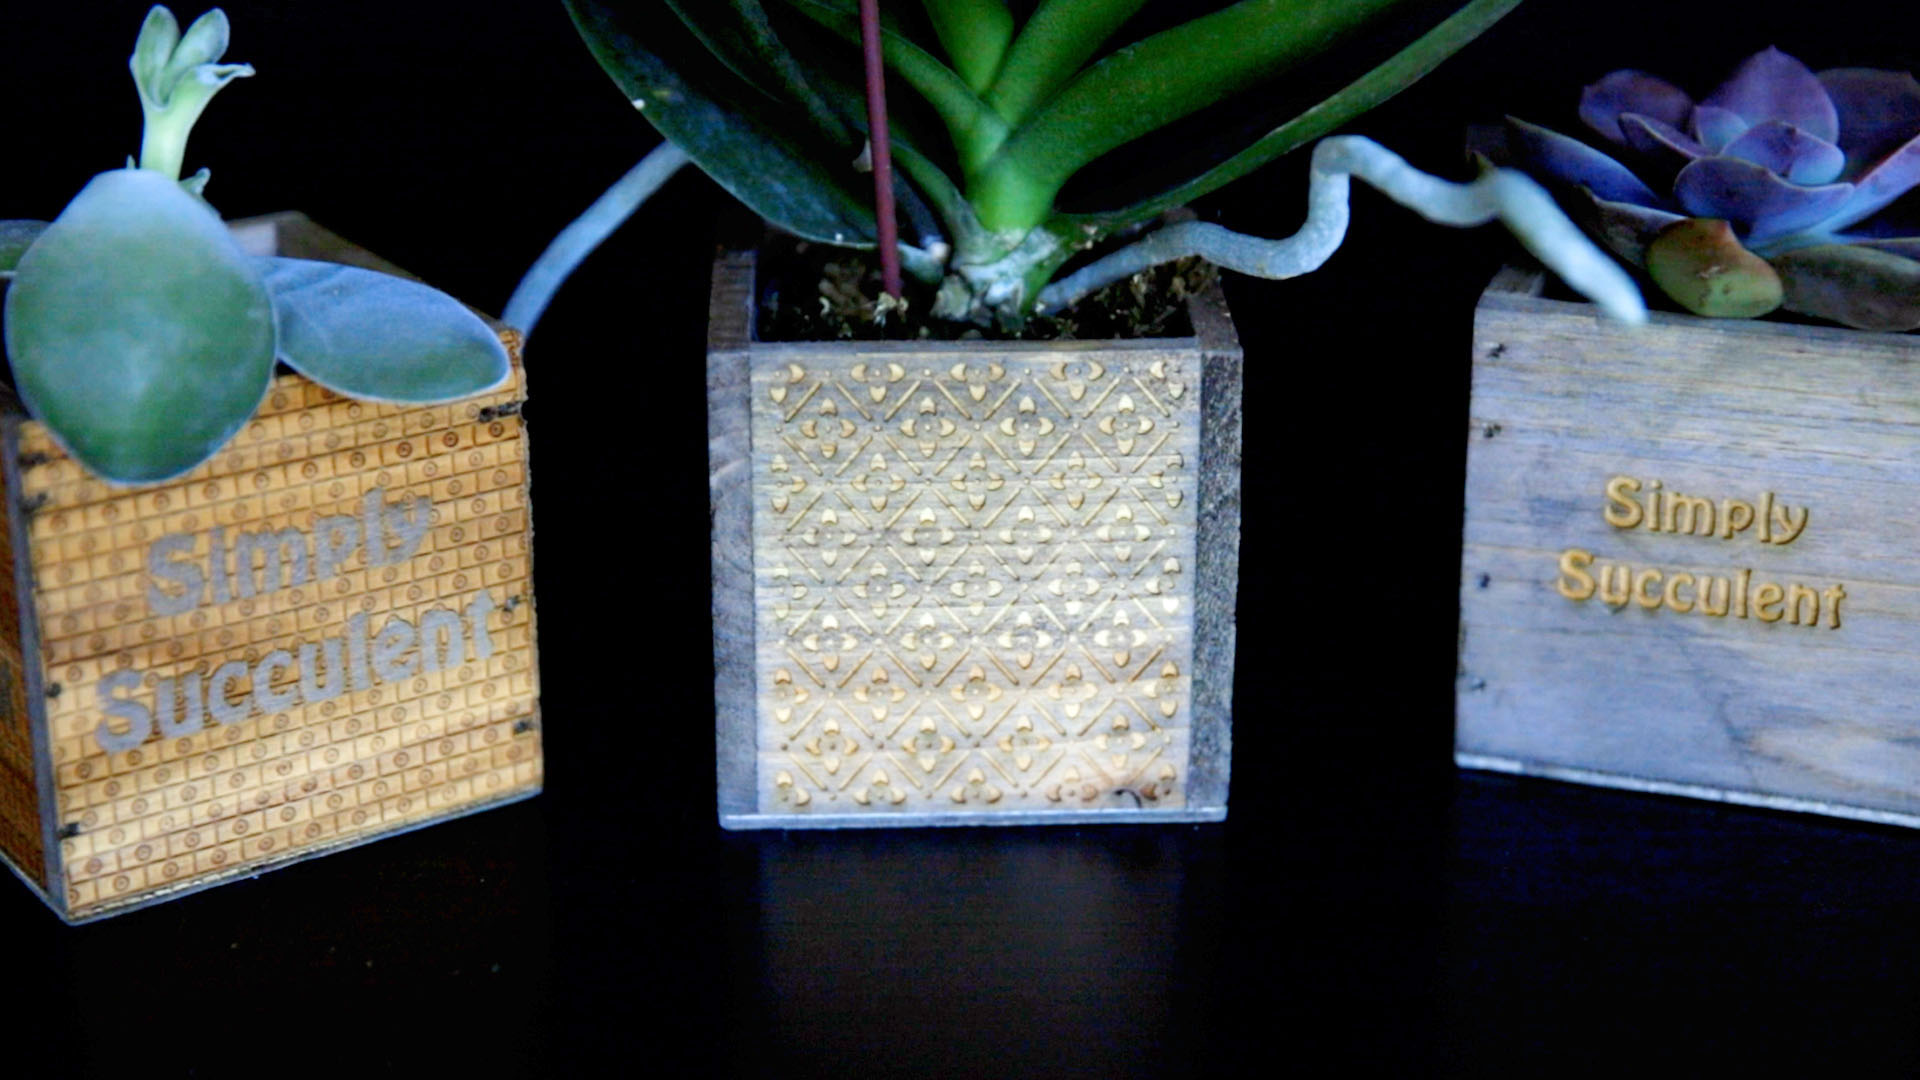
Bring the outdoors in with these customized wooden planter boxes! This Sample Club laser project walks you through the steps of engraving wooden boxes ideal for various small plants. Whether in a warm or cool climate, these little cubes make it easy to create a custom garden you can enjoy year-round! Read on to see how we did it.
Materials needed:
- Wooden planter boxes
- Epilog Laser System
We used an 80-watt Fusion Pro 24 and the following raster engraving parameters:
- Speed: 65%
- Power: 100%
- DPI: 500
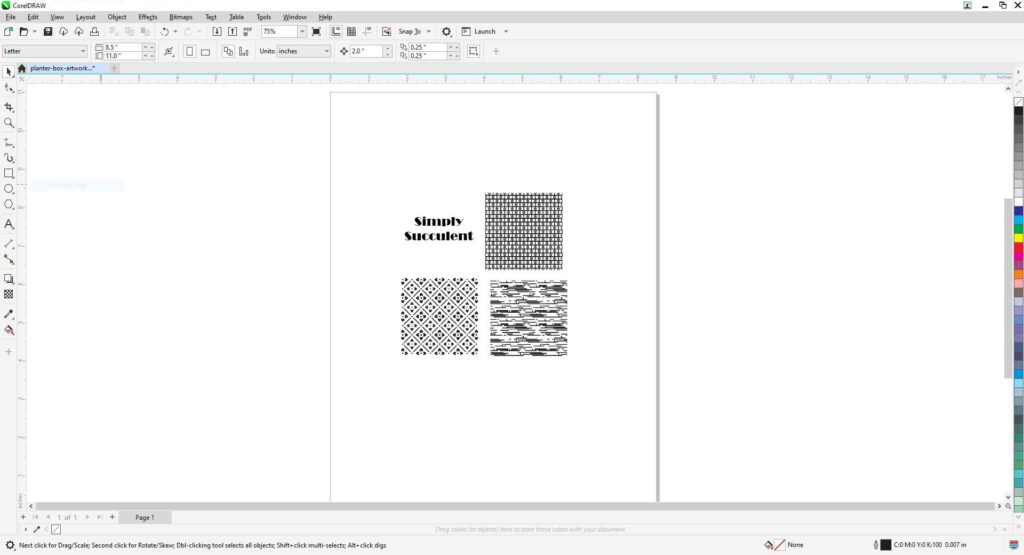
Step 1: Prepare the artwork
Customize your artwork as necessary. You can use the files we provided in our Sample Club or come up with your own graphics or phrases. (Fig. 1)
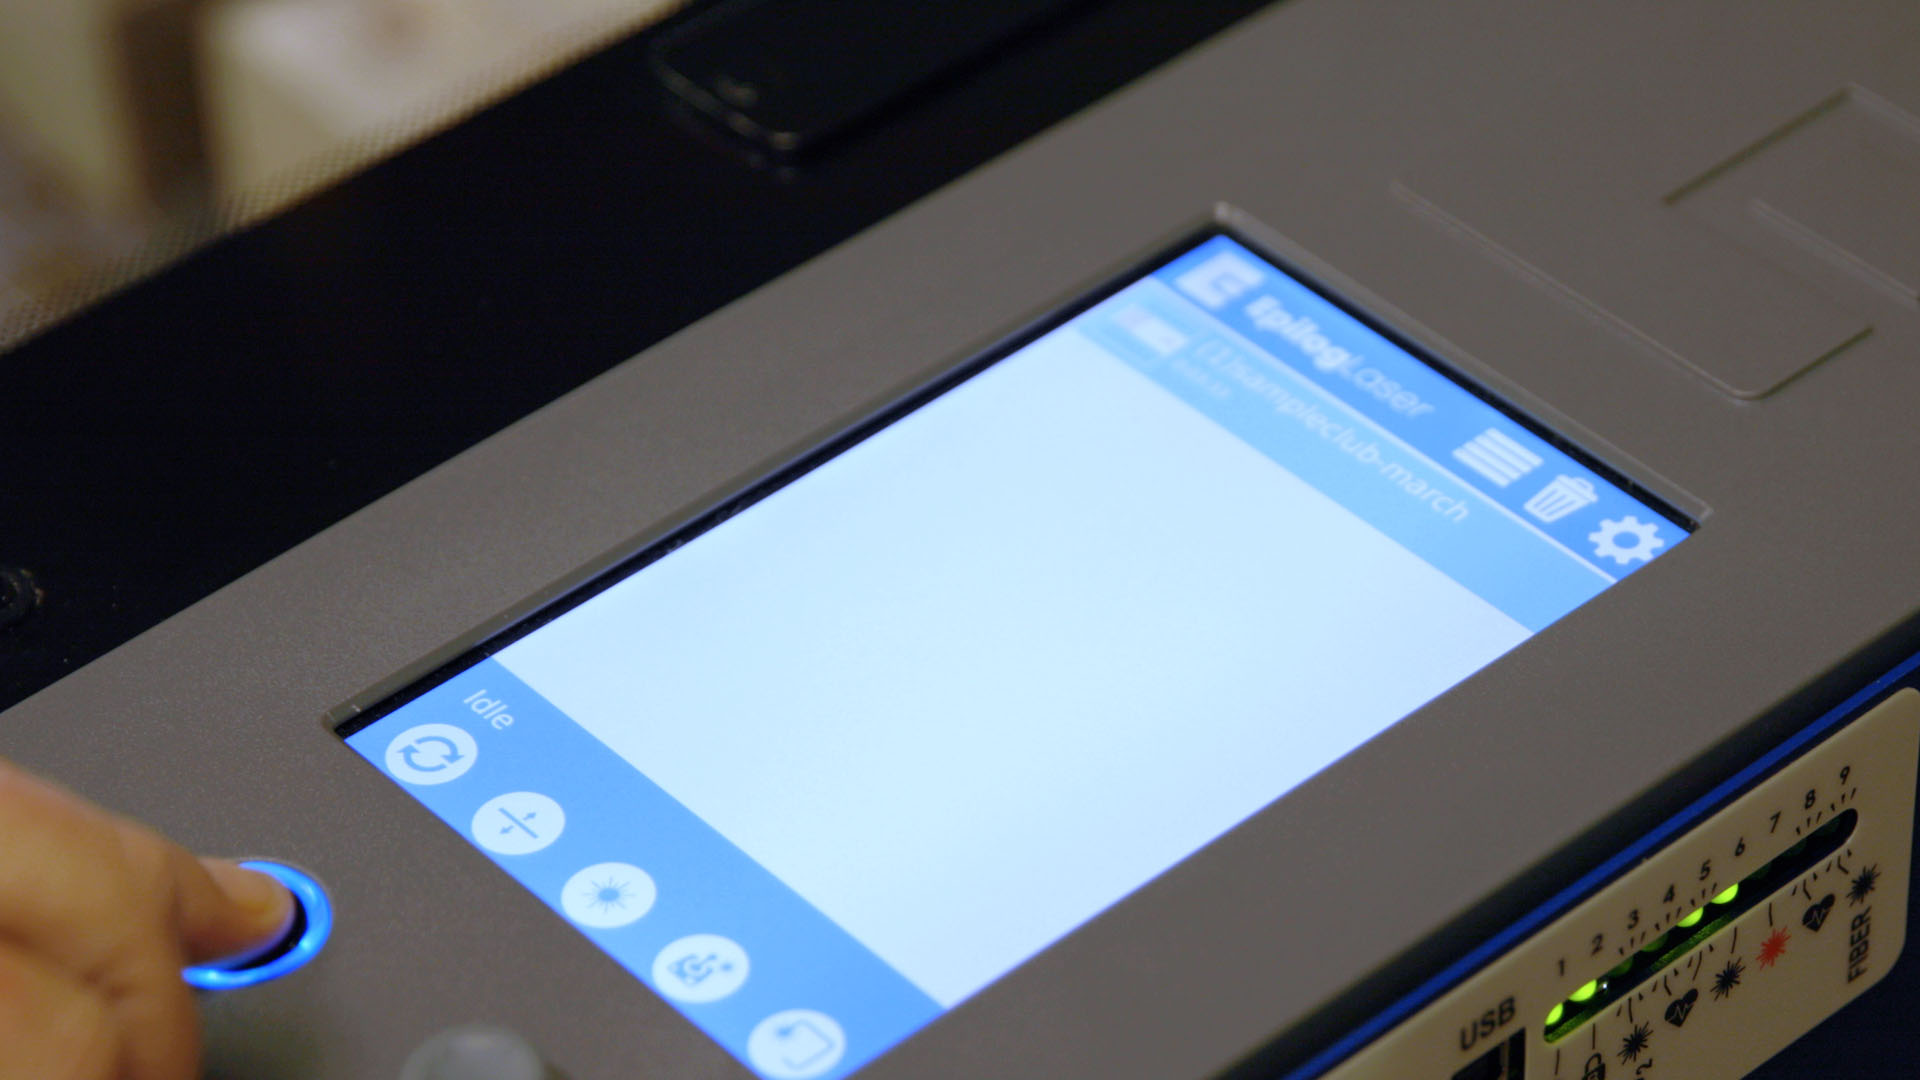
Step 2: Determine your parameters
Use the bottom of the box to test different speed/power/frequency settings for your planter boxes. For this laser project, we used 65% speed, 100% power, and 500 DPI on an 80-watt Fusion Pro 24. (Fig. 2)
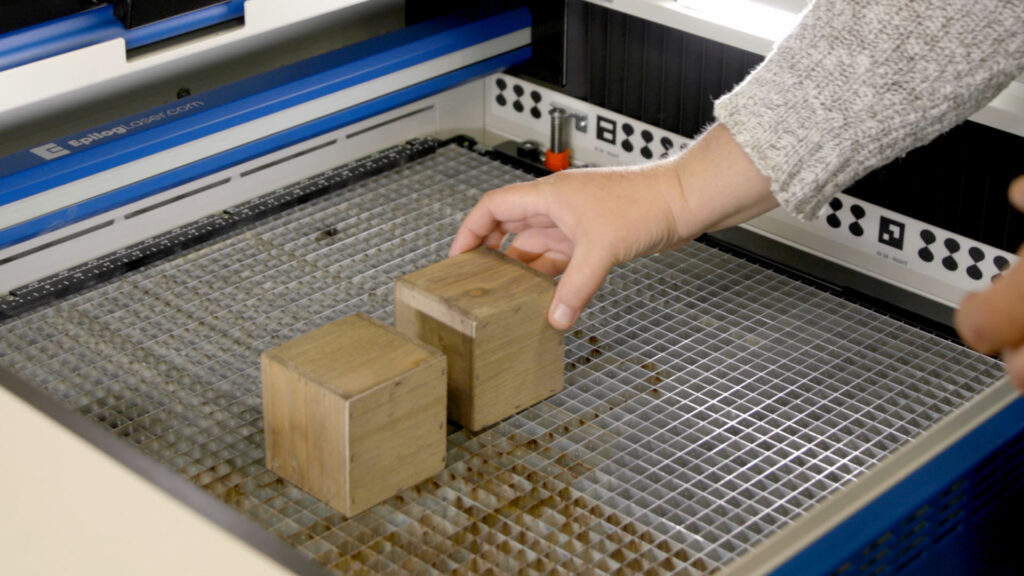
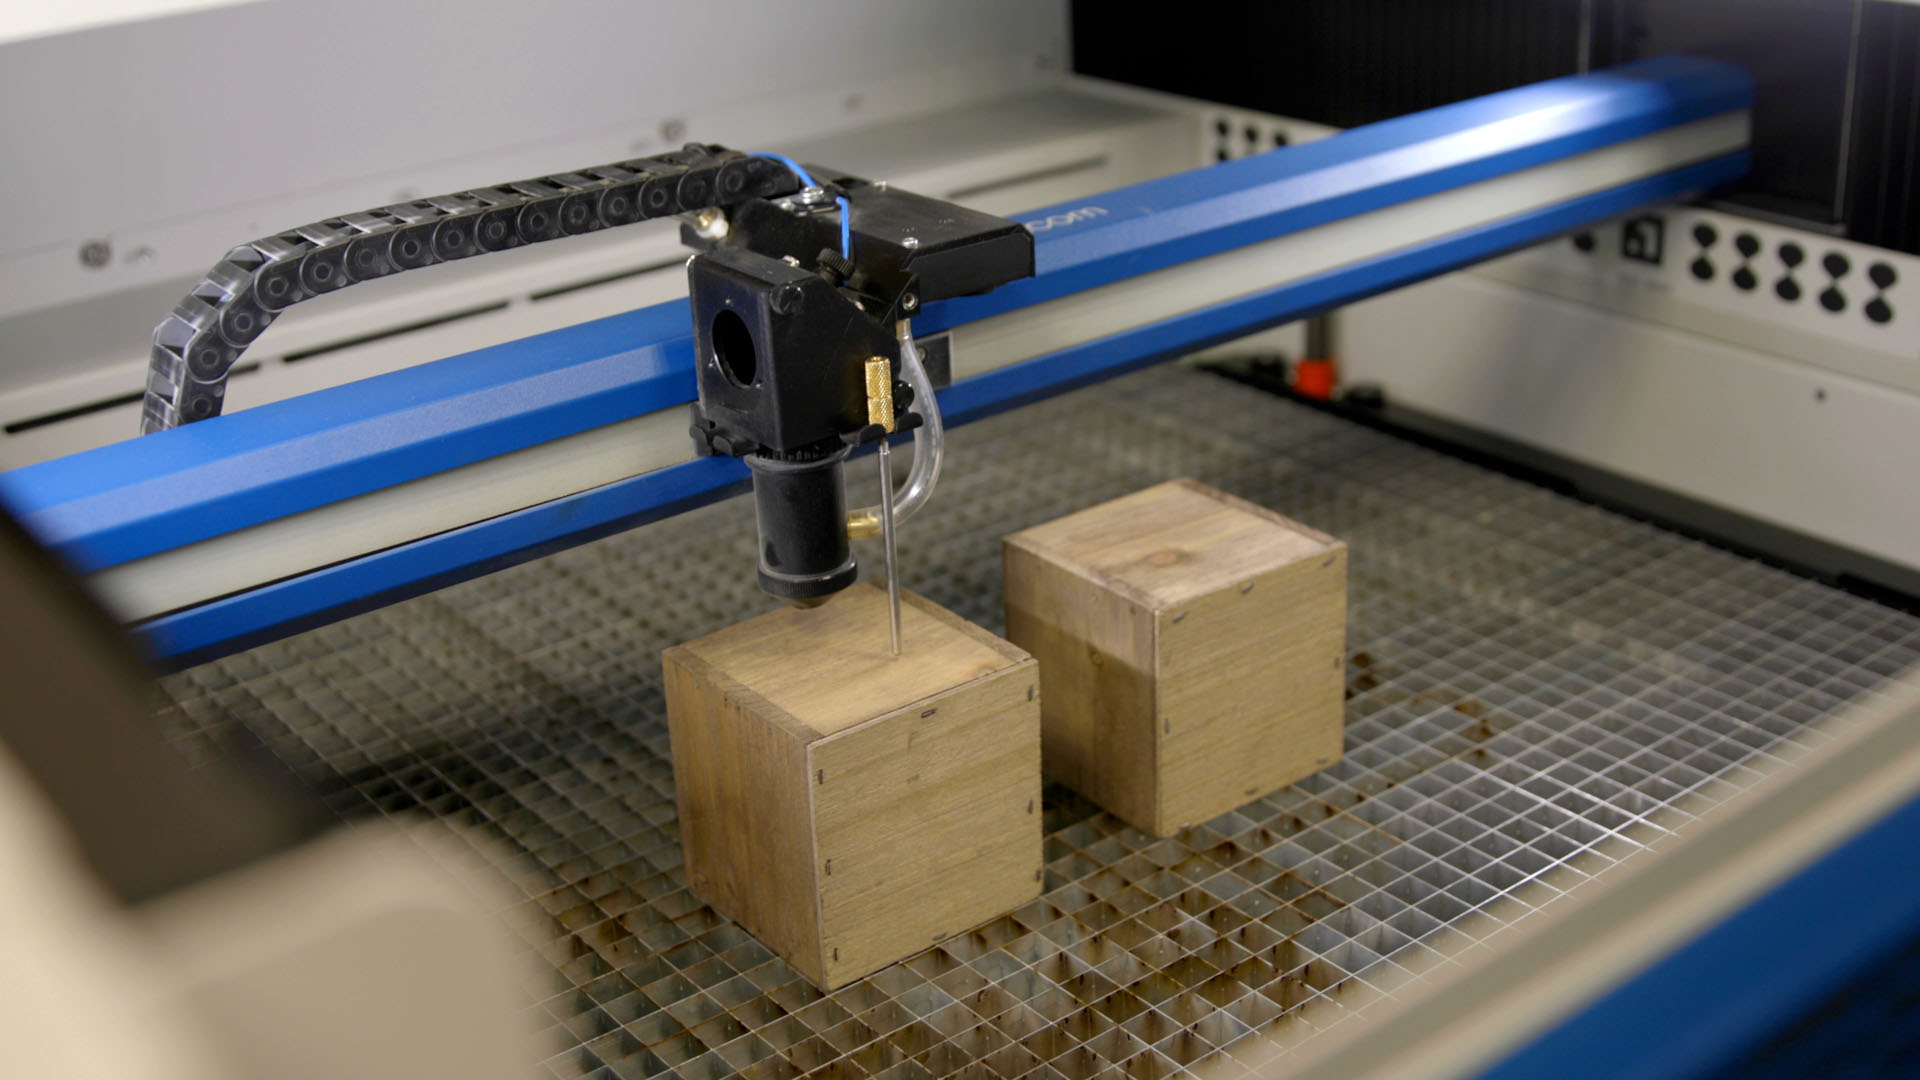
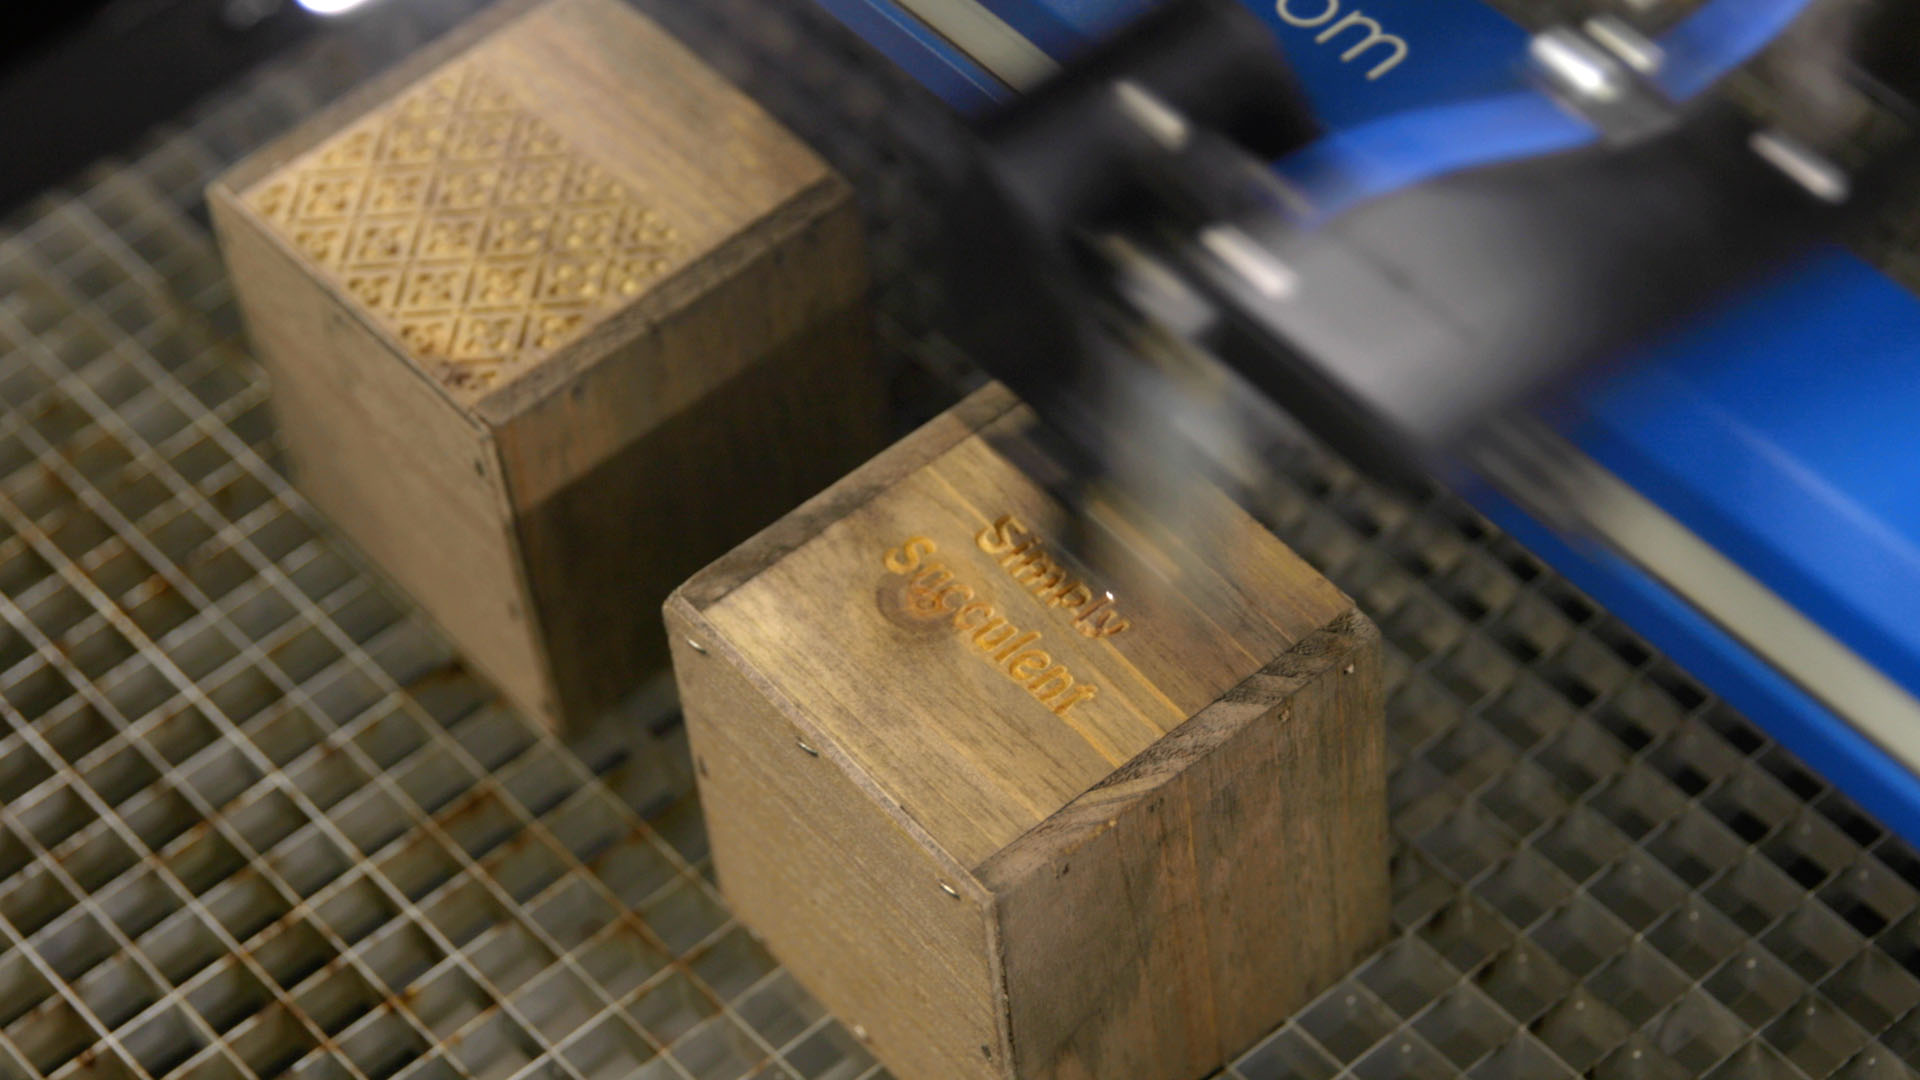
Step 3: Prepare your material
Place your planter boxes on the laser bed, focus the table, close the lid, and run the job. (Fig. 3, 4, 5)
Step 4: Assemble
After finishing the job, place your favorite plant or succulent into the custom engraved planter box and enjoy!
Make sure to check our Sample Club regularly for new profitable projects for engravers!
Where can you sell laser engraved planter boxes?
- Garden centers or nurseries
- Specialty gift shops
- Online outlets