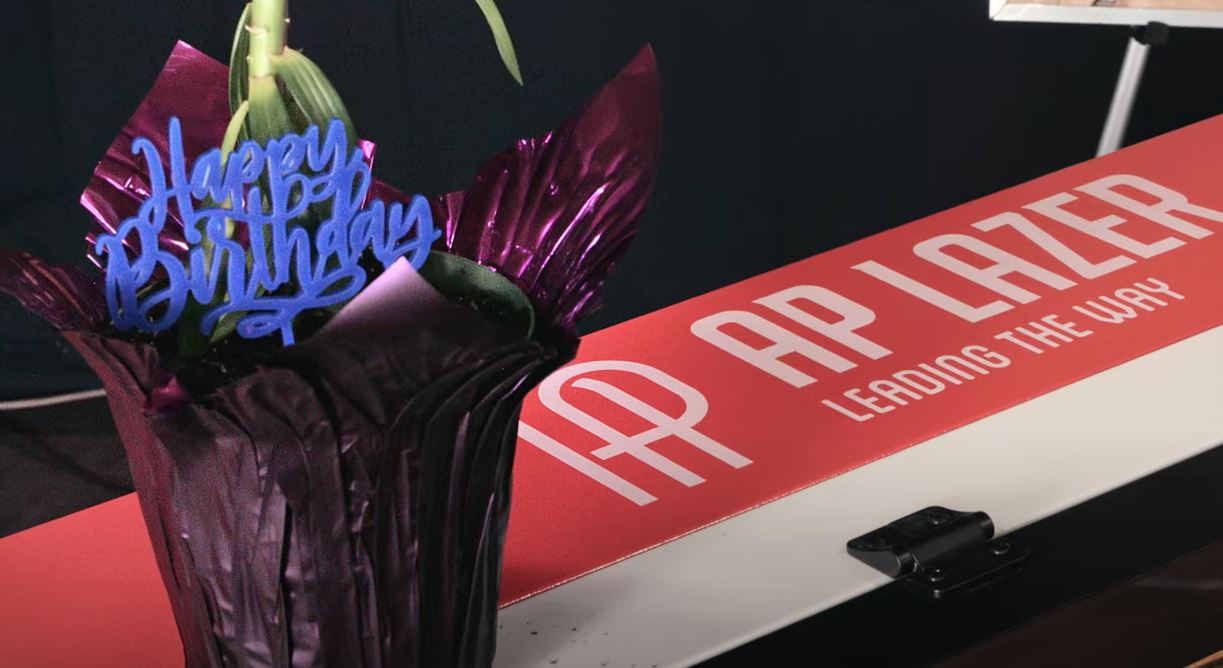
Laser machine owners receive custom order requests regularly. Creating unique, one-of-a-kind products on the fly can be a daunting task, especially for those new to lasers. If a customer needs that custom flare for a special event or birthday, follow the steps below to create a custom laser-cut cake topper in minutes. Easily apply these principles to any custom order.
Needed materials:
 Sheet of 1/8″ thick acrylic
- Cake topper image file
Step 1: Search for a design
- Using Google, search “happy birthday cake topper black and white”
- Scroll through the image options and select the one you like
- Copy the image
- Paste the image into LightBurn (or other design software)
Step 2: Prep file for laser
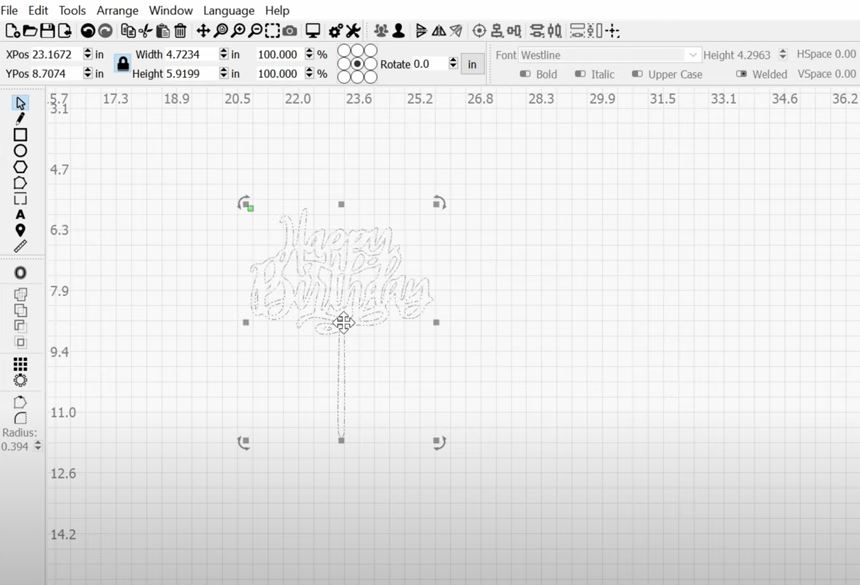
- In LightBurn, select “Alt” + “T” to trace the image
- Separate the new image from the original
- Delete the original file from LightBurn
- Using LightBurn’s toolbar, resize the newly traced cake topper file
- The recommended size is 5″ H X 4″ W
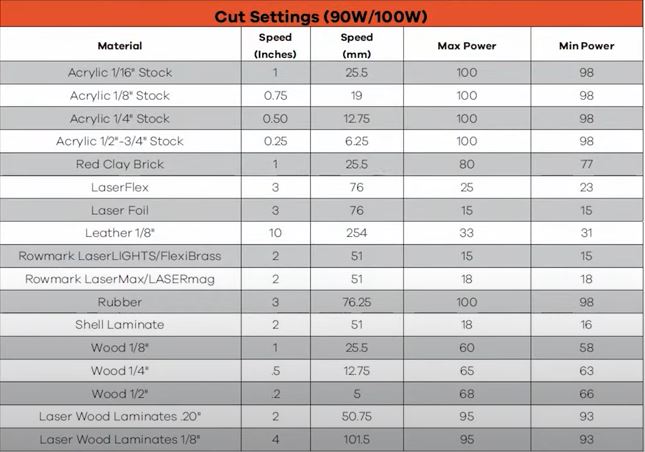
- Select speed and power settings
- AP Lazer recommends .75 speed and 100% power for 1/8″ thick acrylic
Note: Machine speed and power settings may vary. Reference laser manufacturer speed and power settings database
Step 3: Laser-cut the acrylic
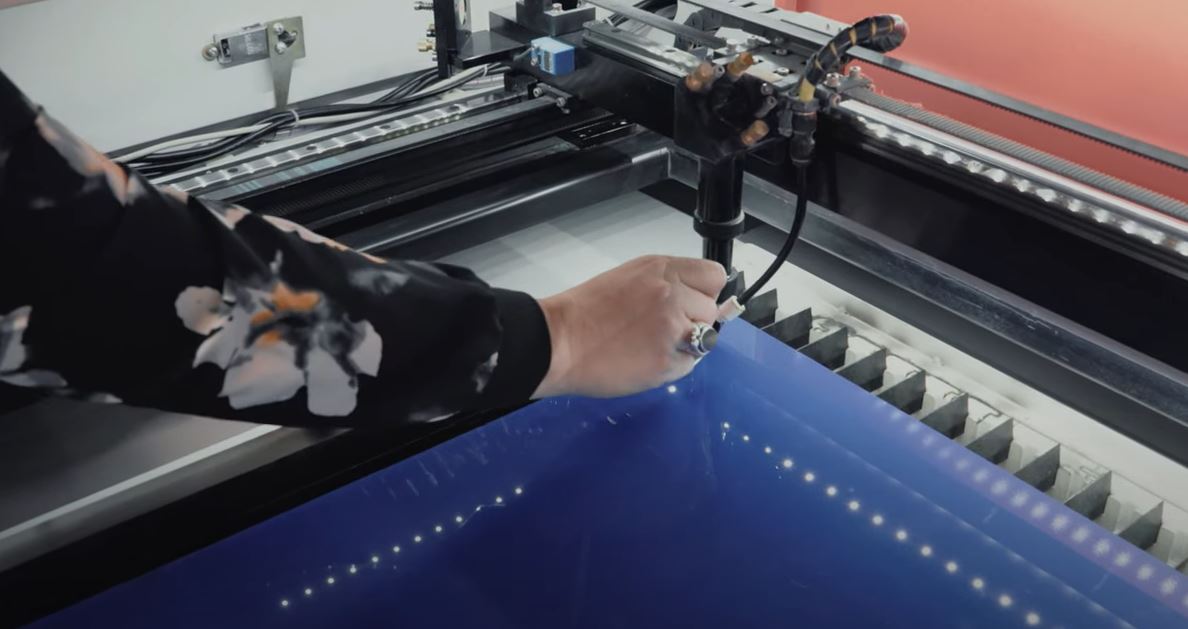
- Place acrylic sheet in the laser machine bed
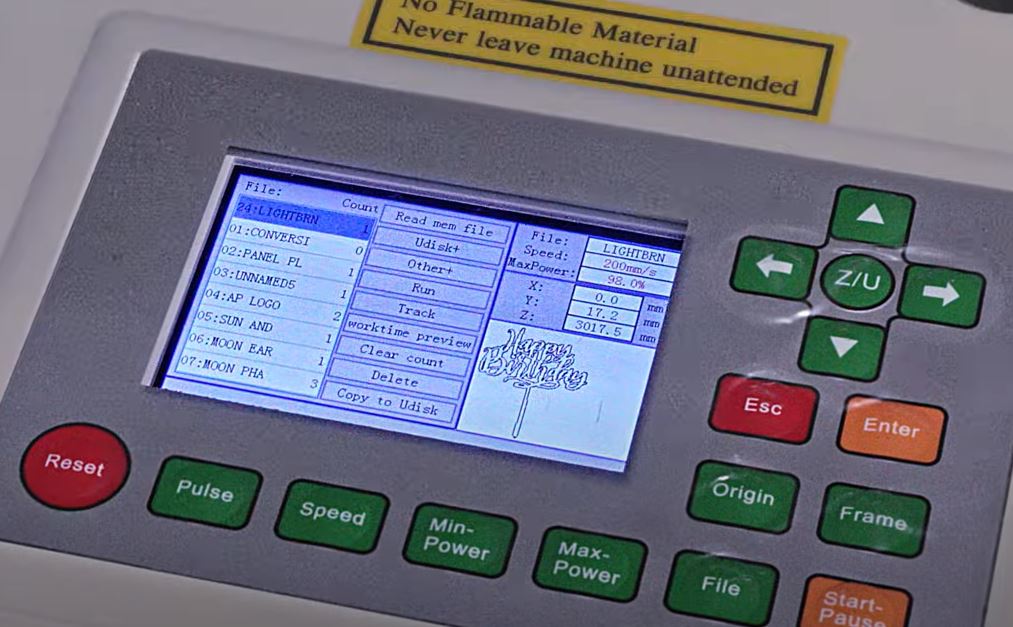
- Send cake topper file to the laser from design software
- Focus the laser head to the acrylic using the machine’s focus tool
- Select “origin” to set origin point and “frame” to outline the file size
- Selecting frame ensures the file will fit within the desired material
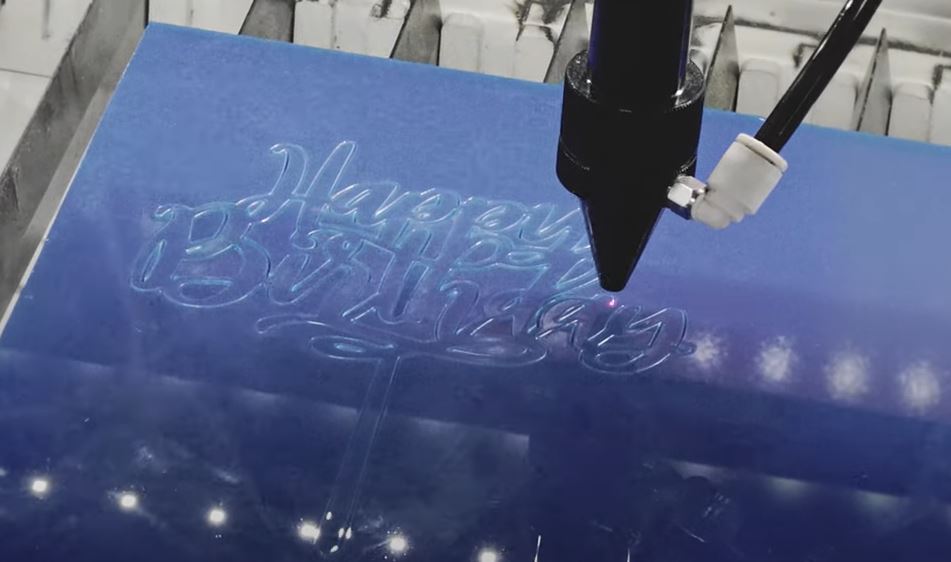
- Shut the lid & push start
Total run time: Two minutes
Total prep and run time: Six minutes
And there you have it — a piece-of-cake project.
 Sheet of 1/8″ thick acrylic