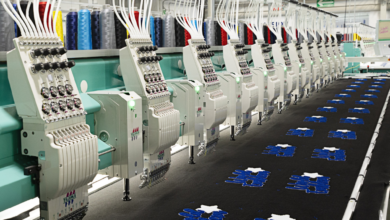
Whether you’re an embroidery hobbyist or business owner, you’ve undoubtedly come across common machine errors, such as thread and needle breaks, registration issues, birdnesting, and more.
Luckily, several preventative measures can help reduce the amount of time you spend servicing your machine and increase business productivity.
Getting to know your machine
First and foremost, it’s essential to get to know your machine backward and forward. This includes reading the manual, watching helpful tutorials, and attending any recommended training sessions. Many companies offer troubleshooting guides to help you along the way.
Also, don’t be afraid or discouraged to ask for help. Joining a community of like-minded people, many of whom have likely experienced many of the same issues, can often help you understand your machine’s functions better.
Always remember, with any new skill, there is a learning curve, and mistakes will happen. Be kind to yourself and keep at it.
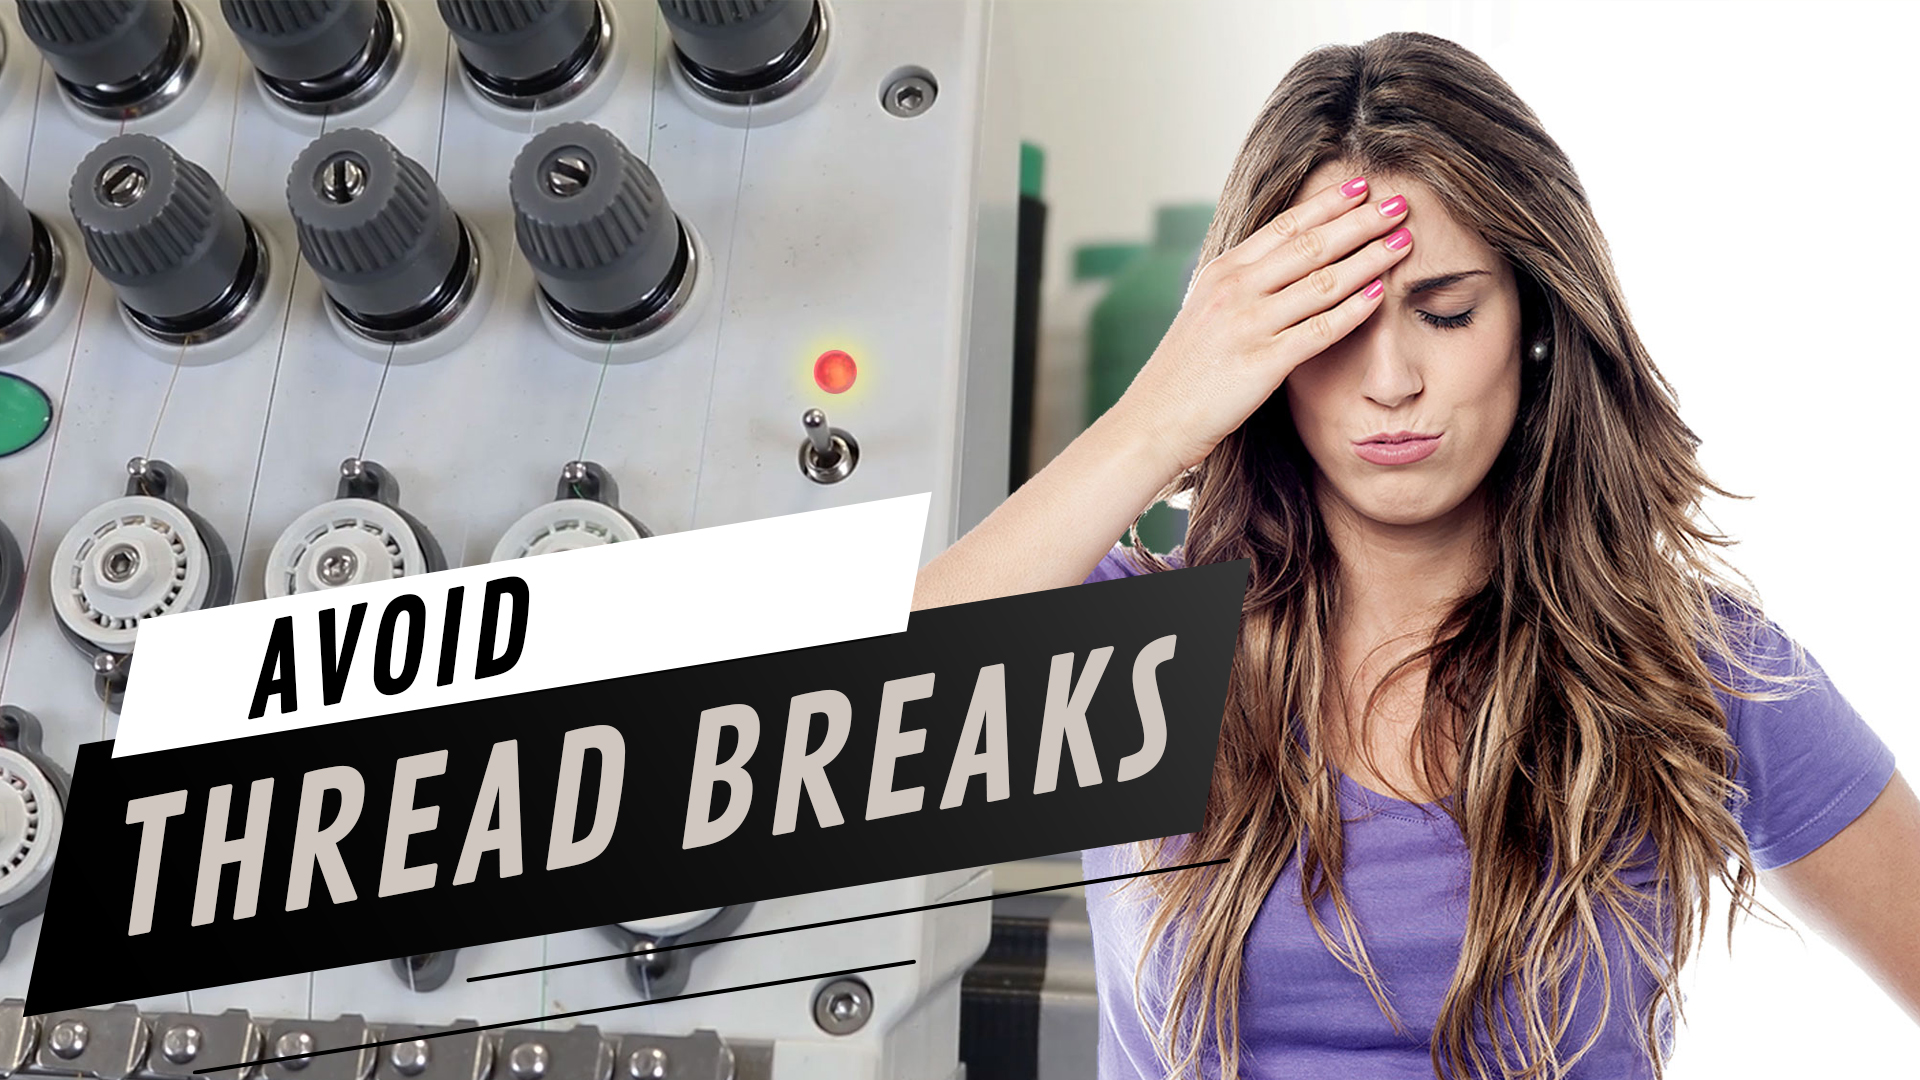
How to correct and prevent thread breaks
One of the most common errors seen by machine embroiderers is thread breaks. They’re bound to happen and can be caused by several things. However, there are steps you can take to help narrow down the culprit and resolve the problem.
After experiencing a thread break, the first thing to do is check the thread path, starting from the spool and working down towards the needle. Any snagging of thread or incorrect threading will cause thread breaks. If the machine appears to be threaded correctly and you suspect snagging, pull on the thread until you feel resistance, unthread and rethread from there.
Another common cause of thread breaks is improper hooping. Depending on your project’s style or material, you may need to adjust the thread combination, backing, or needle size to support the embroidery. This is often seen with delicate or stretchy fabrics. The garment should be stiff and resemble a drum when tapped but not overly stretched to avoid pinching.
Thread breaks can also be caused by damaged or low-quality thread. To test your thread, switch it to another properly inserted needle. The scarf (or indent) of the needle should be facing the back (toward the machine) and should be completely straight — not at an angle.
If the thread breaks again on the other needle, it is likely damaged. When using natural fiber thread like rayon, be sure to store your spools away from heat or sunlight. You could also try switching to a synthetic fiber like 100% polyester, which is more durable and leaves less lint.
Tension, which can be adjusted using upper and lower tension knobs on your machine, can also cause frequent thread breaks. To help prevent thread breaks caused by tension, perform an “I” test, or stitch a one-inch satin column on each of your machine’s needles. Ideal tension settings will display one-third bobbin thread down the center and one-third top thread down both sides of the column on the back of the design.
To help prevent further thread breaks, remember to perform regular maintenance on your machine. This includes applying machine oil to the rotary hook, located inside the sewing arm within the bobbin housing unit, for every four hours of continued use. Lubricating oil should also be applied directly onto the needle bars through the slots in the needle case once a week, alternating between the upper and lower sections.
Learn more in Part 2: Curbing Frustrating Needle Breaks