Training for direct-to-garment (DTG) printing production is a new endeavor for most of us. The entire technology is less than 20 years old, so hiring an experienced operator is rare. While the technology is new, the process is relatively simple compared with other decoration methods. That means, once trained, an employee will repeat the same steps over and over, garment after garment.
Often, DTG printing is broken down into two parts, and different employees most commonly perform these parts. While one employee will create and manipulate the graphic, another employee will do the actual production, which includes pretreating, printing, and curing the finished garment. This isn’t a hard and fast rule; the same employee could do the complete process as well.
Here’s a breakdown of the steps involved, and the areas you should cover when training new DTG employees. The first two areas deal with graphics training, and the rest deal with production training.
Creating graphics
Unlike many other garment decorating methods, DTG printing requires no separations or graphic manipulation other than using a high-resolution full-color image. For the best-finished image, use a 300dpi file saved at full size. A png file is preferred.
Importing graphics
DTG printers will use either a RIP software or print driver to interface between the computer and the printer. Once an image is on the computer screen the way you want it to appear on the shirt, then the file is imported into the RIP or print driver. You can use most any art program to create the original art file.
On the screen will be a rectangle that represents the shirt platen, depending on the size platen you’re using (adult, youth, oversized, etc.) At this point, you’ll position the artwork on the platen and select a print mode for your particular system. These print modes will include CMYK only for white and light garments, a single white underbase, two-pass underbase, etc.
Garments
100% ringspun cotton is the ideal substrate for DTG printing. Blended fabric (cotton/polyester) can be printed, but the higher the cotton content, the brighter the image. While color polyester can be printed, the extended production time and the finished print will likely make this a less desirable garment for DTG printing. Tri-blend fabrics will generally print well using the same pretreat and printing methods you would use with a cotton garment.
Pretreating
Anytime you print with white ink, you must spray a pretreat solution on the garment. The key here is to lay down a minimal amount of retreat solution. If the area around the image area is stiff, then too much pretreat has been applied.
Pretreat basically causes the white ink to begin to cure on the surface of the shirt. Without pretreat, the water base white underbase would absorb into the fabric and virtually disappear.
Pretreat is ideally applied using an automatic pretreat machine, but applying with a hand-held power sprayer can work as well. Pump sprayers will not lay down an even application of pretreat, which will impact the final print. And rollers, paintbrushes, etc. will lay down far too much pretreat solution.
Loading the garment
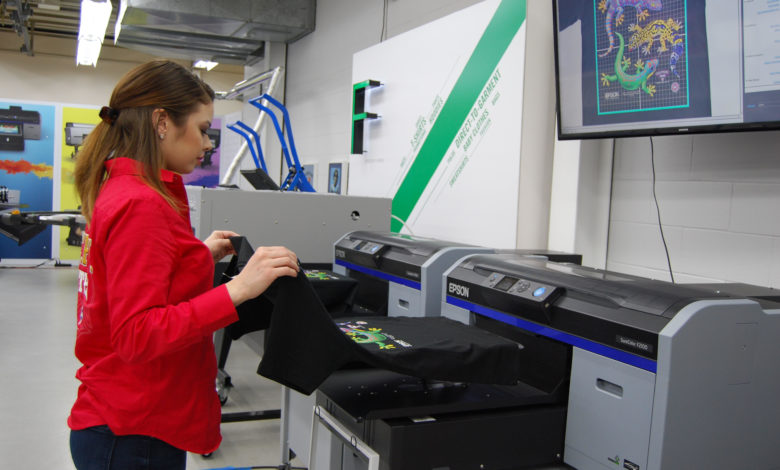
Garments are generally loaded without threading (opening the shirt to slide onto the platen as with screen printing). Laying the shirt on the platen makes it easier to center. Check the overhang on each side to see if it is equal and square, and your shirt should be correctly positioned.
Curing
While DTG inks are water-based and would eventually air dry, for washability, you must heat set the ink. Most operators use a heat press set at 340 F, but this temperature my vary among ink systems. Cure time will vary as well, but on average, a white shirt (no white underbase) cures in 45 seconds, and a color shirt (with white underbase) cures in 90 seconds. The critical part is to use very light pressure when curing.
A conveyor dryer can also be used. Some testing will be necessary, but as long as the water in the ink can be evaporated, the ink will cure. Forced air is not required but may speed up the process.


