Never underestimate the power of your embroidery machine needle! This seemingly lowly element of the embroidery process-one that some of us may take for granted-can help you produce award-winning embroidery designs or cause a great deal of unnecessary stress. Let’s run through some pointers that will broaden your understanding of the importance of needles.
Needle Choices
Choosing the correct needle is dependent on two things: the thread you are using and the fabric you are embroidering. The size and point type are what identifies a needle. The thickness (weight) of the thread will usually dictate which size needle to use, and the fabric construction will determine which point type will give the best results.
Needle size has two numbers, with a slash between them. The first number is the metric (European), and the second is the American, established by the Singer Sewing company. A thicker embroidery thread, such as a 12-weight, will require a larger needle such as #100/16, while a thin thread, such as 60-weight for small lettering, will run best with #65/9.
For embroidering, needles with a sharp tip should be used on heavy woven items, while needles with ballpoint tips are ideal for knit fabrics and light wovens. The reason for this is that a sharp point will pierce the weave of a heavy woven garment, giving a crisp appearance to the completed design. Sharp-tipped needles are for embroidering on leather or vinyl. For a knit fabric, however, which includes many performance wear or athleisure garments, a ballpoint tip is preferred. It will not pierce the knit fabric but will slide between the knitted threads, pushing them out of the way without cutting them. A cut in a knit can produce a run and affect the integrity of the garment. Even if the slit is not apparent immediately, it could become visible after some wear and a few washes.
When to Change?
One rule of thumb, used by larger contract embroidery companies, is that a needle has a life span equal to 8 hours of running time. Since a needle is one of the least expensive supplies you will stock, it is one that should be considered easily replaceable.
When in doubt, change it out! If you don’t, a faulty needle can cause thread breaks, which can account for downtime and poor design quality, and your least expensive supply is going to end up producing the most headaches.
The first part of a needle to show wear is usually the eye, due to the constant friction of thread running through it. A worn eye can cause stitches to skip, and indicates it’s time for a needle change. On a delicate fabric, a needle that is too large or is misbehaving can cause a pull in the material. Needles will dull over time. A decrease in the clarity of your stitching is an indicator that it is time to change your needle. A rule of thumb that some smaller embroidery shops use is to change needles each time they change projects and need to rethread the machine.
One embroidery technician we’ve worked with shared her “three strikes and your out” theory with us. If you have checked your thread tension, are using the correct size and type of needle for the project, and you still experience thread breaks, by the third unexplained thread break, you know it is time to swap out that needle.
Changing Needles
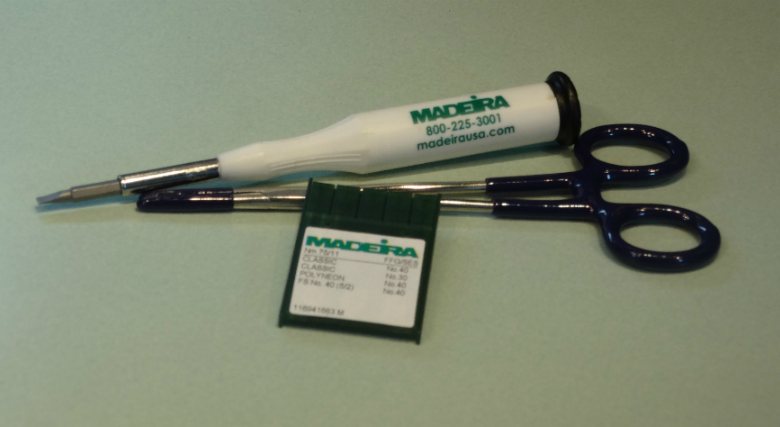
Commercial embroidery machines call for round shank needles, while home machines require a flat-sided needle. A needle gripper is a handy, inexpensive tool that is used to make changing needles easy and less time-consuming. When inserting a needle into the machine, always make sure that the long vertical groove faces the front, and the scarf (indent above the eye) faces toward the back of your machine. The needle gripper has a locking handle and soft-coated gripping teeth, providing the operator with more precision in handling needles. Follow the instructions that come with your machine to successfully change your needle(s).
Troubleshooting
- If your needle hits the hoop, it is most likely operator error. The design is too large for the hoop, or the design was not centered properly.
- If your needle hits the trimmer knife, it could be due to the build-up of lint in the retraction area. Remove the needle plate and clean out any buildup of dirt and dust.
- If your needle hits the bobbin hook, the timing of the machine may be off and out of sync. Turn the device off and manually rotate the main shaft while watching the needle move through a stitch cycle. If the needle comes into contact with the hook, machine timing needs recalculating.
- If your needle hits the needle plate, there could be a slight bend in a worn needle. This bend will cause the needle to pass very close to the inside edge of the needle plate hole, possibly rubbing against it. The rubbing can cause the thread to shred and break. Change that needle!
- Change your needle at the first sign of wear and tear. While the needle might not always be the culprit, it is the least expensive fix and the first place to try for a simple remedy.