How to Align an Object to a Path
Have you ever aligned text to a path? Then you likely have an idea about how this CorelDRAW tool works.

If you’ve ever aligned text to a path, you’ll have some idea about how the Align Object to Path tool works. Select any object or objects, hold down the Shift key, and click on a path, then go to Objects/Fit Object(s) to Path and click. The object(s) will align to the selected path.
What’s most remarkable about this tool is the options that are available in the Properties bar and in the Align Object to Path docker. It is possible to control the number of repetitions, the order in which the objects appear, and how they are spaced. Placement can also be controlled by establishing a consistent reference point on the object to align with the path, and there are controls for how objects are rotated in relation to the path. There are a range of options regarding what constitutes both objects and paths. When finished, the path can either remain visible or made invisible.
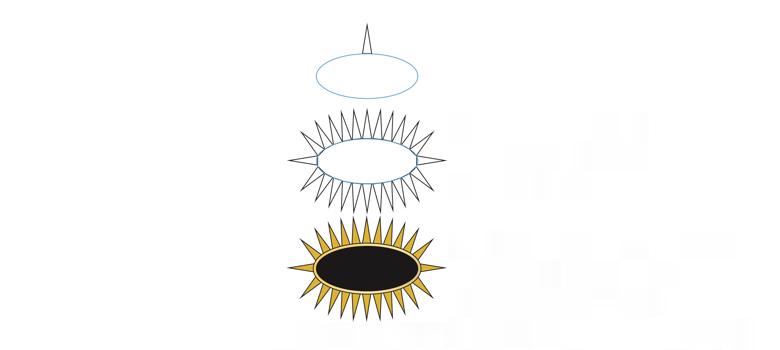
For example, if I want to create a sunray effect around an oval, I first create the oval (path), then create a tall, vertical triangle (object). I select the triangle then hold down the Shift key and click on the oval, then go to Objects/Fit Object(s) to Path and click. The triangle then moves to some point on the oval. By indicating the number of repetitions in the Docker or Properties bar, how I want the triangles spaced and oriented to the path, I could, by experimenting with those options, achieve the desired effect more quickly than by any other means.