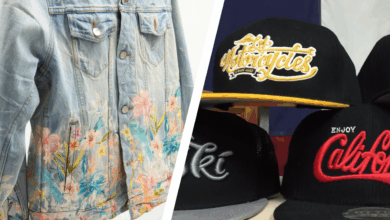
The embroidery business has become an empire in and of itself. From industrial production to small business, and all the way to running a shop from the comfort of your own home.
Hello, my name is Matt Rothfuss, and I am the embroidery department manager at Sandlot Sports in Saginaw, Michigan. Over my 25-plus years in this business, I have learned many “tricks of the trade,” and I would like to share some of the most important ones with you. Sit back, relax and enjoy while I pick my brain full of all the “tricks” I’ve learned over the past two decades.
Embroidery industry standards
While styles and sizes are ever-changing, one rule of thumb stays true, standard size of logos.
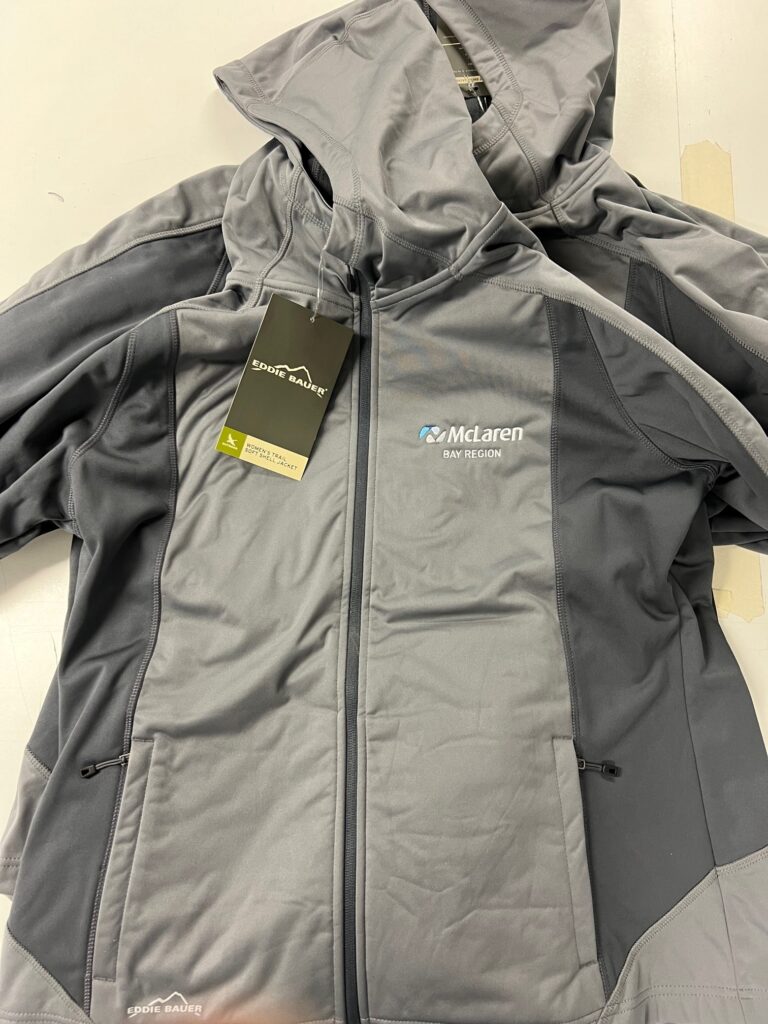
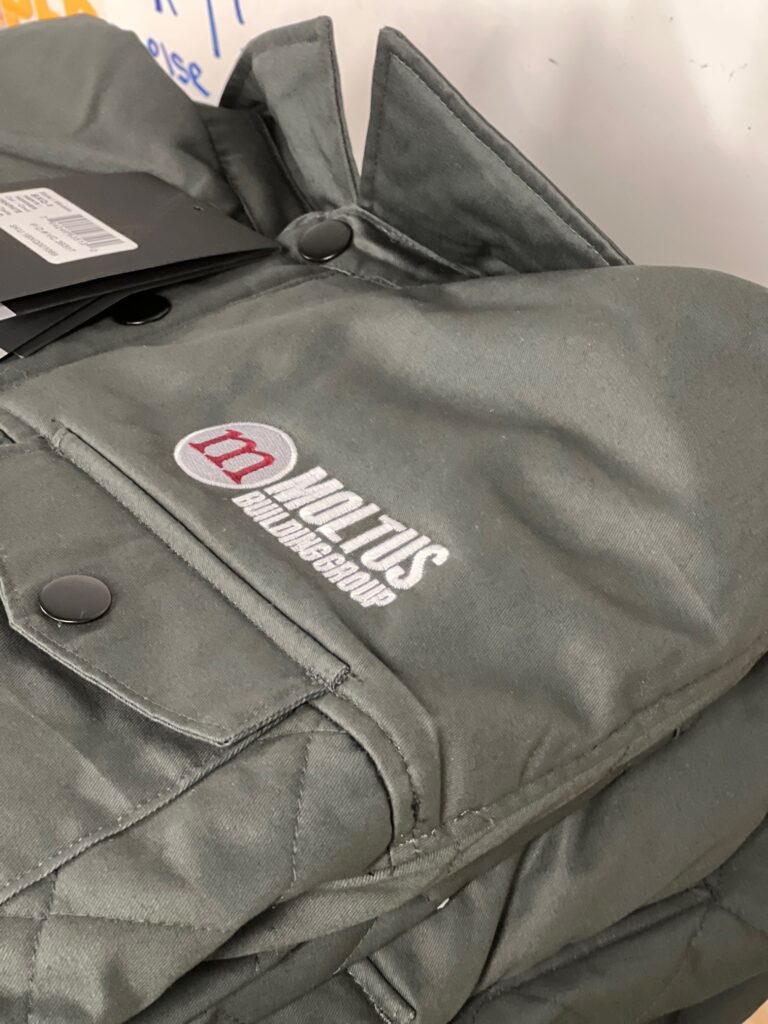
Left and right chest logos will always look best if you keep your width 3.5-4″ and no taller than 4″. Pocketed shirts are a great guide to help with the sizing of the logo.
Full front logos should stay within the 6-inch X 6-inch range. You’ll see most full-front logos on sweatshirts or pullover jackets. Full-back logos, I have learned through much trial and error, should stay within the 11-inch X 11-inch range.
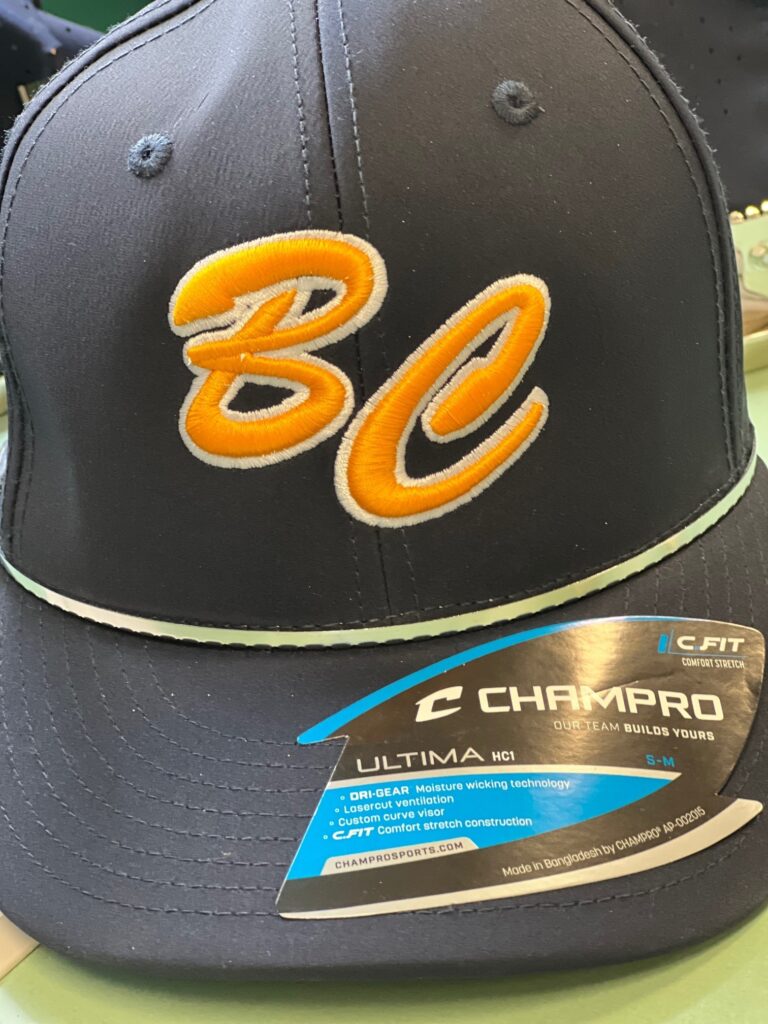
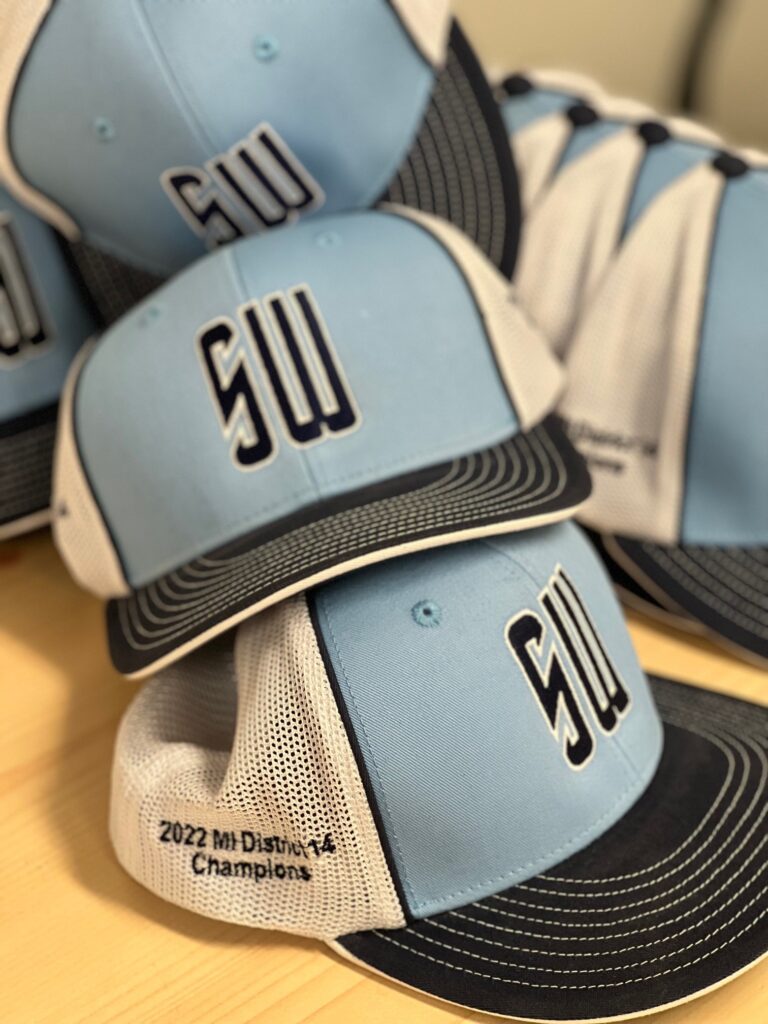
And for hats, I would try to keep them no wider than 5″ and definitely no taller than 2.5″. If you make the pattern taller than 2.5″, you risk the chance of distorting the top of your logo when sewing. Some logos obviously cannot stay within these parameters, and that is a discussion you will have to have with your client to find out what best suits their needs.
Size of fonts & letters
This is a tricky one. If you are using your own digitizing program, it comes with a manual describing the minimum and maximum height the fonts can be. I keep my manual right on my desktop screen, so I have easy access to it.
Many customers use their decorated goods to promote their business. With that being said, they sometimes try to squeeze as much information on their products as they can, forcing the decorator to use smaller fonts to accomplish that. If the task is too difficult, seek a professional digitizer to help with getting their logos made to their specifications. And that brings me to my next “trick.”
Professional digitizer
I can’t express how important it is to find a good professional digitizer. Make sure you research the digitizers you find online. Ensure they all have positive reviews. There are digitizers that specialize in small logos, puff logos, quilting, varsity jackets, and so much more.
I also want to point out that it’s not uncommon to try many different digitizers to find the one that works best. Also, reach out to other embroiderers to see who they use. When getting your machine set up, ask the technician what digitizers they use.
Hoops
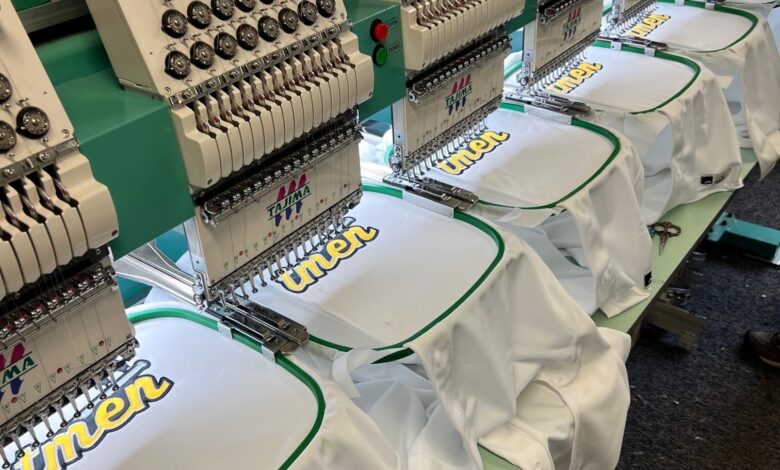
Most machines, whether it be Tajima, Melco, Brother, SWF, etc., all come with their own standard hoops. I often use the green molded plastic hoops (for most machines) that come in all shapes and sizes. Circle to square, rectangular to oblong. There are also newer magnetic hoops on the market. Same sizes and shapes but much easier to “hoop” with. With standard plastic hoops, you might get “hoop burn” on your garments; it’s eliminated with the new magnetic ones. This is one reason why magnetic hoops are worth the added expense.
These are just a few tricks of the trade. Until we meet again, keep sewing! It only gets better from here.