If you’re new to embroidery, you’ve probably wondered how your machine will know exactly where to stitch. That’s where you come in. You need to manually mark your design’s center on your garment before hooping. So, how do you mark your center?
What you’ll need:
- Ruler
- Embroidery software
- Water-soluble pen or chalk
- Scissors
Follow these steps to ensure perfect placement and centering:
- Fold your garment perfectly in half, lining up the seams on each side. You can pin the seams together or use binder clips to ensure that they are lined up correctly.
- Open your garment, and lay it flat. Using chalk or a water-soluble pen, draw a small line along the fold to mark your center. You will use this point to know where to place your design in the next couple of steps.
- Print out the production worksheet from your embroidery software. In it, you will find the actual size printout of your design. If you don’t have embroidery software, you can stitch your design on test material, and use the stitch out to help you place your design. If you’re using this option, you will need to manually mark a point as close as possible to the design’s center. Often times, your machine’s panel will show you where the center of your design is if you do not have embroidery software.
- On the printout, you will see two lines that intersect. This is the center of your design. Fold the paper in half across the vertical and horizontal line and puncture or cut a small hole at the intersection of the lines. If you’re using your stitch out, you can follow the same process by puncturing or cutting a hole in the center you have manually marked.
- Take the printout (or sample stitch) of the design and place it over your garment. Then, use chalk or a water-soluble pen to mark the center of your design.
- Next, hoop your garment making sure it is as straight as possible. You can ensure you are hooping straight by taking your ruler and drawing a horizontal and vertical line that intersect. If your embroidery hoop comes with a hooping grid, place the grid on top of the hoop and garment until the lines you have drawn line up with the lines on the hooping grid. This step is not always necessary because the lines you have drawn on your garment can serve alone as a visual aid.
- You are now ready to hoop! Place your stabilizer under your material and press down to hoop it shut.
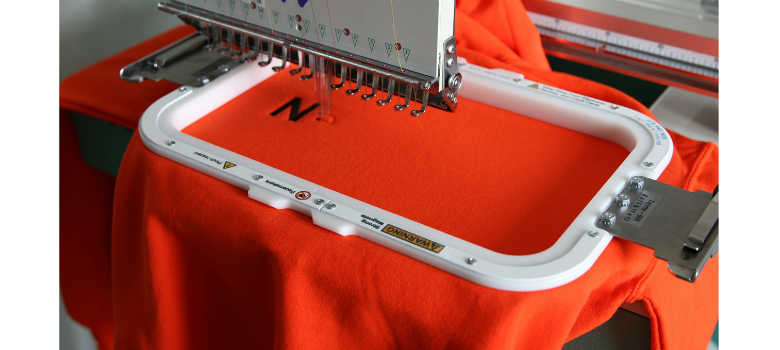
- Once your garment is hooped, place it in the machine and select which hoop you are using if your machine has a preset hoop option.
- Now, it’s time to align your design with the center point. If you have a multi-needle machine, make sure needle No. 1 is selected. Gently lower the presser foot with your fingertip, and use the directional arrows to move your pantograph until your needle aligns with the center point you have marked.
- Now, you can trace your design to confirm it is in the correct position and your needle will not crash against the hoop. After the first trace, you can do a contour trace if your machine has a contour tracing option. This will trace exactly around the outline of the design, rather than just the perimeters. If it helps, you can lightly tape your printout to the garment, making sure it is aligned with the center point. You can use this tip to verify the needle is following along the lines of the printout.
- You are now ready to press start and let the machine do its work.
Happy stitching! Check out Ricoma’s blog for other embroidery insights.