Features
6 Tips to Help Avoid Mishandling Optic Crystal
If you're finding that pieces have been scratched or damaged during sandcarving, it is usually the result of mishandling
Handled properly, optic crystal can be a big profit generator for your business. A flawless, premium material, optic crystal commands mark-ups of five times or more. If you’re finding that the pieces have been scratched or damaged during sandcarving, it is usually the result of mishandling. Easily avoid these mistakes by taking the proper precautions.
- Create a clean, carpeted production area. You need a carpeted work table to protect your crystal while you prep it. The soft fibers of the carpet decrease the risk of scratching during preparation.
- Inspect your crystal blanks. Always inspect your crystal within a few days of receiving your blank order. If you skip this step, you won’t be able to determine the source of any scratches.
- Prepare a production area. Set up an efficient process to protect the non-etched sides of your crystal with transfer tape. Use transfer tape because it is faster to tape off and it protects the crystal from debris or abrasive on your work table.
- Proper cleaning and application of the photomask. Clean each piece of crystal with a glass cleaner and a clean, soft cloth. Apply the photomask to each piece and burnish the mask to the crystal. Be sure to rub only the photomask and not the exposed crystal. Remove the clear carrier on all the photomasks and cover the front of each piece with blasting tape. Roll the wire wheel brush over the photomask to release any air trapped between the photomask and the crystal. Cut the transfer tape between the crystal pieces with a razor or X-Acto knife. The transfer tape should fold up over each side of each piece and cover the entire blank. Apply four small strips of blasting tape to ensure no abrasive works its way through the edge of the transfer tape.
- Have a routine production flow. This helps you work more efficiently and minimize mishandling. Stack your crystal pieces inside the cabinet through the left door and set air pressure to 30 psi with a 3/32 carbide nozzle. As you complete each piece, move it to the right side of the cabinet, creating a second stack with the sandcarved crystal items.
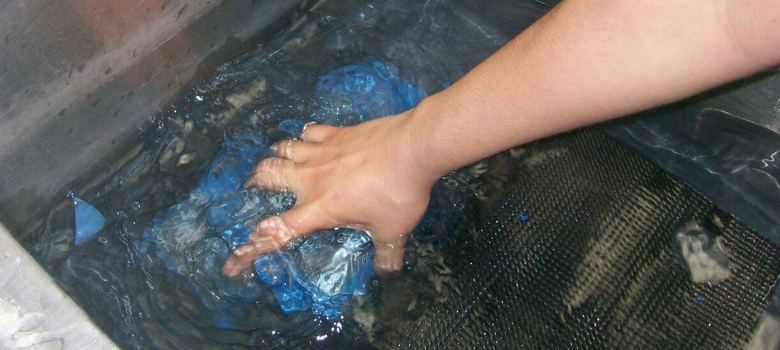
- Prepare a wash station for sandcarved pieces. It is important to rinse your etched crystal thoroughly and properly because leftover abrasive residue can cause scratching. Before you remove any tape, set up an area for the rinsed, sandcarved pieces by spreading out blotting towels on the carpeted table. After rinsing, place the clean, wet etched pieces on the blotting towels. Ideally, you should have three sinks ready with warm water. Each sink should be lined with a spongy mat to protect the crystal from nicking or scratching against the basin bottom.