Top Secret. Confidential. Classified. When these words are tied to information, it’s hard to resist trying to access it. If you made a living doing things like that, you’d be a hacker. A hacker is someone who attempts to gain unauthorized access to data in a system. Exciting, right? Well, the information you are about to access is considered top secret, confidential, and classified. Read on to unlock your inner (heat printing) hacker.
Hack it
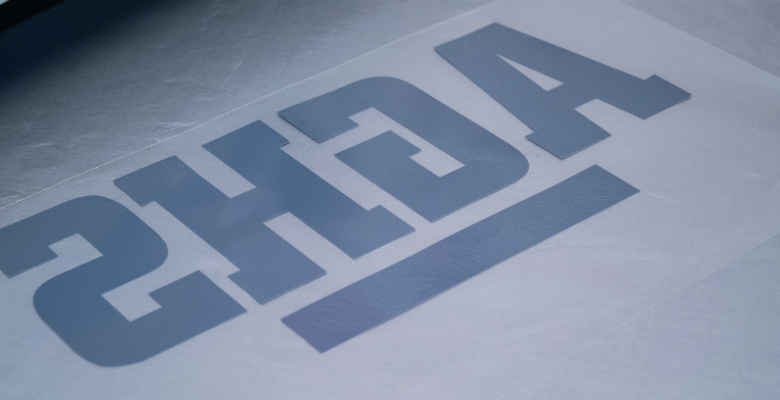
One of the most challenging parts of the heat printing process is creating vinyl transfers. It’s certainly not difficult to create the artwork or operate a vinyl cutting machine, but when you remove the vinyl and start to weed away your excess, you know exactly what I mean.
Weeding is the most time consuming and frustrating part of the vinyl transfer creation process. Here are two ways to make that process easier:
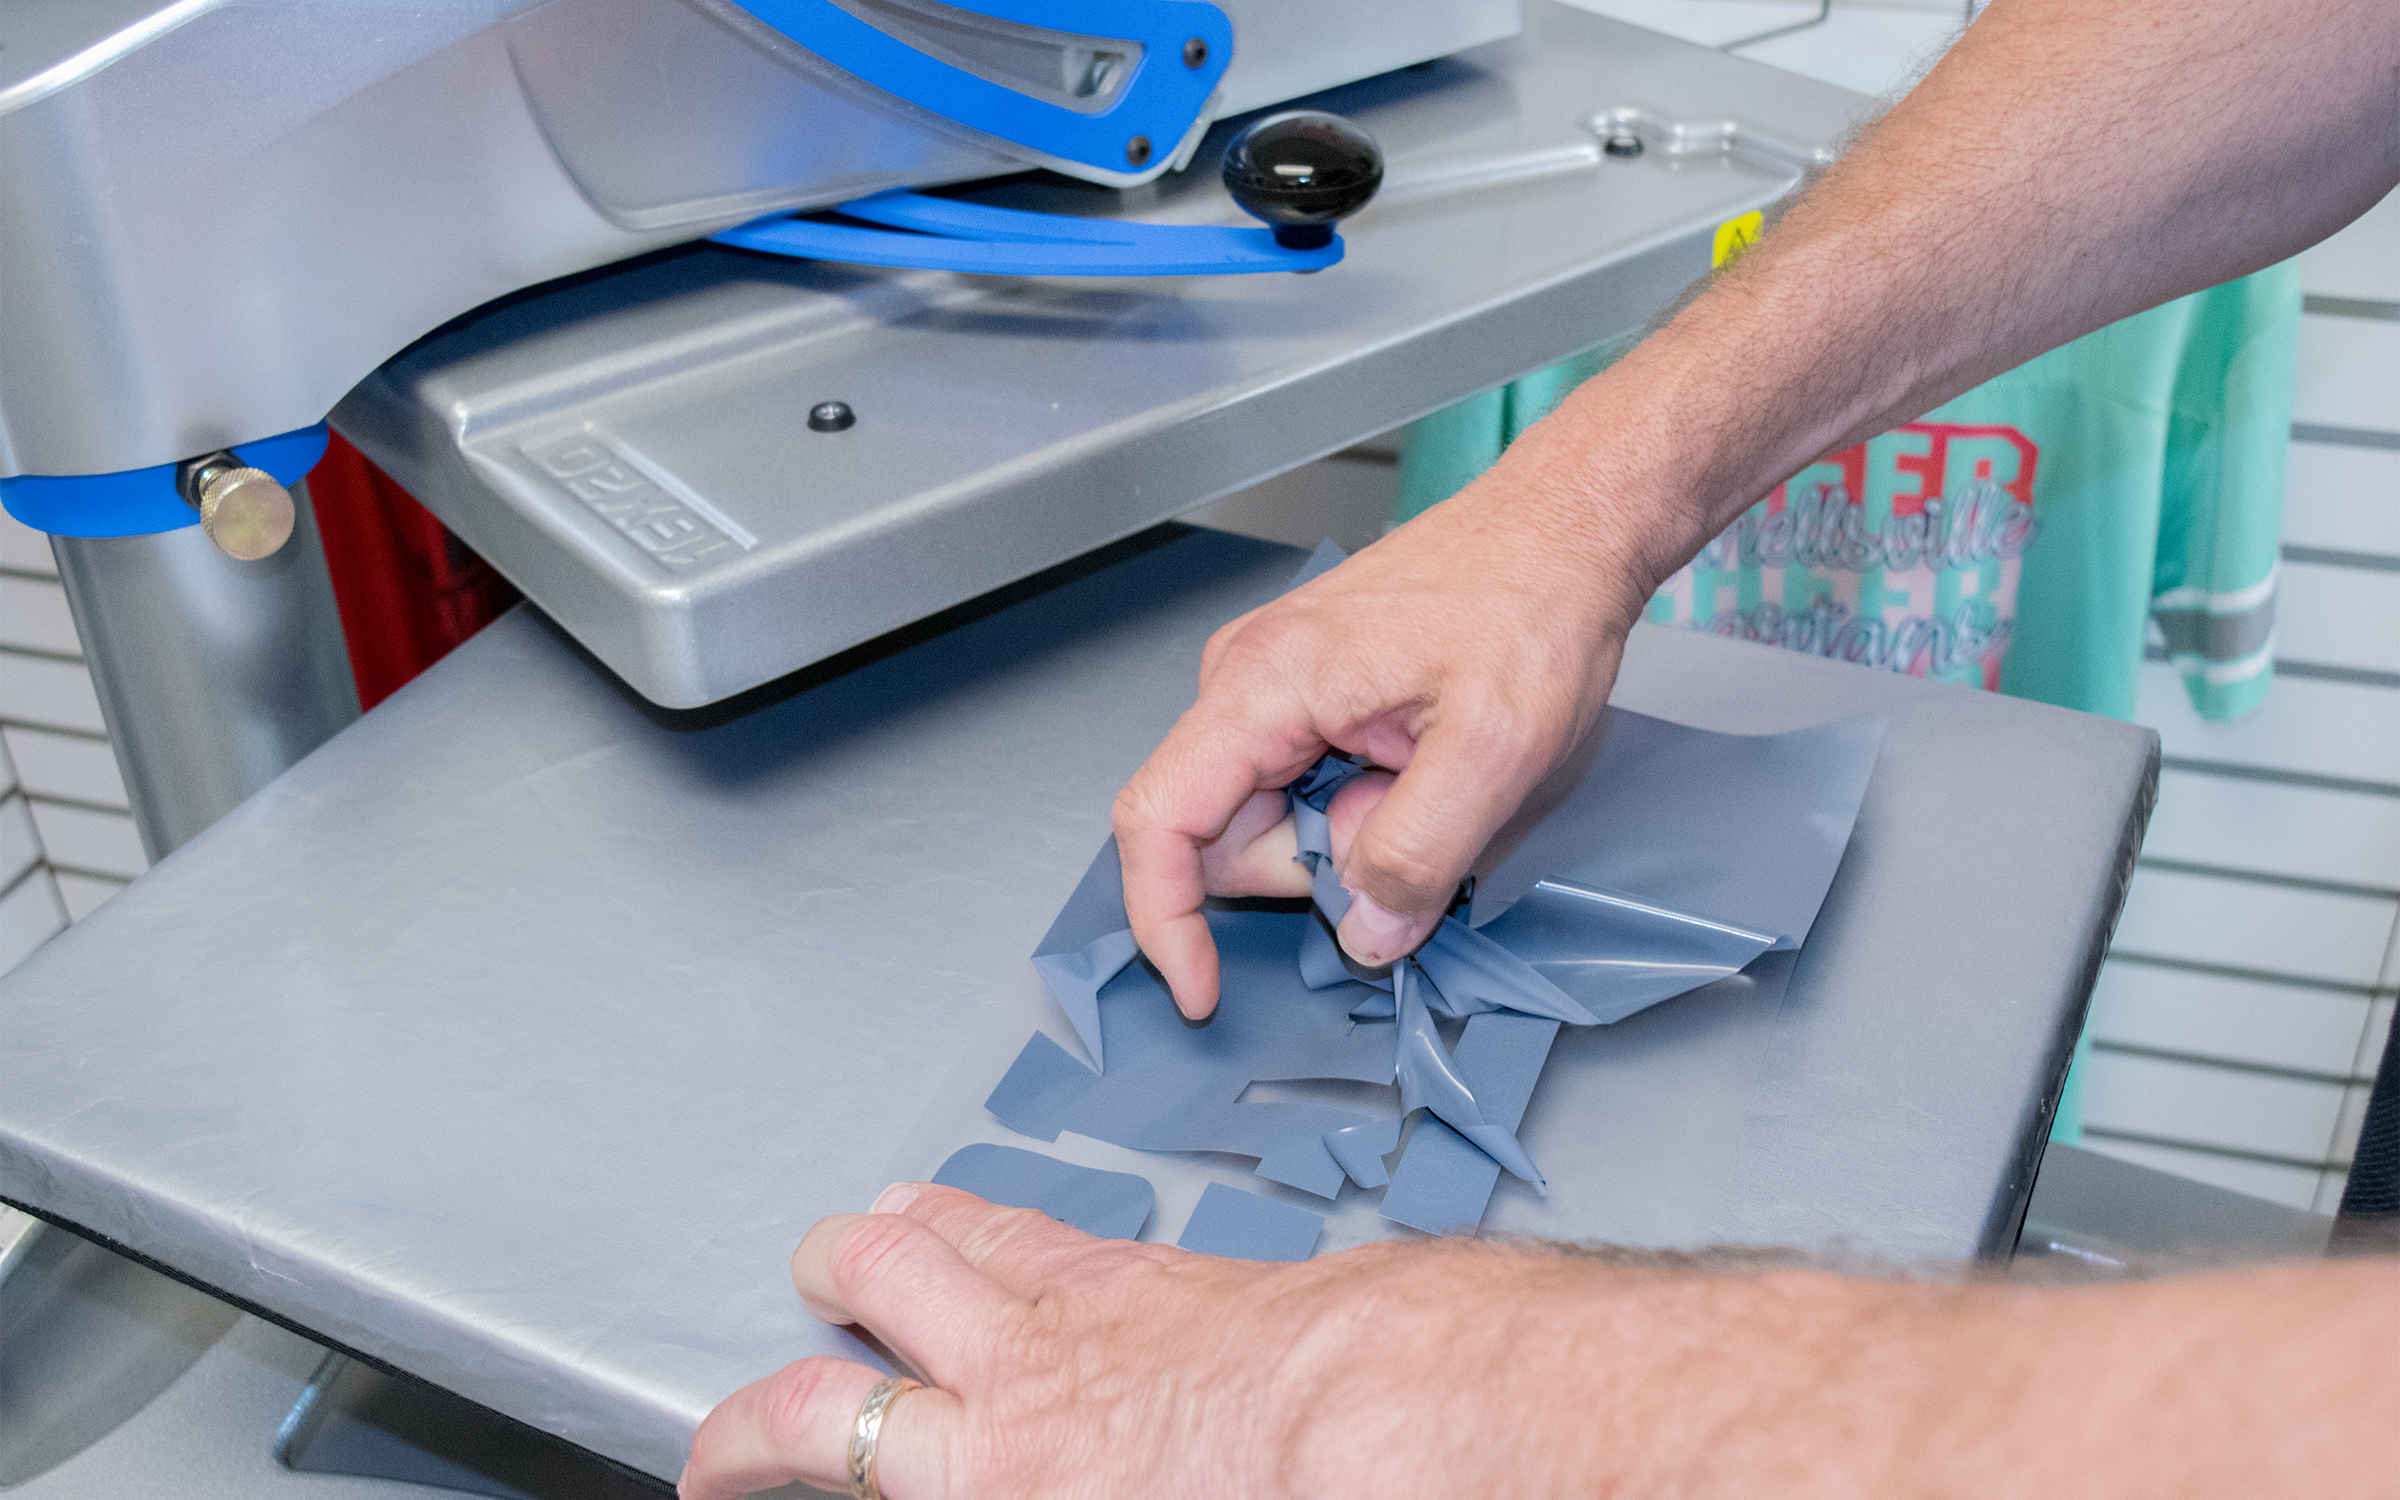
1. Weed vinyl with a sticky carrier on a heated surface. You might say, “Well, duh. Isn’t that why you see heated weeding tables on the market?” I would answer, “Yes, yes, it is.” But what if I don’t want to invest a few hundred dollars into a solution like that? What if I only make my own vinyl transfers occasionally and I can’t really justify the investment?
Hack: Instead of investing a few hundred dollars in a heated weeding surface, simply turn on your heat press, let it come to temperature, then apply some heat to the lower platen. After you’ve heated it up, lift or swing away your upper platen and place your unweeded vinyl transfer on the bottom heated platen. You’ll realize almost the same benefit as if you purchased a heated weeding surface.
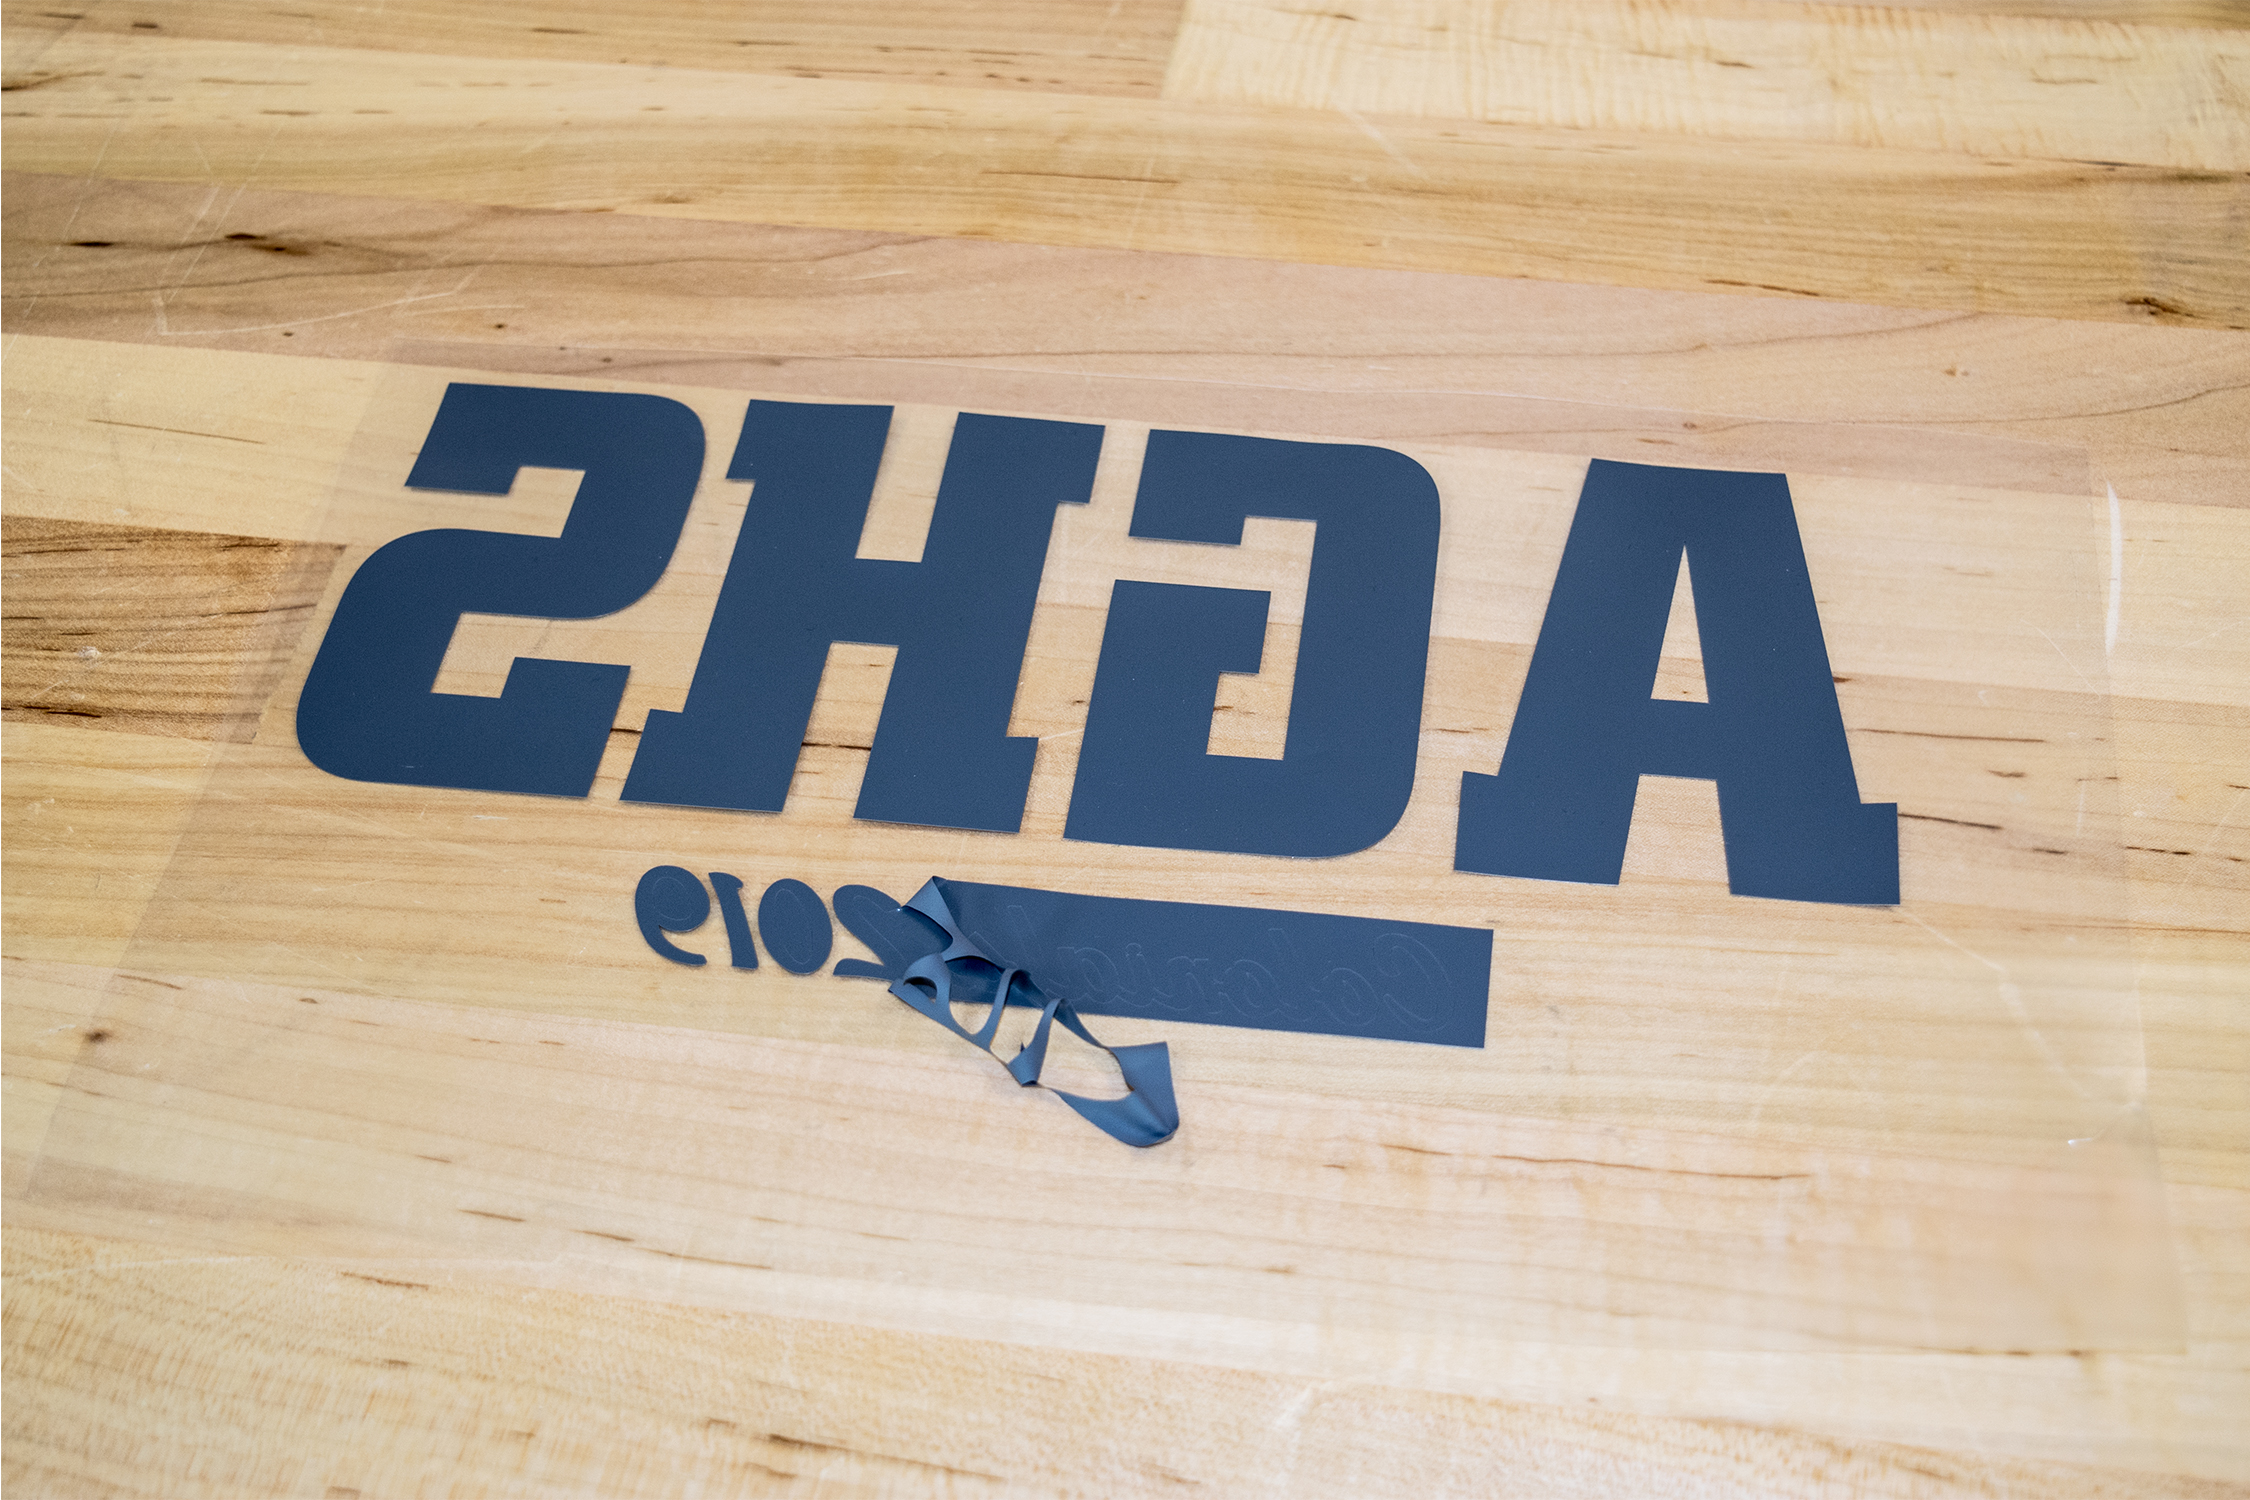
2. Use weed borders around your graphics. Most vinyl cutting professionals already use weed borders around their graphics. A weed border is a box that you place around the outside of your design to create a boundary. This boundary contains all your cut pieces of a particular graphic and keeps you from weeding vinyl that is outside of the boundary and probably wasted anyway. But everybody already knows that, right?
Hack: Instead of creating one weed border for your graphic as a whole, create weed borders inside the larger weed border. Think of it like the United States. Your original weed border is the continental U.S. boundaries. Your next weed border would be the states that make up our country and these smaller boundaries should go around sections of the design containing small text or design elements. These smaller boundaries inside the larger boundary allow you to weed away vinyl quicker than you would if you were paying attention to the small details at the same time as the large portions of the design.
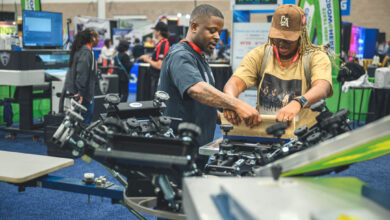
Now that we’ve created our transfers, it’s time to get to the business of heat applying them onto our items. The first question I always get asked is “How do I know where to place my graphic on the shirt?” This is particularly true when someone has created a transfer for the left-chest portion of a polo or shirt.
I can tell you that the recommended placement specification for the center of your graphic should be 7″ down from the top of the shoulder where the shoulder seam meets the collar. I can also tell you that the center of your design should be about 3″ to 4″ from the center of the shirt. All of that requires a ruler and a lot of time on the heat press messing with measuring and placement.
Hack: Instead of loading your garment onto the heat press and breaking out your ruler from geometry class, designate a Placement Table and use laser beams. Yes, laser beams. Choose any table with a straight edge, such as a dining room or coffee table if you’re working from home.
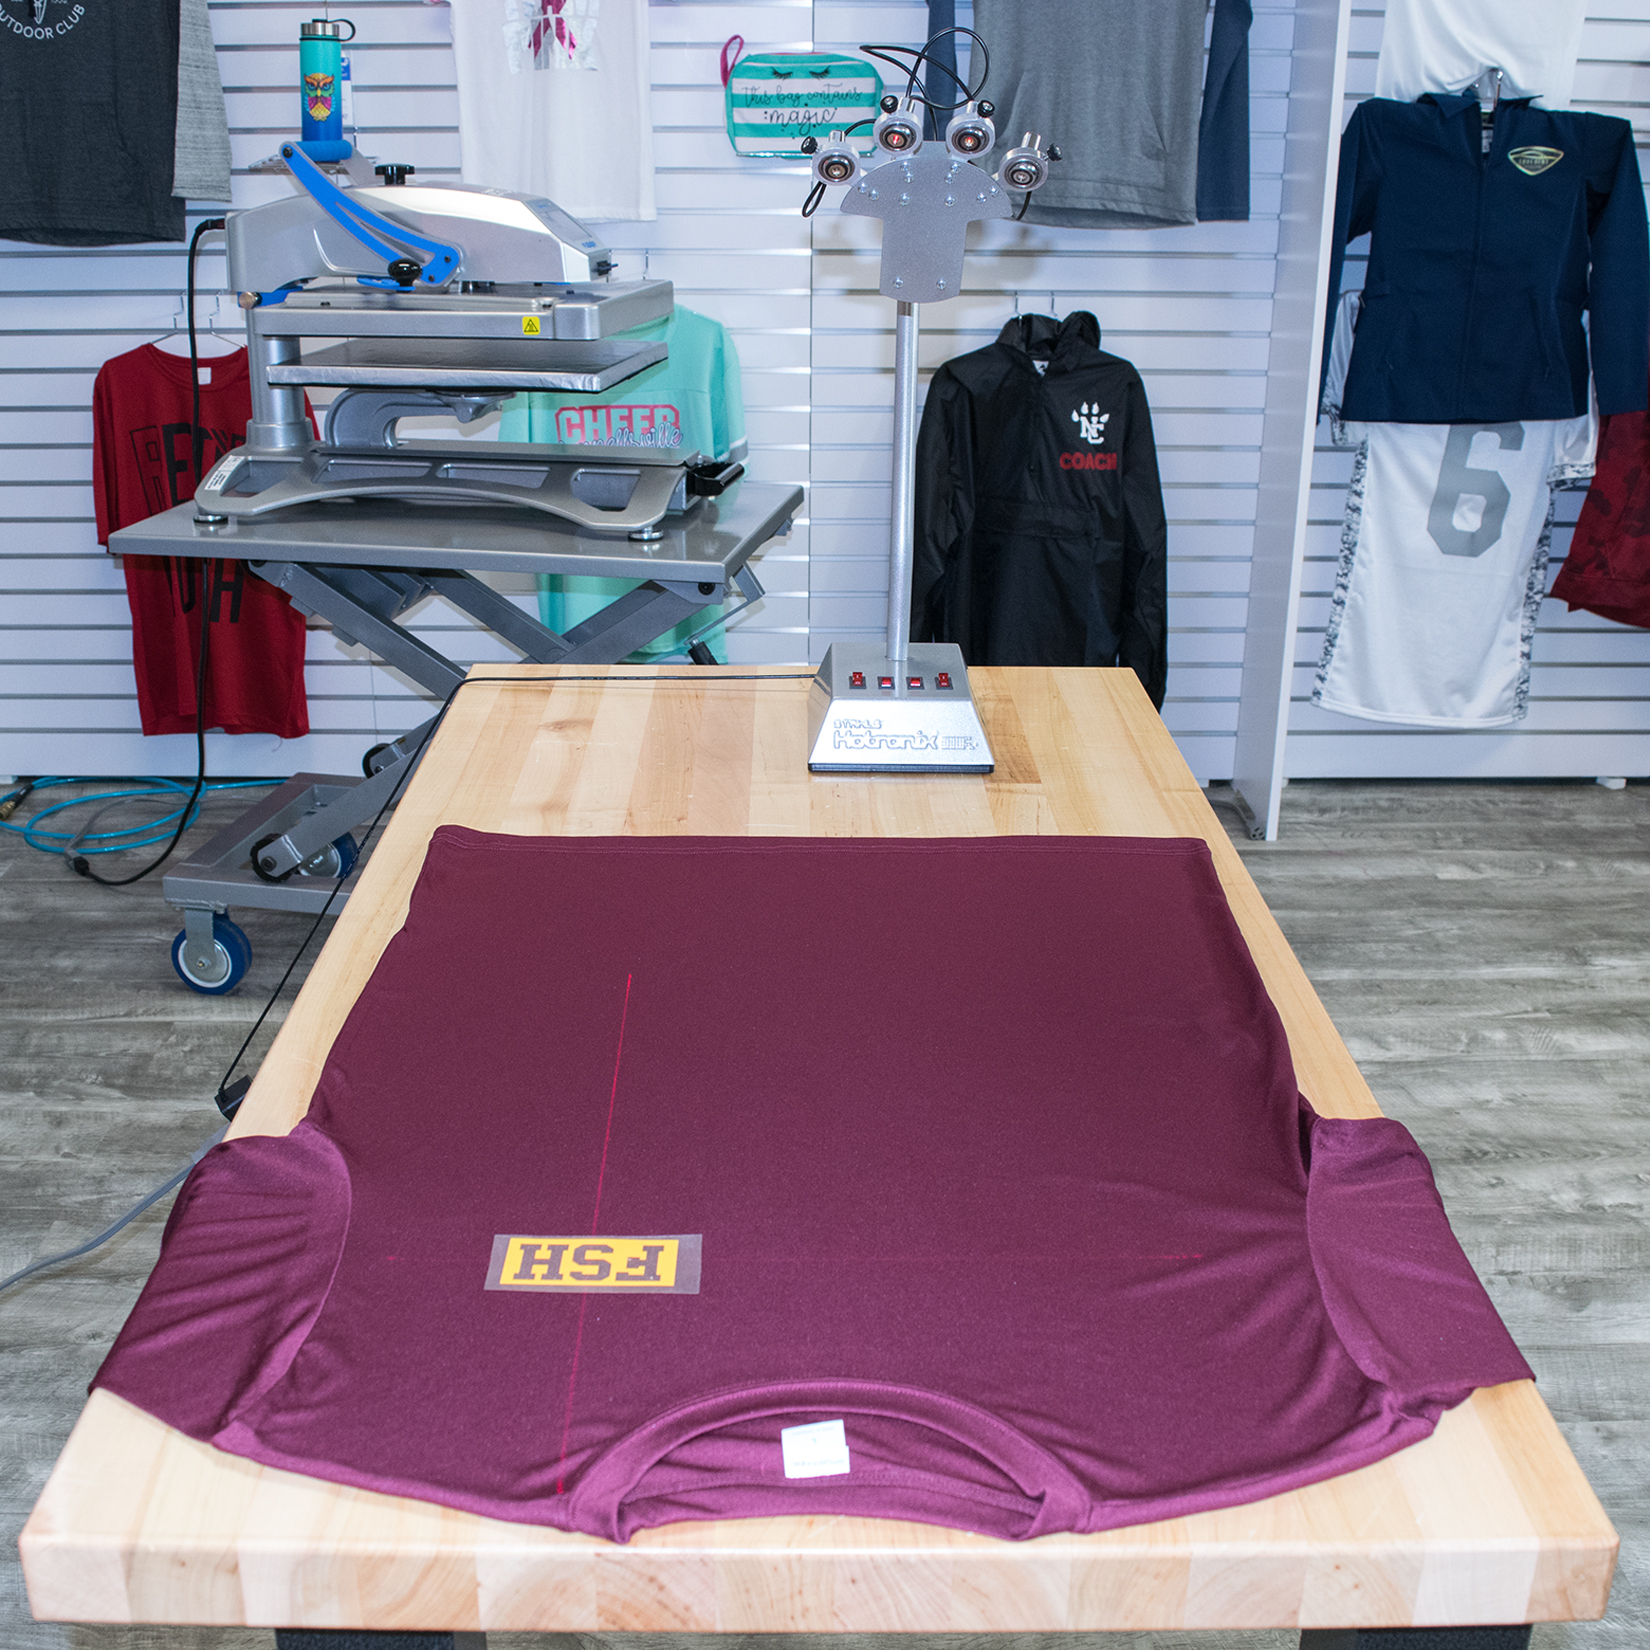
Lay your shirt on top of the table with the application area facing up. Line up the top seam of the shirt with a straight edge of the table. Use a laser alignment tool to create a line that is parallel to the top of the table and a second laser (which is typically part of any laser alignment system) to create a line that is perpendicular to the top of the table. Measure one shirt and place the laser lines so that they intersect where the center of your graphic should be placed on the shirt. If you’re using vinyl with a sticky carrier, you can place all the designs on your placement table and then move them to the heat press for application. If you’re not using sticky carrier vinyl, you can just add thermal tape to the outside edges of your transfers to stick to the garment until application time.
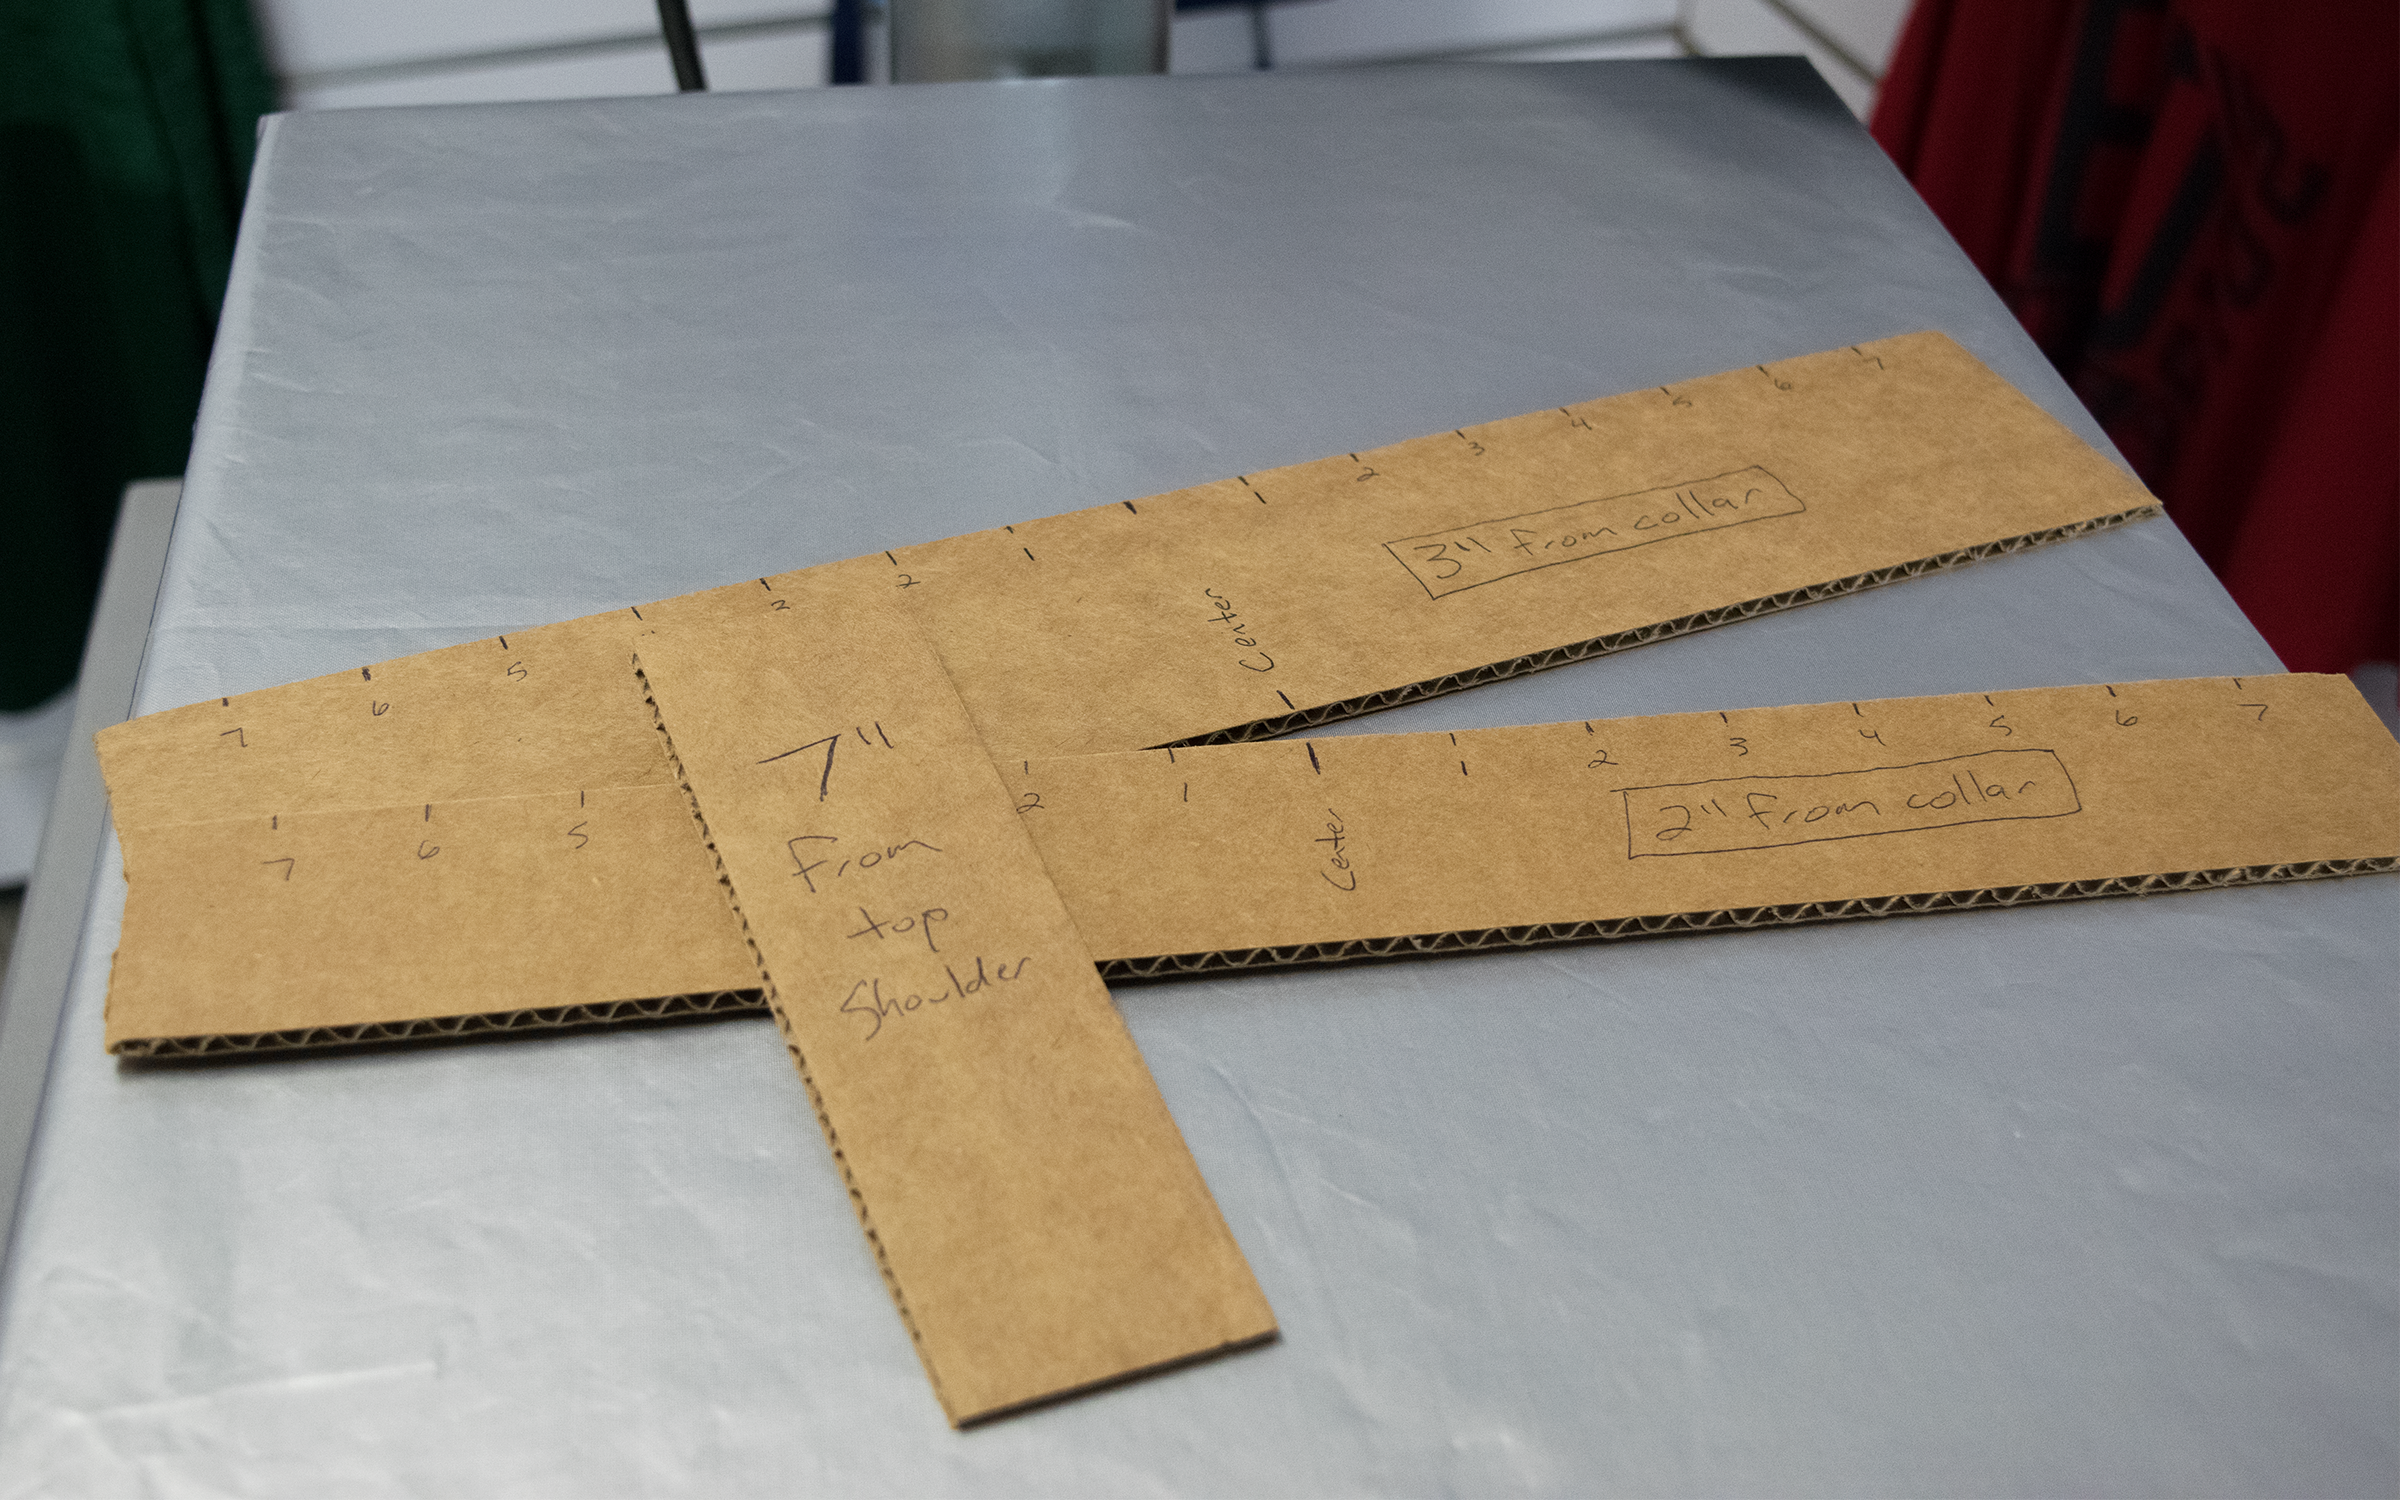
Extra hack: Don’t want to invest in a laser system? Make a cardboard template instead. Cut cardboard to the exact placement measurements and lay those pieces on the shirt to quickly place your graphic in the right spot.
With just a few simple ‘hacks’ you can become an even stealthier and efficient heat transfer decorator. And there’s even more tricks to come!