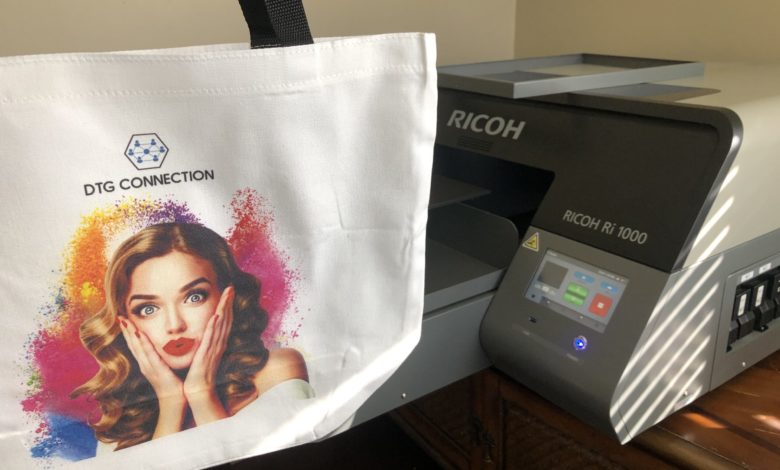
Are you looking to go beyond T-shirts and print new products with your DTG printer? Give canvas bags and other awkward-shaped items a try.
In time you will most definitely be asked to print on awkwardly shaped items like handbags, children’s clothes, or polos with buttons. Some of these items are easy to print if you have the custom table designed to raise the print area, but if you find yourself needing to print a specific area of an item that doesn’t fit your table, below is a helpful guide and tips for the process.
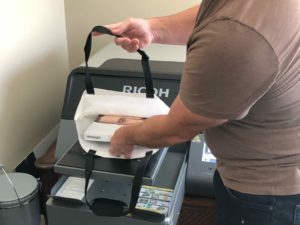
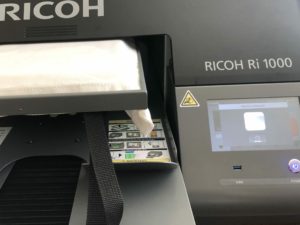
Step 1: Raise the print area on the canvas bag
Determine your print area and find an object of similar size. If you need to print one side of a bag, like in this example, you can use a book to prop up a flat area for printing.
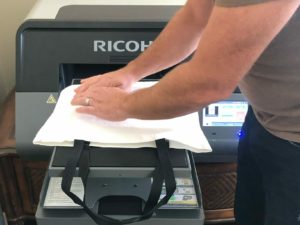

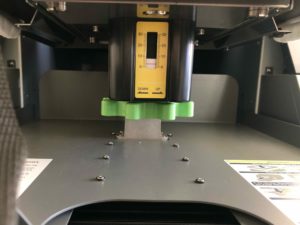
Step 2: Adjust your table height
Adjust your table height so that the flat area is near the print head. It should be high enough to trigger an obstruction sensor. Once the sensor is triggered, lower the table until the sensor is cleared. This ensures your print area is at the appropriate height to get the best-looking print.
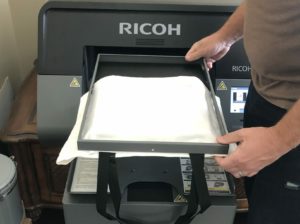
Step 3: Print
Once the table is set to the appropriate height, print the bag. Load your graphic, print, and cure the same way you usually would, and enjoy your new bag.