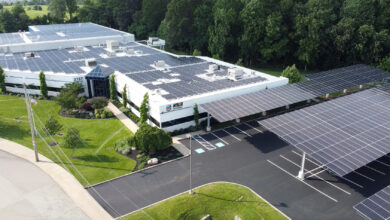
As technology has advanced, so has the quality of the coating with sublimation metals. The process is fast and easy: print, press, peel, and profit. Many sublimatable metal blanks now come with UV protectant and outdoor qualities, so you aren’t just limited to inside use anymore.
Despite being a no-brainer to add to your personalization offerings, there are a few challenges to this process. The quality of the metals must be consistent in weight and thickness. But more importantly, is the coating. The coating quality can cause an issue—use sprayed or dipped, not brushed for best results.
Follow these five simple steps to ensure a good final result:
- First, size your image to the size on the metal substrate, then add .15 of an inch to the height and width. This enables an easy lineup.
- Remove the protective film on your metal substrate (quality metals have a film to prevent scratching the surface).
- Lay the image face up, then take the metal print side down and align (the .15-inch edge showing).
- Tape all four corners with heat tape (does not leave marks or melt), then flip over, pressing with paper on top for 400 F for 60 seconds.
- Cool immediately, and you’re finished.
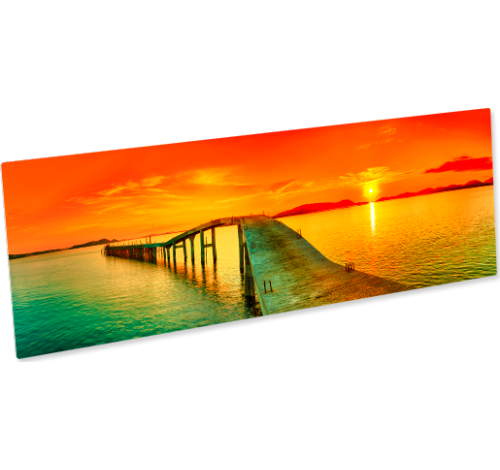
Sublimated items have their place among certain buying groups, including sports team plaques, photography, restaurants, and car dealerships to name a few.