Every installer, from advanced to novice, should have a firm grasp of the fundamental techniques to install properly and gain speed with quality. From squeegees to heat guns, understanding the fundamentals of installing will help installers avoid common issues such as vinyl installation failures in the graphic and color change industries. As always, check with your local manufacturer on the best way to install a particular film.
There are several do’s and don’ts to consider when installing vinyl wraps:
Do
Practice squeegee techniques
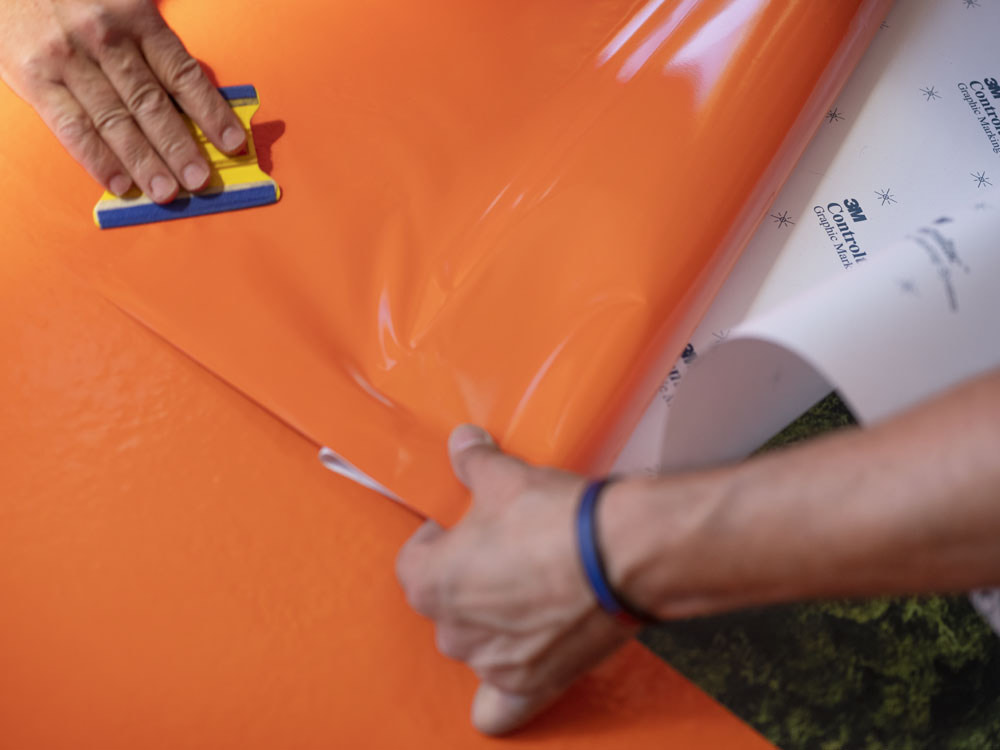
Advances in vinyl technology such as air release films have reduced the need for proper squeegee techniques. However, these film technology improvements should not become a crutch, and installers will inevitably encounter films without air release technology. Veteran installers who have been squeegeeing before air release was invented understand this well; they had to make sure every squeegee pass counted, otherwise you’d be left with bubbles. Here are some tips to put into your everyday practice:
- Be sure your squeegee direction is moving side to side in a straight line — this can be tricky when forming the fender but doing so will prevent air entrapment.
- Wetting your squeegee results in less friction, allowing you to put more pressure on your squeegee.
- To prevent adhesive lines, a technique used in training called “forming the film” allows you to conform the film first and squeegee it afterward. Some installers squeegee, see the wrinkles and take the heat gun, but it’s too late to prevent adhesive lines. If there are no wrinkles in the first place, the panel is much easier to squeegee.
Learn how to use relief cuts and air release tools
Relief cuts are incisions that prevent overstretching when wrapping around objects; it puts less stress on the film and allows the film to go where you want it. For example, wrapping around the hinges of a van door may cause wrinkles, but using a relief cut will allow the installer to easily install the film around the hinge.
When dealing with bubbles, there are options available to installers other than pushing them out, which may cause more trouble depending on the size of the bubble. Bubbles bigger than a half-inch should not be pushed out. The best solution is to grab an air release tool, poke a hole and push out the bubble. Using an air release tool will shorten the bubble removal process. This technique will significantly shorten your vehicle wrap installation time.
Don’t
Pull the film to make it look like glass
This phrase refers to the result of cold stretching, which is the process of pulling a film without any heat over the hood or side of a car. The goal is to get rid of all wrinkles, with the final result looking like smooth “glass.” The issue with this process is that it puts a lot of stress on the wrap and installers risk overstretching. This strategy also damages the adhesive as you drag it over the high body lines of the car. There’s no need to remove all wrinkles for a glass look. Some wrinkles are OK and can easily be removed with heat shrinking and forming. Doing this ensures installers aren’t pulling the film too tight.
Installers may be hesitant to use a heat gun for fear of wrecking and overstretching the film. However, it’s not the heat gun or heat that wrecks the film: it’s holding the film too tight that leads to overstretching. Using a heat gun to form the film first and then wrapping the vehicle is the key to installation.
Proper placement of the heat gun will also have a big impact on the end result. Installers should heat from their hand to the panel, not the other way around. Watch where the heat gun goes first. Don’t start from where the film was tacked to the vehicle — start from your hand and work toward the tacked film on the car.
Practicing these tips every day will ensure that installers don’t unnecessarily sacrifice quality for speed or vice versa. To learn more about maintaining a vehicle wrap, read: Do’s and Don’ts for Maintaining Vehicle Wraps.


