There are many concepts in CorelDRAW software that regular users may not understand or be aware of. I will explain some of those lesser-known possibilities of the program here. The first one is the ability to create a custom scroll design.
There are many of these kinds of images already supplied with the program, but sometimes the stock image does not work well for my project, and I need to create a custom image. The following is a step-by-step explanation of the process I used to create a custom scroll image for one such project.
Custom scroll designs step by step
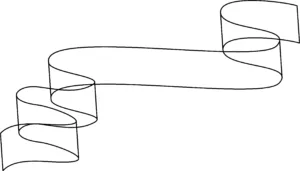
I began by drawing a line image using the Freehand tool as seen in Fig. 1. I then chose the Extrude tool to extend the image down, as shown in Fig. 2. The Extrude tool offers six options and, in this case, I chose the one best suited to my needs. The different choices can give some interesting results.

At this point I broke apart the extrude and ungrouped the objects, allowing me to select each element individually and apply an appropriate fill color. Fig. 3 shows the colors I applied using fountain fills on each element of the design.
You will notice that I edited some of the nodes to alter the beginning and ending shapes of the scroll ribbon. This gave me a reasonable ribbon or scroll image. Next, I wanted to add some pertinent lettering to the image and change it to fit the design. Here, I typed the words Holiday Special to add to the large panel.
I used the Envelope tool to accomplish this task and conform it to the panel. Note that using the docker often gives better results than using the toolbar. In this case, I selected the large panel and created an inside contour, which I broke apart and used to create the envelope of the lettering. This allowed the lettering to be slightly smaller than the panel. I then deleted the inside contour object.
Next, I moved the text object in front of the panel. Though this example is of creating a scroll ribbon, I imagine that the concept could easily be applied to any number of projects to create a custom design. It is all contingent on one’s creativity and willingness to experiment with the possibilities available in the program.

Almost all of my proficiency with CorelDRAW was achieved by trial-and-error efforts… some things worked well, and others did not. When they didn’t work as expected, I tried other options. The most important thing is to keep an open mind when using the program.
Years ago I did all my designs by hand and used other means for enlargements and reductions – even using the copy machine at the local supermarket – but the CorelDRAW program proved to be a simple means to circumvent all of those interim processes. Many current users of the program have never experienced the more archaic systems and processes that used to be the norm.
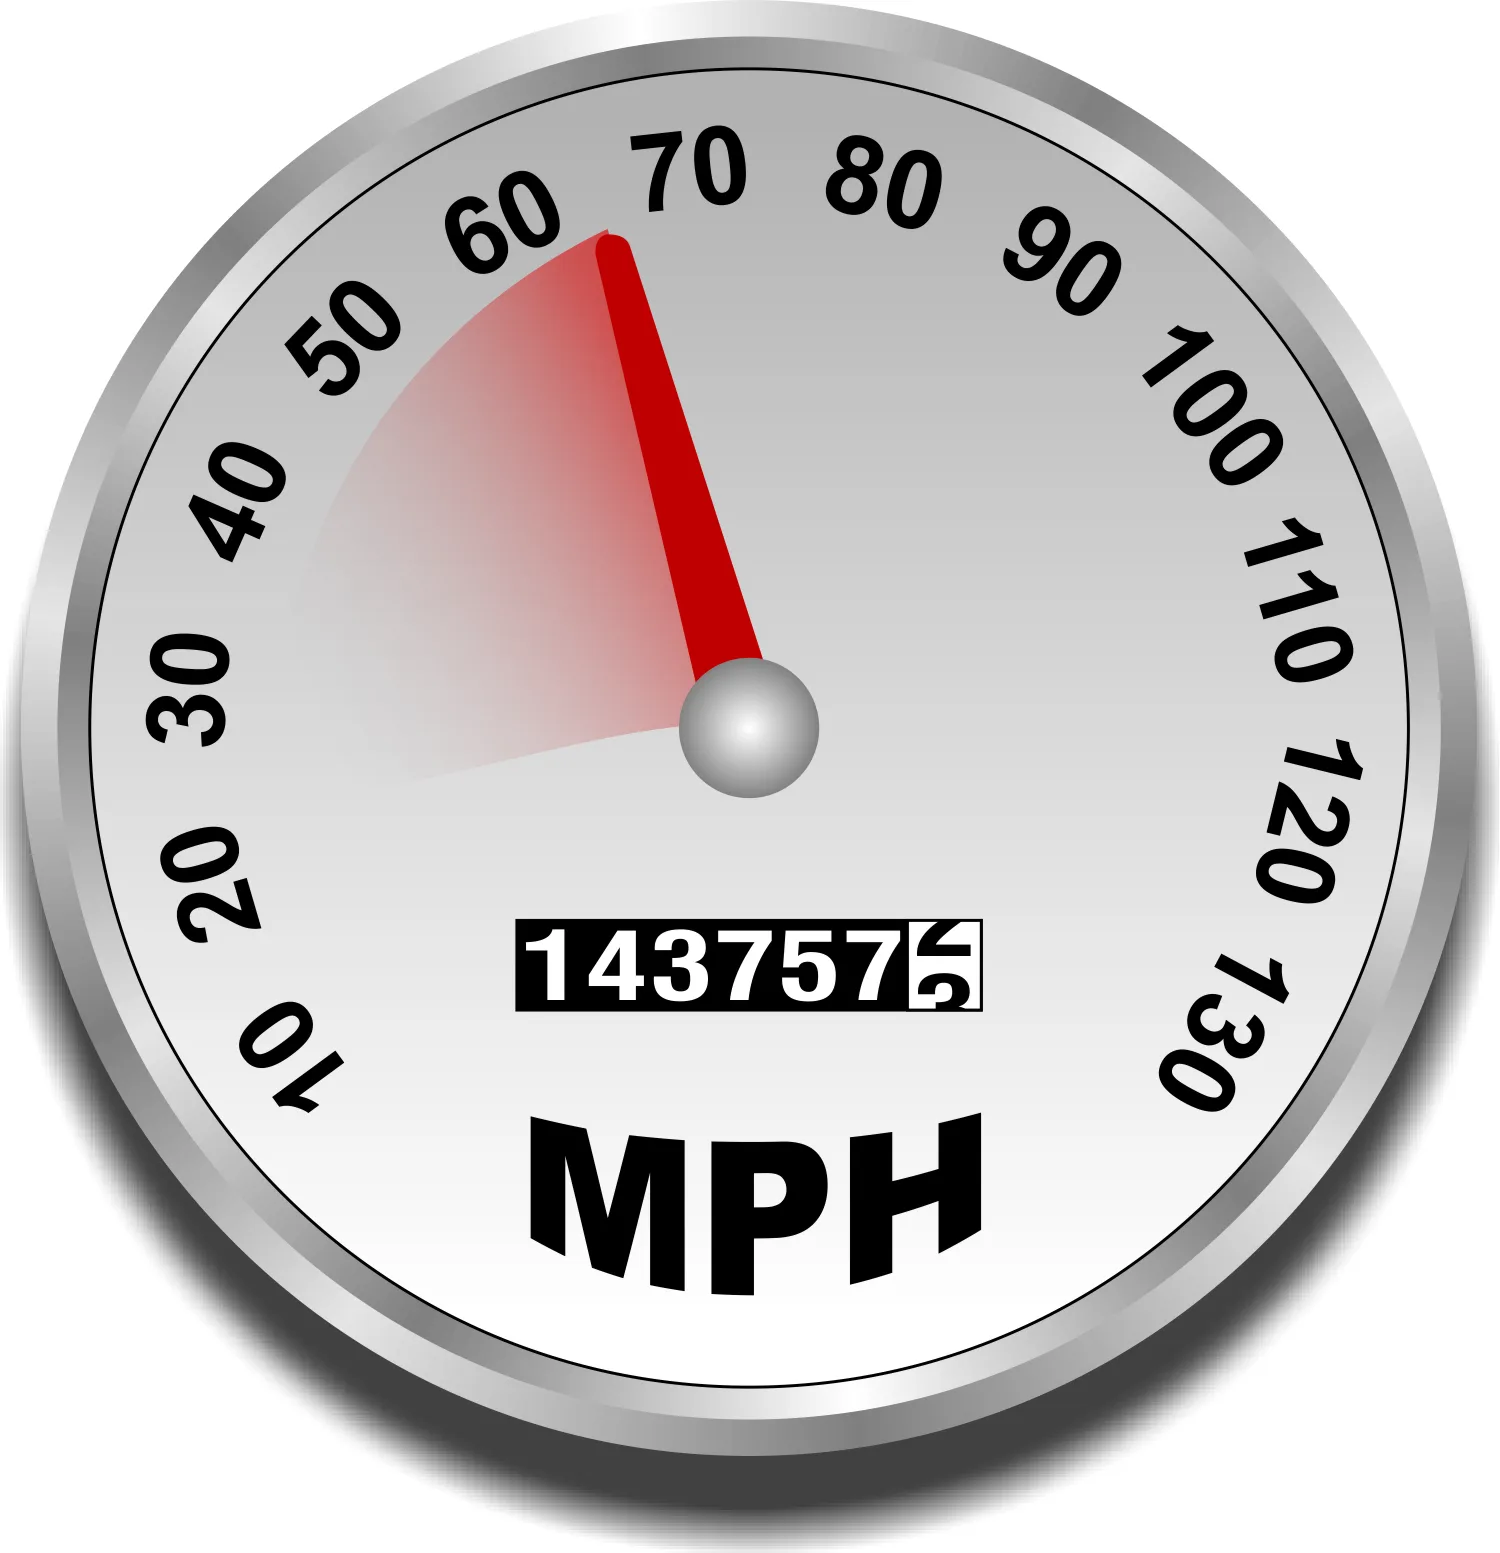
So, at this point, we have looked at using the Extrude capabilities of the program, but another possibility is using transparency to create some special effects. Fig. 4 shows one way to give the illusion of motion to an object.

In this example, I had created an image of a speedometer and wanted to depict the speed needle as moving. So, I created a pie-shaped wedge using the Bezier tool (this could have easily been done using the Ellipse tool instead), added a fountain fill, and added a transparency.
At this point, it was necessary to adjust the angles of both the fountain fill and the transparency to get the best visual representation of my idea. Although not perfect, the end result somewhat shows the motion I was hoping to achieve. This is the kind of thing that is totally dependent on one’s willingness to play around with the various tools and abilities available in the program to reach a desired goal.
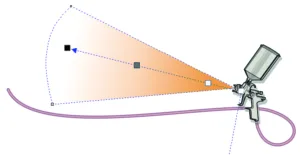
Fig. 5 is another use of transparency for a special effect; in this case, a color fade to show a solid color fading out to no color, as would be the case with the atomized spray of a paint production gun. Note here that different percentages of transparency were applied to the color fade. Black is full transparency and white is none. You can drag any shade from any open palette to the connecting line to create a custom fade. Once applied, you can select any color and alter its transparency or move it further along the connector line. This makes it fairly easy to adjust the image for your end result. This image was part of a design used for vehicle markings and a tow truck wrap design for a local auto body shop.
No matter what one’s abilities or proficiency with CorelDRAW may be, you can find new stuff every day that gives you more insight into the unlimited abilities of the program. In future articles, I hope to explore some of the things I have learned over time by using the program. Here, I have tried to look only at CorelDRAW without venturing into the many features of Corel PhotoPaint. Maybe we should go there next. Reader feedback would help me determine what is most pertinent to pursue.
In the meantime, I am always ready to answer questions as best I can at dezender1@gmail.com. I always want to hear from other users about their use of the CorelDRAW Graphics Suite and how it has benefited them.
I am not a representative of the Corel Corporation – I am merely a long-time user of the program for both personal and business projects. I have no personal affiliation with the company.