


No matter how good one is at designing and making signs, the rubber doesn’t really meet the road until those signs, letters, or logos are efficiently and profitably installed. And in our commercial sign business, that usually means I have work to do.
I have always done most of the installations here at our commercial sign shop, which is normally a three- or four-person operation. But two of those full-time people are female employees who are very good at many things but seldom have anything to do with the install part of a job. So most often getting the job up and in place is up to me, and though I actually enjoy the work, I need to make the most of my time and be well prepared every time I go out to do the work.
A lot of the jobs I do are letters and logos we make, and they really are fairly simple. Very often the work is installed on metal building facias, and most often flat-cut powder-coated aluminum components made by us.
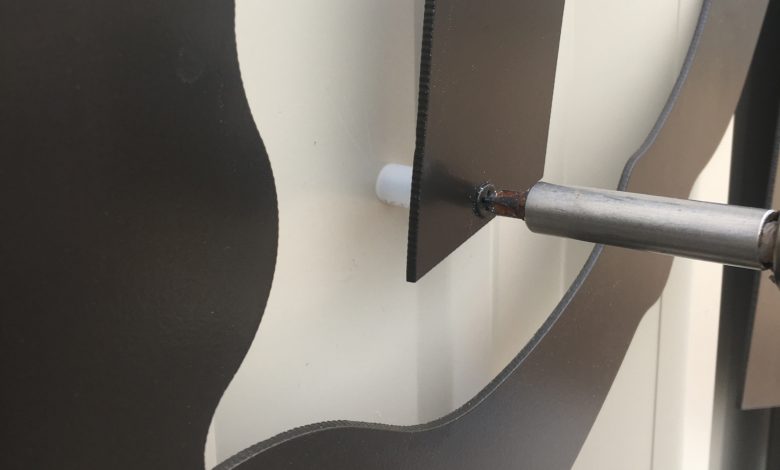
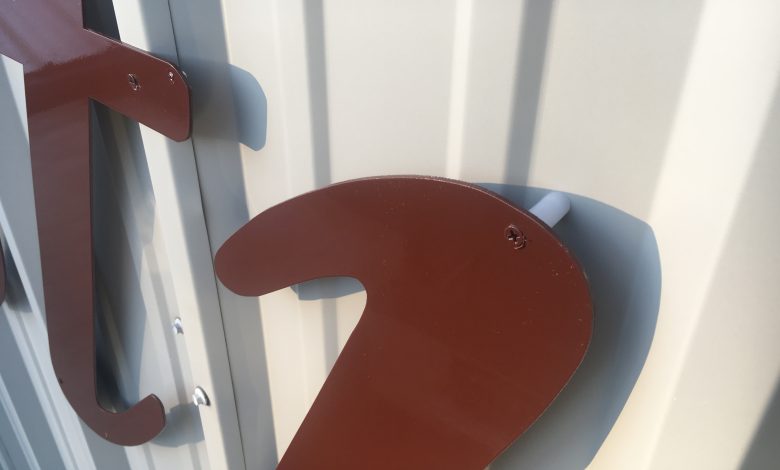
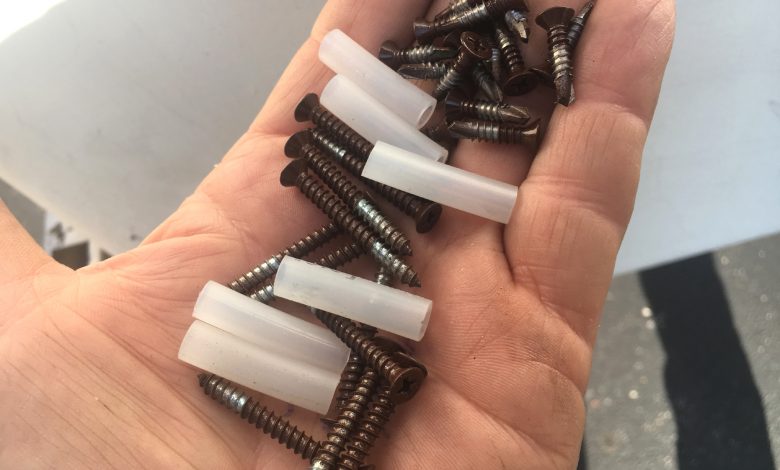
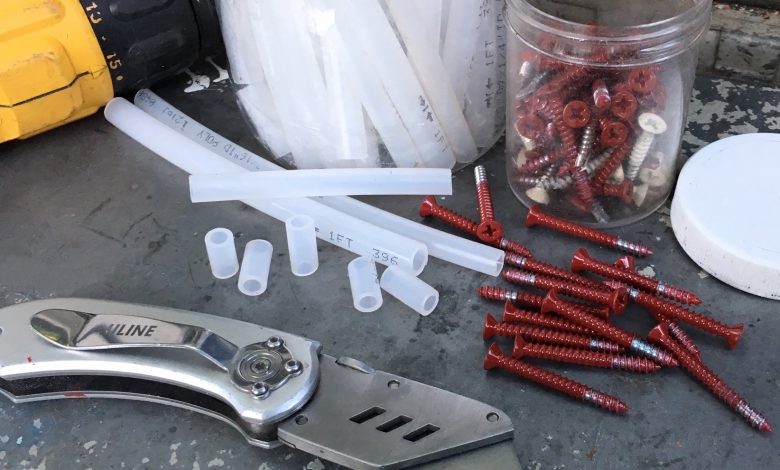
But with corrugated metal surfaces you only hit the high spots, so lots of spacers are in order, unless the parts are quite large. Over the years I have made many shop-made “Z”-shaped aluminum spacers, but now almost always just use lengths of hard plastic tubing I can buy at the hardware store. This easily can be cut with a box cutter type of knife, to any desired length, quickly and on the spot.
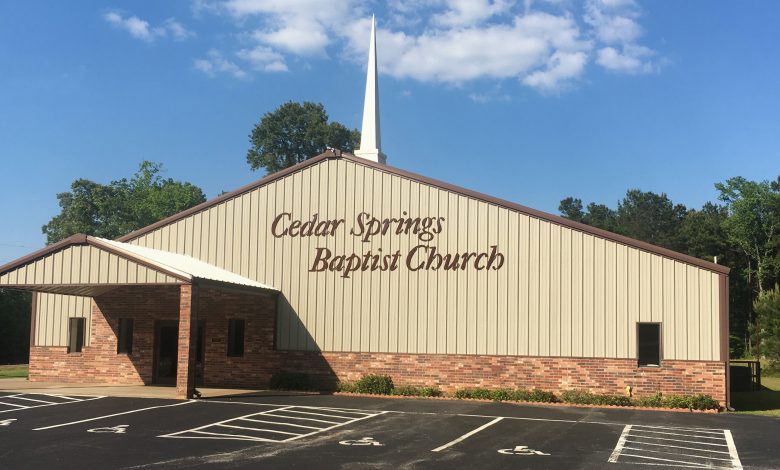
As shown in the “Caring and Sharing” job, this type of spacer is an ideal and inexpensive one, and in a short time a sign installer can make as many as needed. Another similar install I did recently was for Cedar Springs Baptist Church, and a number of spacers were used to level out these cursive style letters.
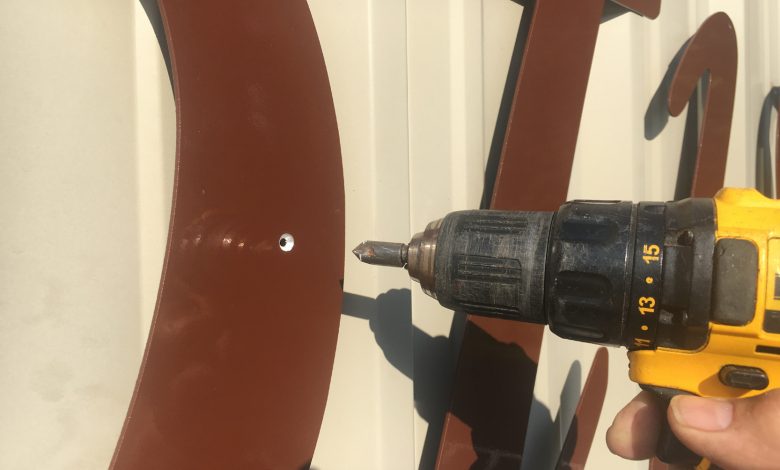
The flat-head screws, powder coated to match the lettering, were done in two lengths and types, some short self-drilling screws to use where the letters hit the high spots or ribs directly, and longer flathead screws, with spacers, to go everywhere else.
Counter sinking the holes in the letters is a must, and then flathead matching screws are almost invisible, and so are the spacers if done right. Jobs like these are simple and some of my favorite out-of-the-shop projects.
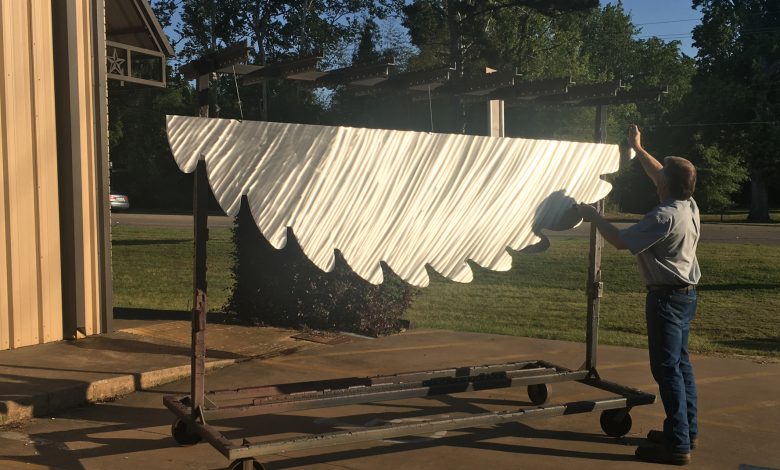
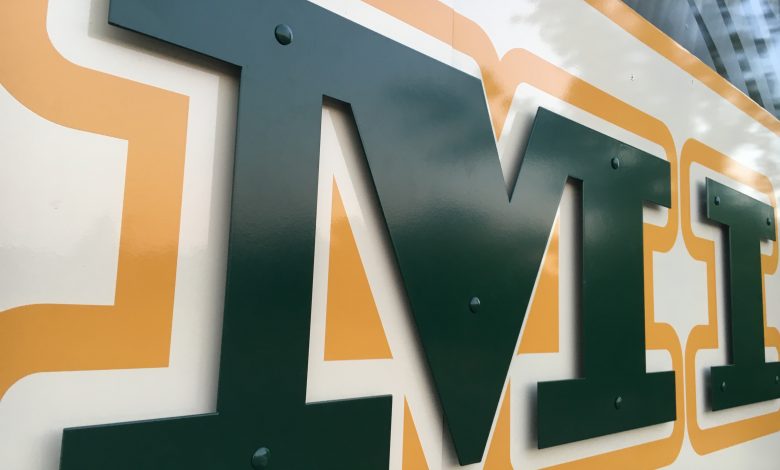
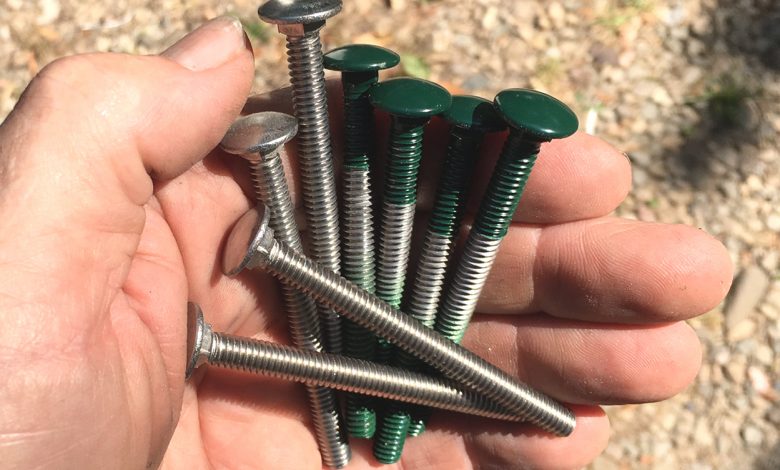
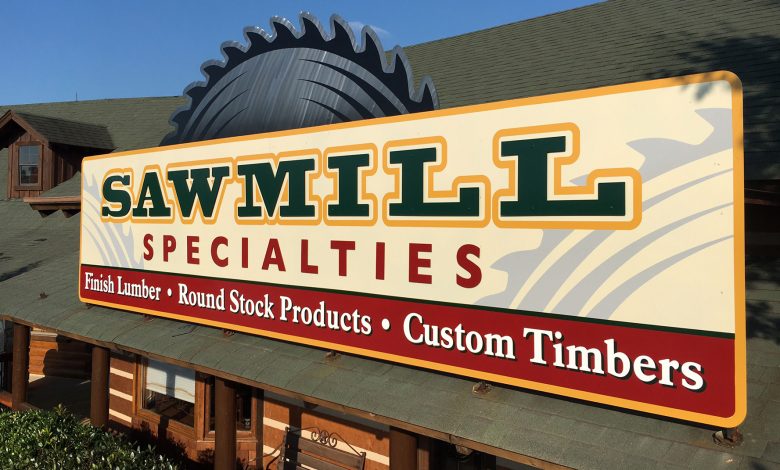
But not all jobs have to hide their hardware, and a job we did for “Sawmill Specialties” was a bit different install-wise. The sign, the letters (mostly raised), the reverse panels and so forth were all separate powder coated parts, but the main letters had hardware we did not care to hide, basic carriage head bolts front and center.
However, they weren’t just standard hardware store bolts, these were stainless steel bolts, with powder coated heads, and they will never rust and leave stains on this long lasting all-metal sign. All too often we sign guys use cheaper hardware than we should, and down the road pay the price for it. Stainless steel fasteners do cost a bit more but are more than worth it over time.
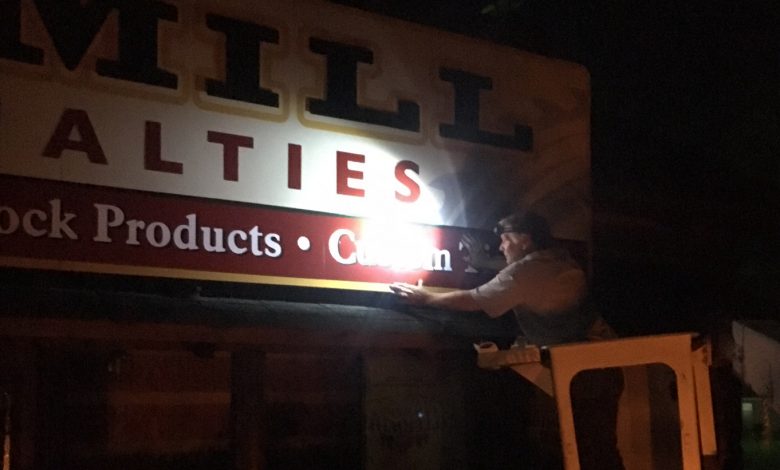
This install did require a helper, my nephew Jeremy, and it was a case of meeting a nearly impossible deadline with extra delays that could not be helped. That meant starting a long install at the end of a workday, and trudging on because the client was having a big event there the next morning and the sign had to be up.
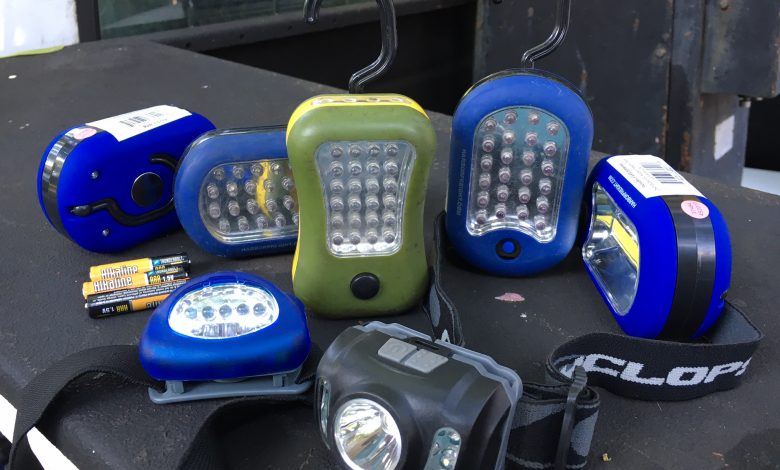
As has happened a number of times, after the sun went down, the work continued by small LED lights, personal lights I hang around my shirt collar, or strap on my head like a spelunker, or even tape to the business end of the bucket. These inexpensive long-lasting LEDs saved the day, or saved the night, on that occasion and many others.
This installation for “Sawmill Specialties” we never really saw until a few days later, having left that project around 2 a.m. and gone home to crash a while. But, even though we made no attempt to light the whole area, having plenty of light at arms length was all we really needed. I always keep an assortment of these inexpensive LED lights, and spare batteries, in the shop truck tool boxes.
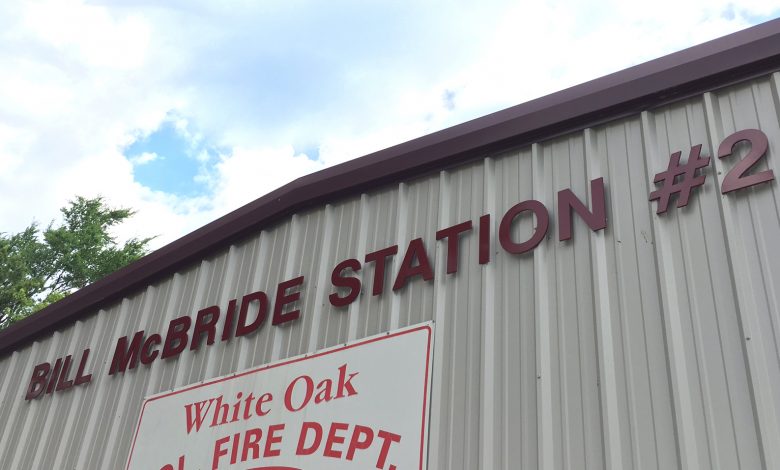
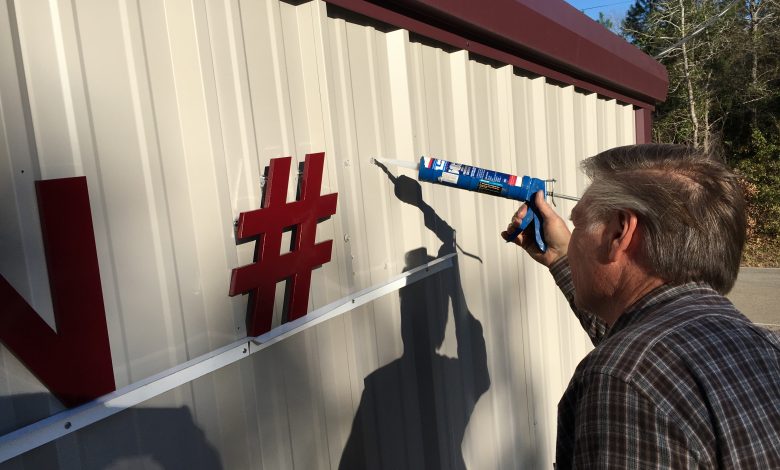
One more install worth mentioning here was a plate-metal letter job we did for a local fire station, which was being named for a retiring fire chief. It is not so common that we are stud-mounting heavy plate-metal letters to a corrugated metal building wall, but it does happen. However, regular paper patterns aren’t well suited for this, and holding the letters perfectly in place until the silicone adhesive dries can be a pain as well.
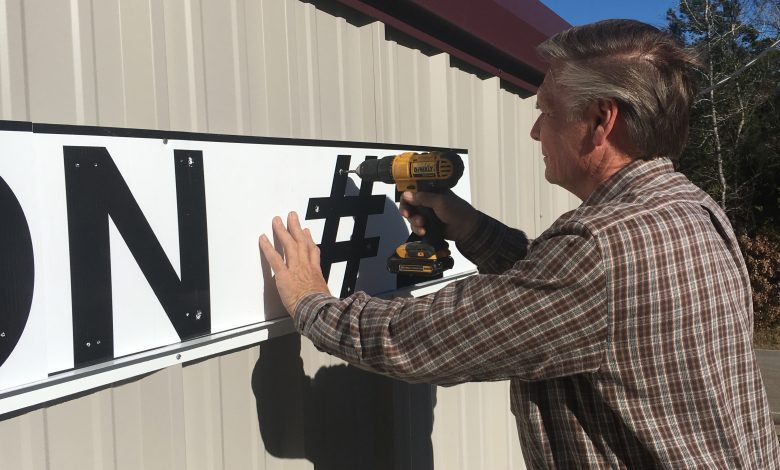
So, our patterns were made from fluted plastic, with vinyl letters applied. To try to ensure that we had studs avoiding the beveled parts of the corrugations as much as possible, and located where we wanted studs to go, the letters were all double drilled and double tapped to begin with.
The pattern showed all the hole locations of course, but we could pick which ones to use. This worked well, but to keep the letters sitting perfectly straight until the glue dried, lengths of shop-made .040 aluminum angle were screwed in place in a perfectly straight line with a few small sheet metal screws, and the letters rested on the angle pieces until the next day. Where a round letter was located, a notch was cut out to allow a round letter to extend past the angle a bit easily enough. Doing the install this way was far better than taping all letters to death, and hoping for the best. This method was simple, fast and foolproof.
This was just another case of using the right techniques to make an install job easier, quicker, and more professionally done, which is exactly what we’re after.