Personalization is a trend that only keeps growing, and smart business owners are paying attention. Today’s high-tech, easy-to-use laser engravers have made customized cutting, engraving, and marking on a wide variety of objects and materials available at the touch of a button.
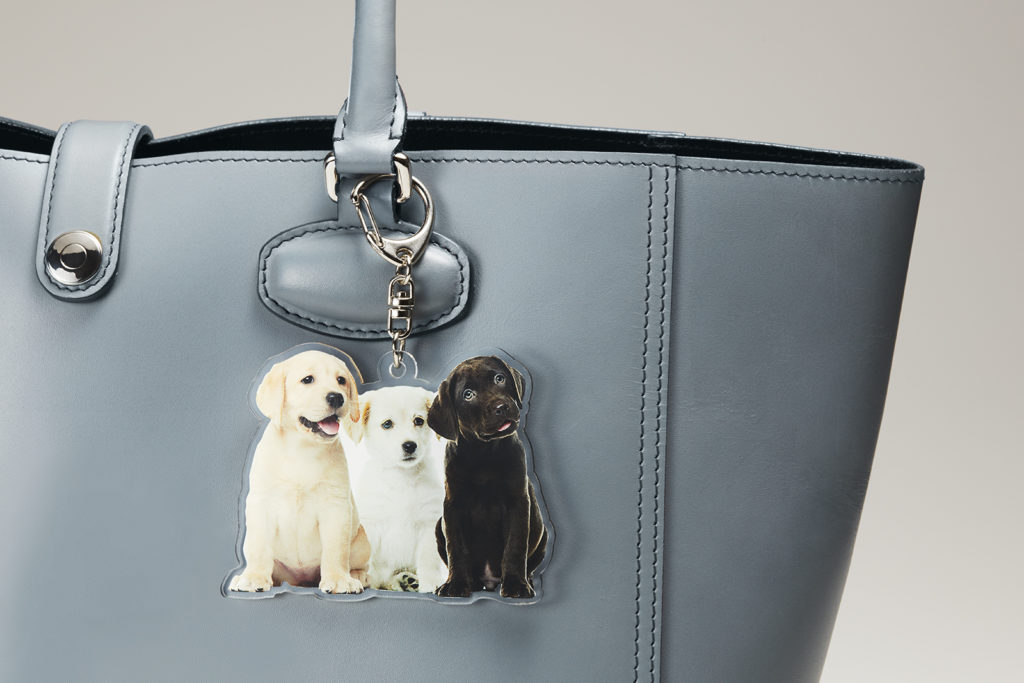
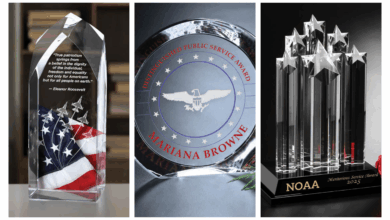
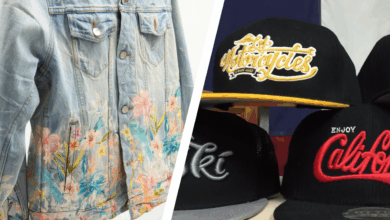
The newest laser engravers can precisely engrave items like smartphone cases, keychains, glass ornaments, and power banks. They can also cut out and engrave on acrylic, wood, cardboard, and other materials, allowing you to create products and prototypes for giftware, decor, models, and more. They can also mark on hard metal items like watches, tools, and rings or engrave onto soft goods like leather bags and fabric products.
Especially during the gift-giving season, laser engraver personalization options can truly take your business to the next level. Here are a few tips and tricks to maximize your production.
Safety first: When selecting your laser engraver, make sure you find one that offers a safe, fully enclosed operation, as well as Class 1 safety compliance. Your laser engraver should also come with specialized safety glasses. Although laser engravers can be simple to use, they are technologically advanced devices, so look for a manufacturer with a solid reputation for product quality, safety, and outstanding reliability, support, and service.
Metal matters
Be sure to prep your metal surface by performing a thorough cleaning to remove any grease or oil. Then spray an even coat of an all-purpose laser bonding material such as LaserBond 100 or CerMark on the metal and allow it to dry before operating your laser engraver.
The type of metal you are using makes a difference in the “dwell time” needed under the laser. Metals that conduct heat better will need a longer dwell time. For example, with a 40-watt CO2 laser, copper may need to run at a slower speed while using high power. Stainless steel, which is less efficient at conducting heat, can be run at higher speeds while using high power.
Thicker material = larger lens
For CO2 lasers, the thicker the material you are working with, the larger the lens you’ll want to use. For greater detail, use either a 1.5″ or 2.0″ lens. For thicker materials, you’ll want to invest in either a 2.5″ or 4.0″ lens. Also, make sure that you are using compressed air and engraving from the bottom up. This will help with lowering smoke damage, reducing flame-ups, and keeping your optics clean.
Know your wood

Before you begin engraving, you’ll want to know whether the wood you have selected is softwood or hardwood. Softwoods—like bamboo, balsa, and redwood—tend to be lighter in color and provide a nice contrast when engraving. Hardwoods—like Brazilian ebony, snakewood, and African pearwood—tend to be darker and require more power to engrave. Choose pieces of wood with a smooth and consistent grain structure. Avoid using wood with any knots in the engraving section, as this may lead to “streaking” in your images and uneven engraving patterns. Remember that woods containing a high level of resin or sap, like cherry or alder wood, will leave a darker burn.
Prevent smoke damage
To help prevent smoke from damaging the area around your engraved surfaces, apply either a vinyl transfer mask or painter’s tape. If you are doing a very detailed or photorealistic job, this method is not ideal since you have to remove the many small pieces in the finishing process.
Due to the smoke, dust, oils, and resins released when engraving and cutting, it is vital to clean your hardware and optics regularly. Please consult your user’s manual or your manufacturer’s online resources for proper cleaning procedures.
 Winning combinations
 Winning combinations
Some manufacturers now offer promotionally priced product bundles that include a laser engraving machine and a UV printer for a complete personalization solution—Roland DGA’s bundle pairs LV series engravers with selected UV benchtop flatbeds.
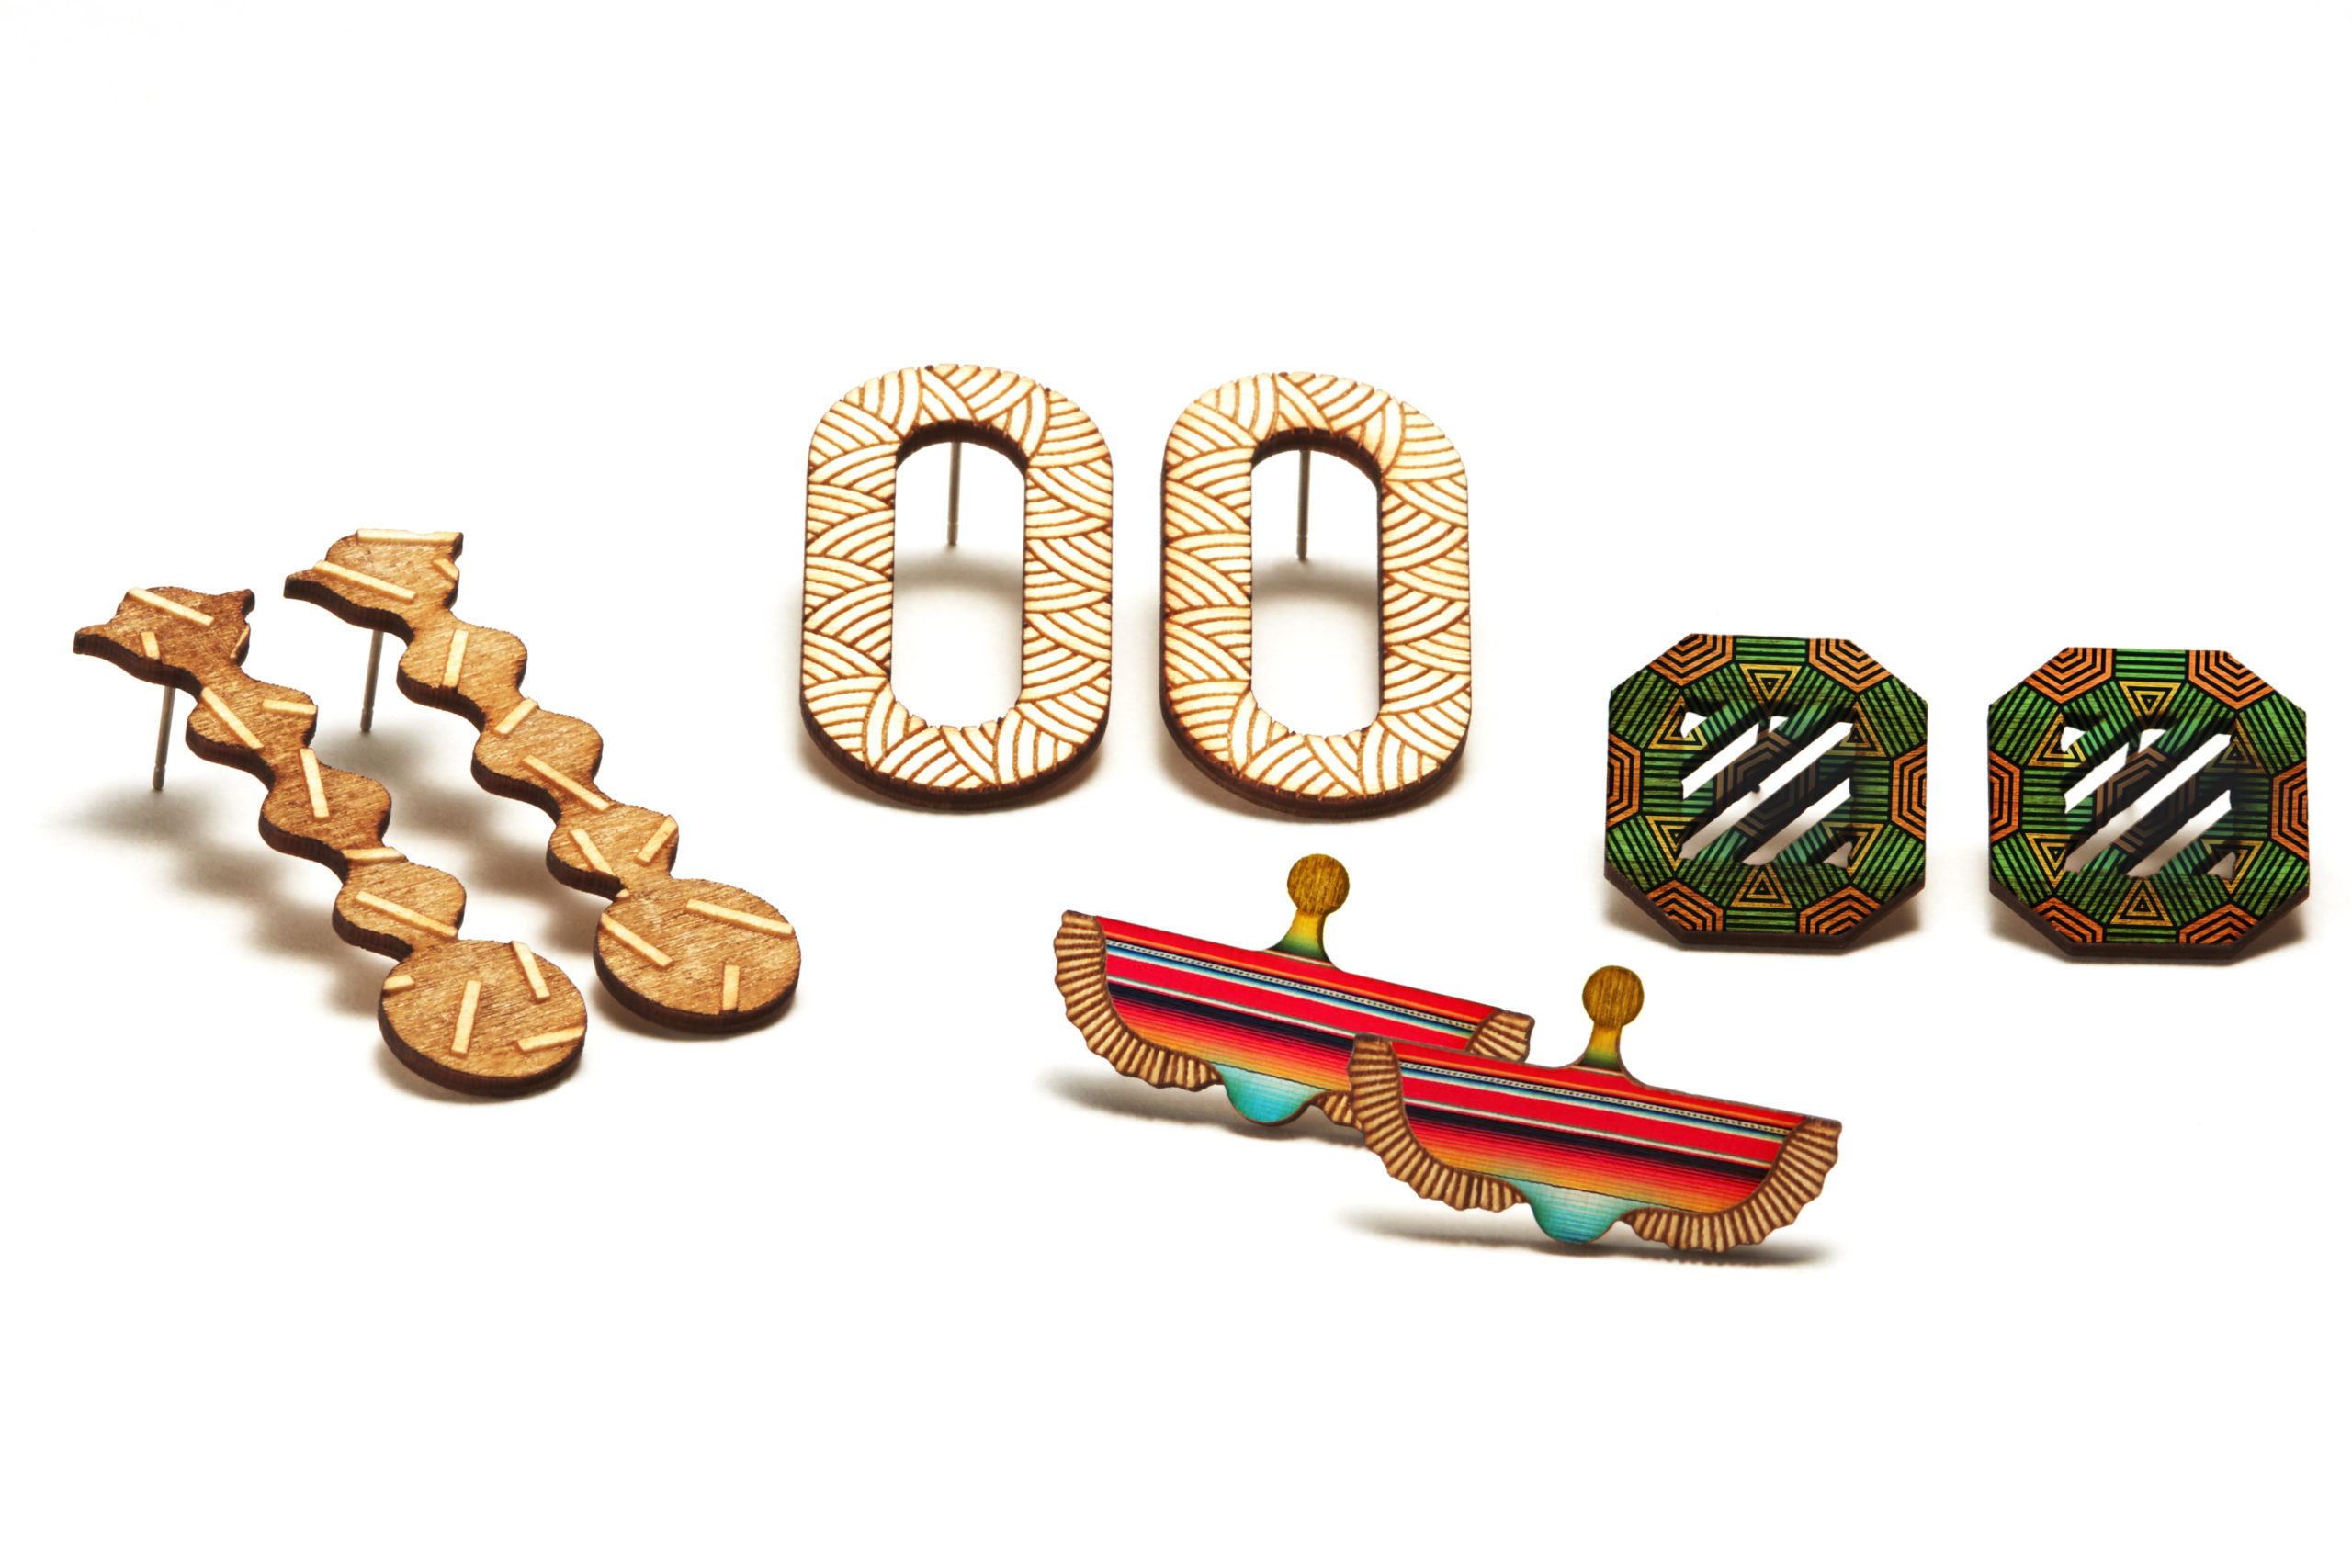
Using these devices together, you can create a wide variety of premium value items by cutting out and engraving materials on the laser engraver, then adding full-color graphics and gloss textures with the UV printer. The reverse is equally easy. You can first print items on the UV printer, then cut or engraved them with a laser engraver. These colorful custom items can enhance your product line and offer your customers limitless options for personalization.