In Photoshop, there are a variety of options available that allow you to make adjustments to your images. Image Adjustments and Adjustment Layers both offer essentially the same adjustment options, but the way they are applied differs greatly. Both options allow you to adjust things such as color, contrast, vibrance, exposure, and more, but as you’ll see, one is “destructive” to your image, while the other is not.
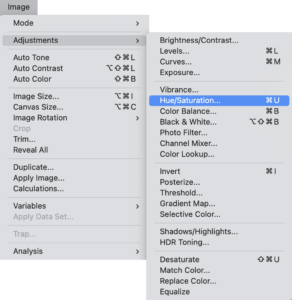
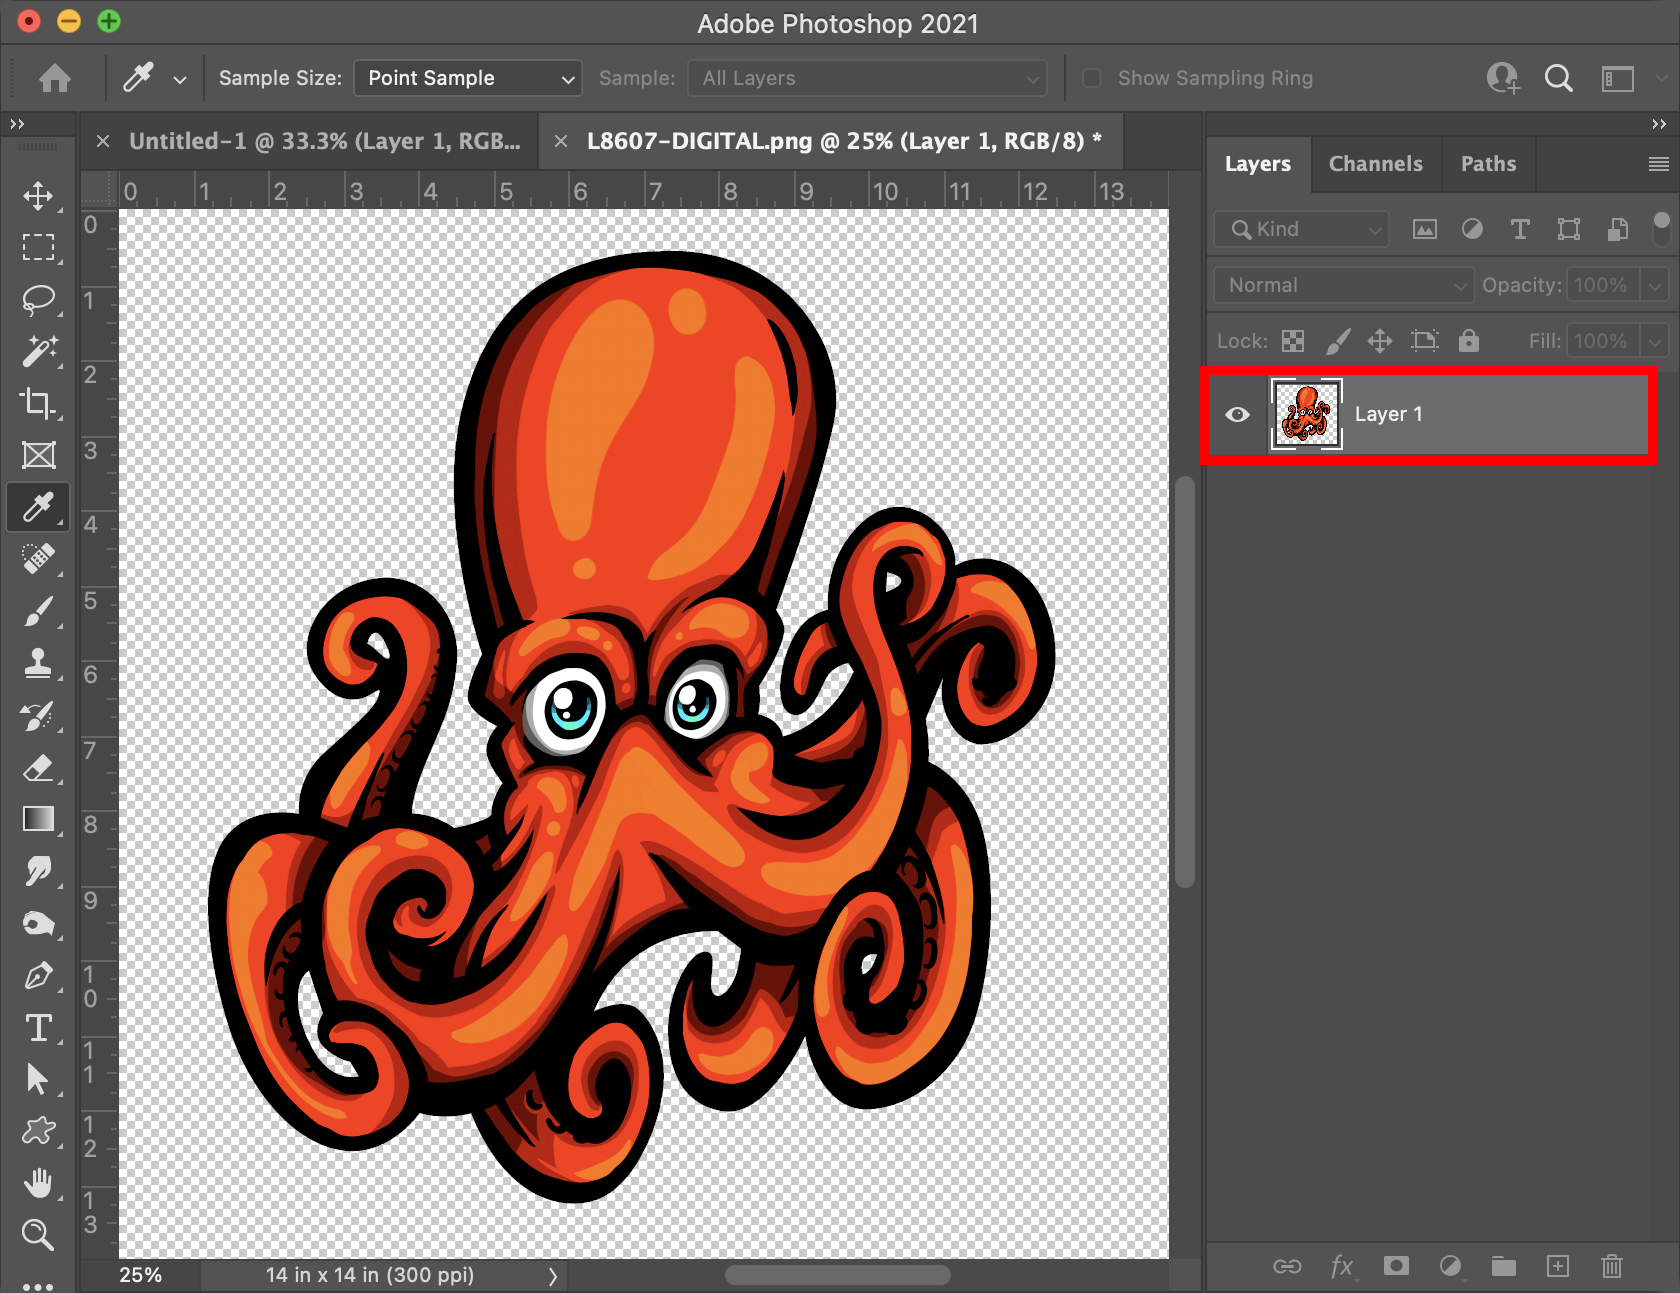
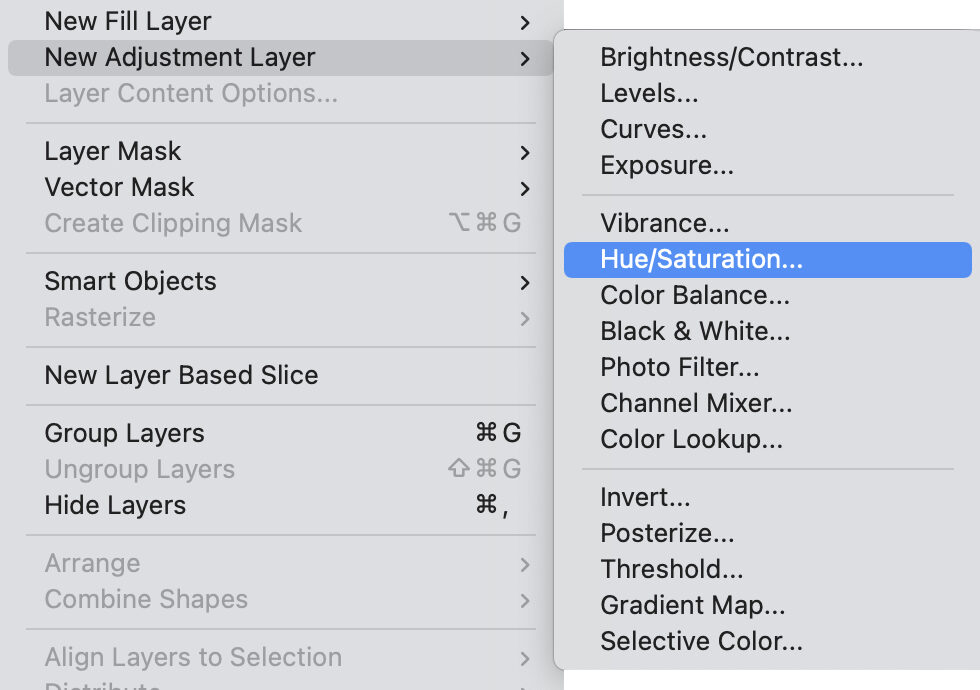
The way each particular adjustment works for both options is the same. For example, changing the color of an image would work the same way. To use the Image Adjustment, you would go to the Image Menu > Adjustments and select the particular option you want to use, in this case, the Hue/Saturation. (Fig. 1) When the Hue/Saturation window opens, you would adjust the various sliders to change your colors. (Fig. 2) Looking at the Layers Panel, you’ll only see one art layer. The color changes are actually applied to the image itself. (Fig. 3)

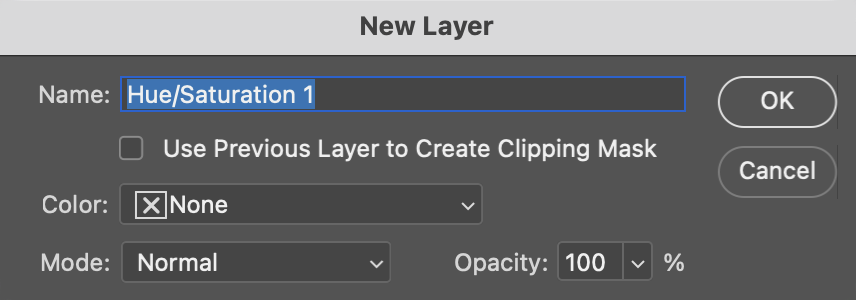
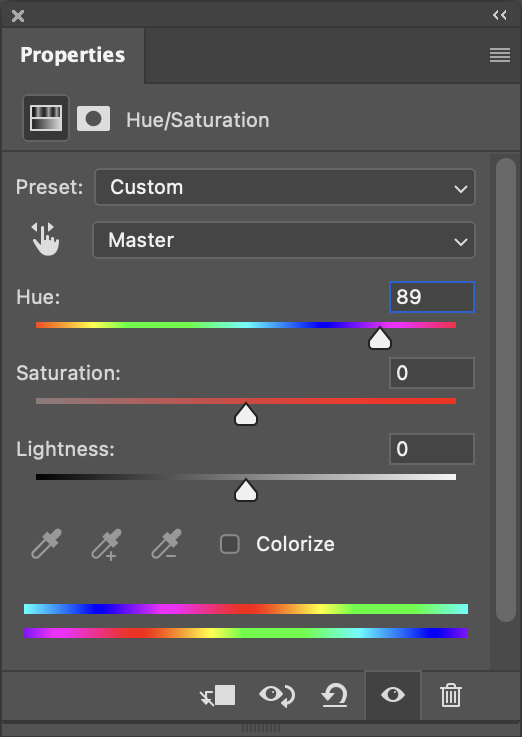
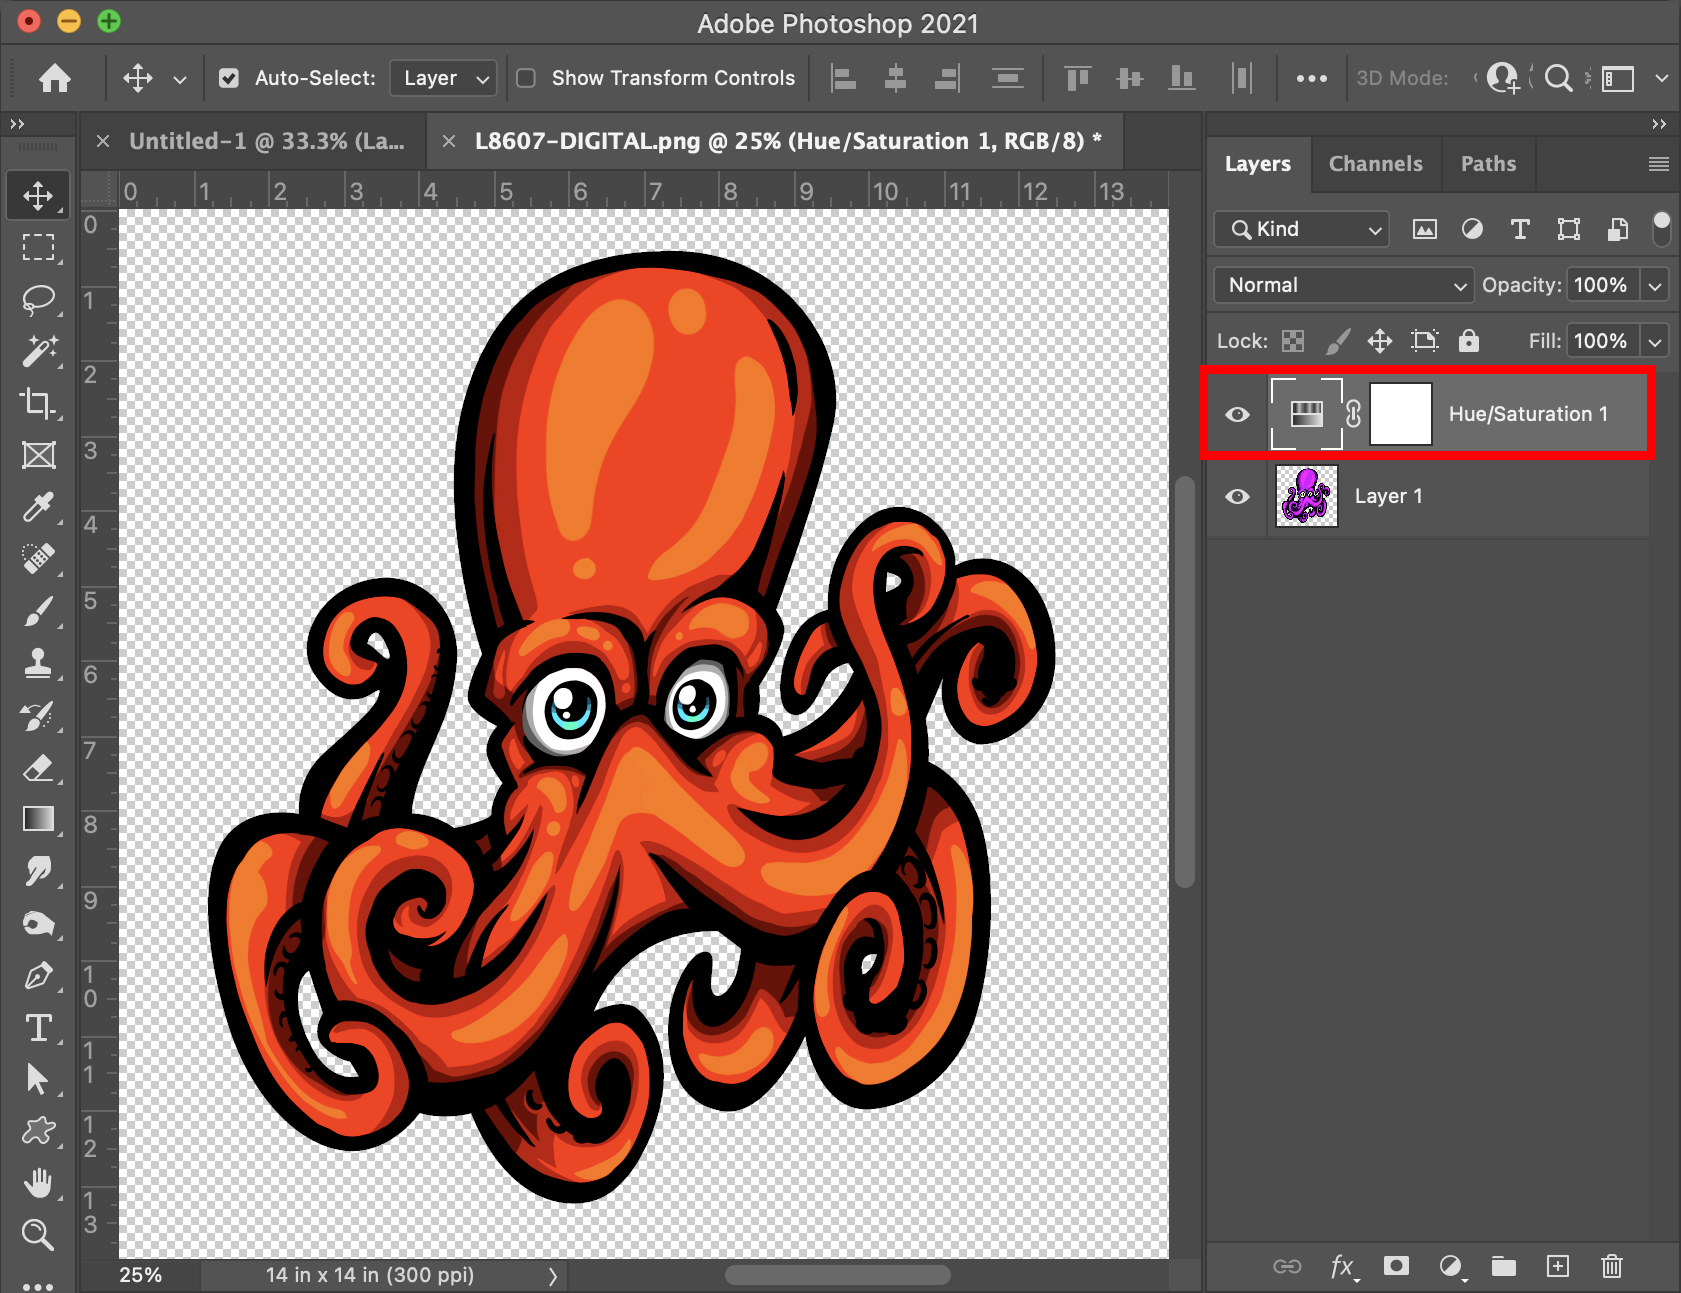
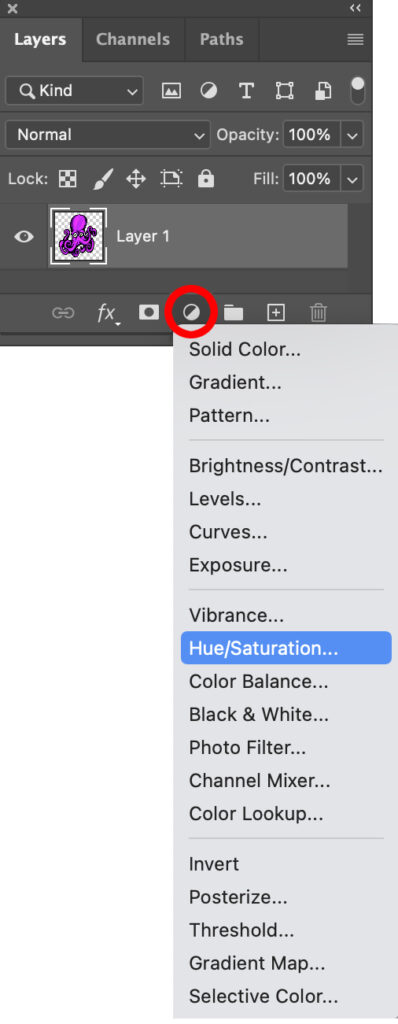
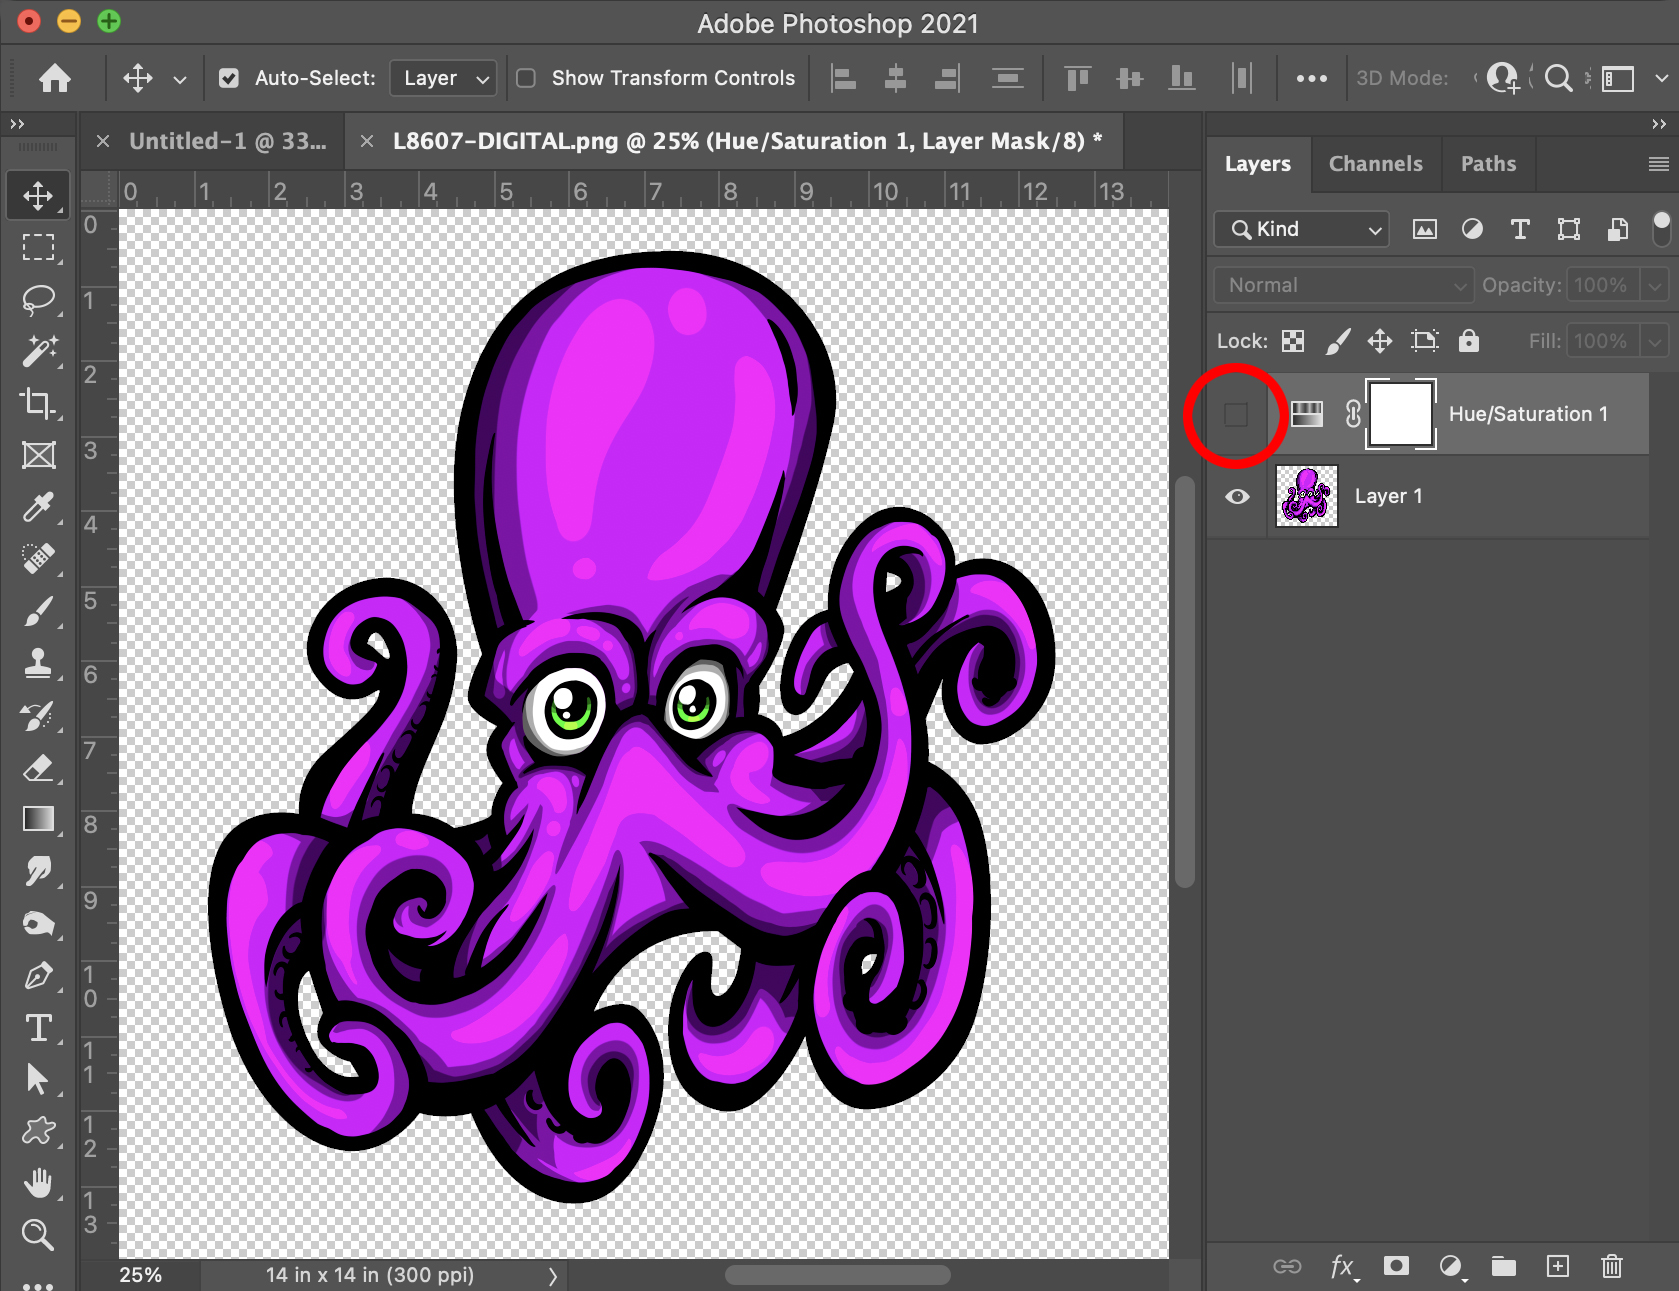
On the other hand, to make the same color adjustment using Layer Adjustments, you can go to the Layer Menu > New Adjustment Layer and select Hue/Saturation. (Fig. 4) When the New Layer window pops up, you can name the adjustment layer and click OK. (Fig. 5) The Properties Panel will also open with the same sliders and options that are available in the Image Adjustment Hue/Saturation window. (Fig. 6) You’ll also notice a new layer pops up in the Layers Panel above the art layer. (Fig. 7)
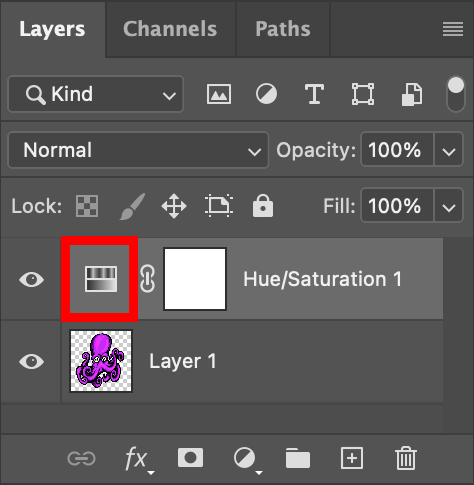
An easier way to access the Adjustment Layers is by clicking the icon at the bottom of the Layers panel. (Fig. 8) It will automatically place a New Adjustment Layer in the layers panel and will open the Properties Panel where you can make your adjustments, but this time the adjustments are applied to the adjustment layer instead of the art layer itself. This keeps the original image intact. You can turn the adjustment layer off (Fig. 9) or even delete it if you decide you no longer want it, and your original image will remain the same. If you want to change the adjustment, you can double-click on the thumbnail preview of the adjustment layer (Fig. 10), and the properties panel will reopen if it was closed. The adjustments you applied will remain in the same position so you can make changes from where you last left them.
This is not the case when using Image Adjustments. Once you apply the adjustment and click OK, the change is applied directly to the art. If you want to go back, when the particular adjustment window is reopened, the settings will default back to the original positions. This isn’t always a big issue, but if you adjust something too far and decide later that you want to go back and adjust it, you can’t unless you have enough undo’s to get you back to the original state, but then you will also undo anything you’ve done since then as well. To avoid this, you can simply duplicate your art layer to have a copy of the original image in your document, or save a new file, so you have the original saved as a separate file.
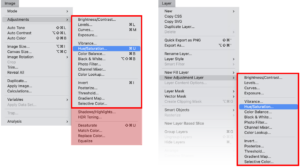
Using Adjustment Layers may seem to be the best option out of the two, but sometimes you may need to use Image Adjustments. Sometimes other actions and filters don’t support adjustment layers and may delete them. In those cases, you will need to use Image Adjustments to make your changes. Also, there are a few adjustments that are only available through Image Adjustments. (Fig. 11)
Either option is a great way to make modifications to your images. Give them both a try and see which one fits into your workflow better.