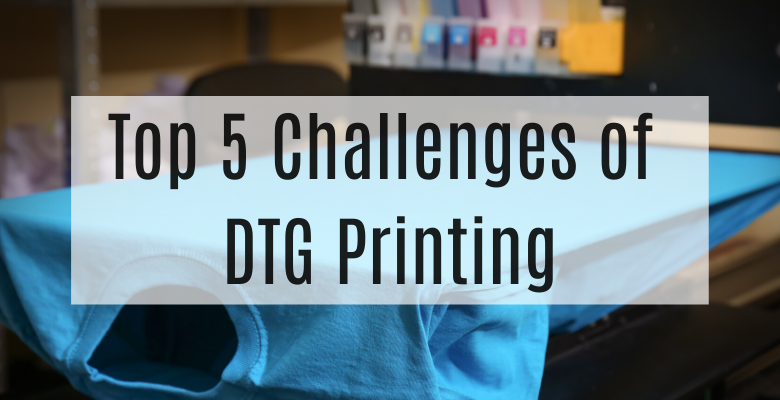
Overcome the Top 5 Challenges of DTG Printing
Here's a look at everything from ink and printer cost to pretreatment and white ink
Ever since the beginning of the DTG industry in the U.S. (the early 2000s), there have been common challenges that we’ve learned to overcome with education and patience. Overcoming these challenges has allowed DTG to rise to the top of the industry as a print method.
So, what are these challenges? According to Printwear’s most recent DTG survey results, they are:
- Initial Cost of the Printer
- Higher Ink Cost than Screen Printing
- Understanding the Pretreatment Process
- Use and Maintenance of White Ink
- Printing on Dark Garments
Let’s take a look at each of these and the solutions for each.
 Initial printer cost
 Initial printer cost
One of our large customers told me years ago that he didn’t care about the price of the printer just as long as it met specific criteria. That’s because the cost of the printer is relative to your business structure and accomplishments.
Prices range from sub $10,000 to nearly $1 million. So when you think about costs being high, remember that it is purely subjective, depending on your market.
Just like any other business, there are determining factors. There are print heads that cost under $400 and others that are over $10,000 and everywhere in between. I’d encourage you to make a list of features you can’t go without and shop from that perspective. Buy what your market needs, or else you could find yourself with a machine that can’t quite do what you need.
Ink pricing
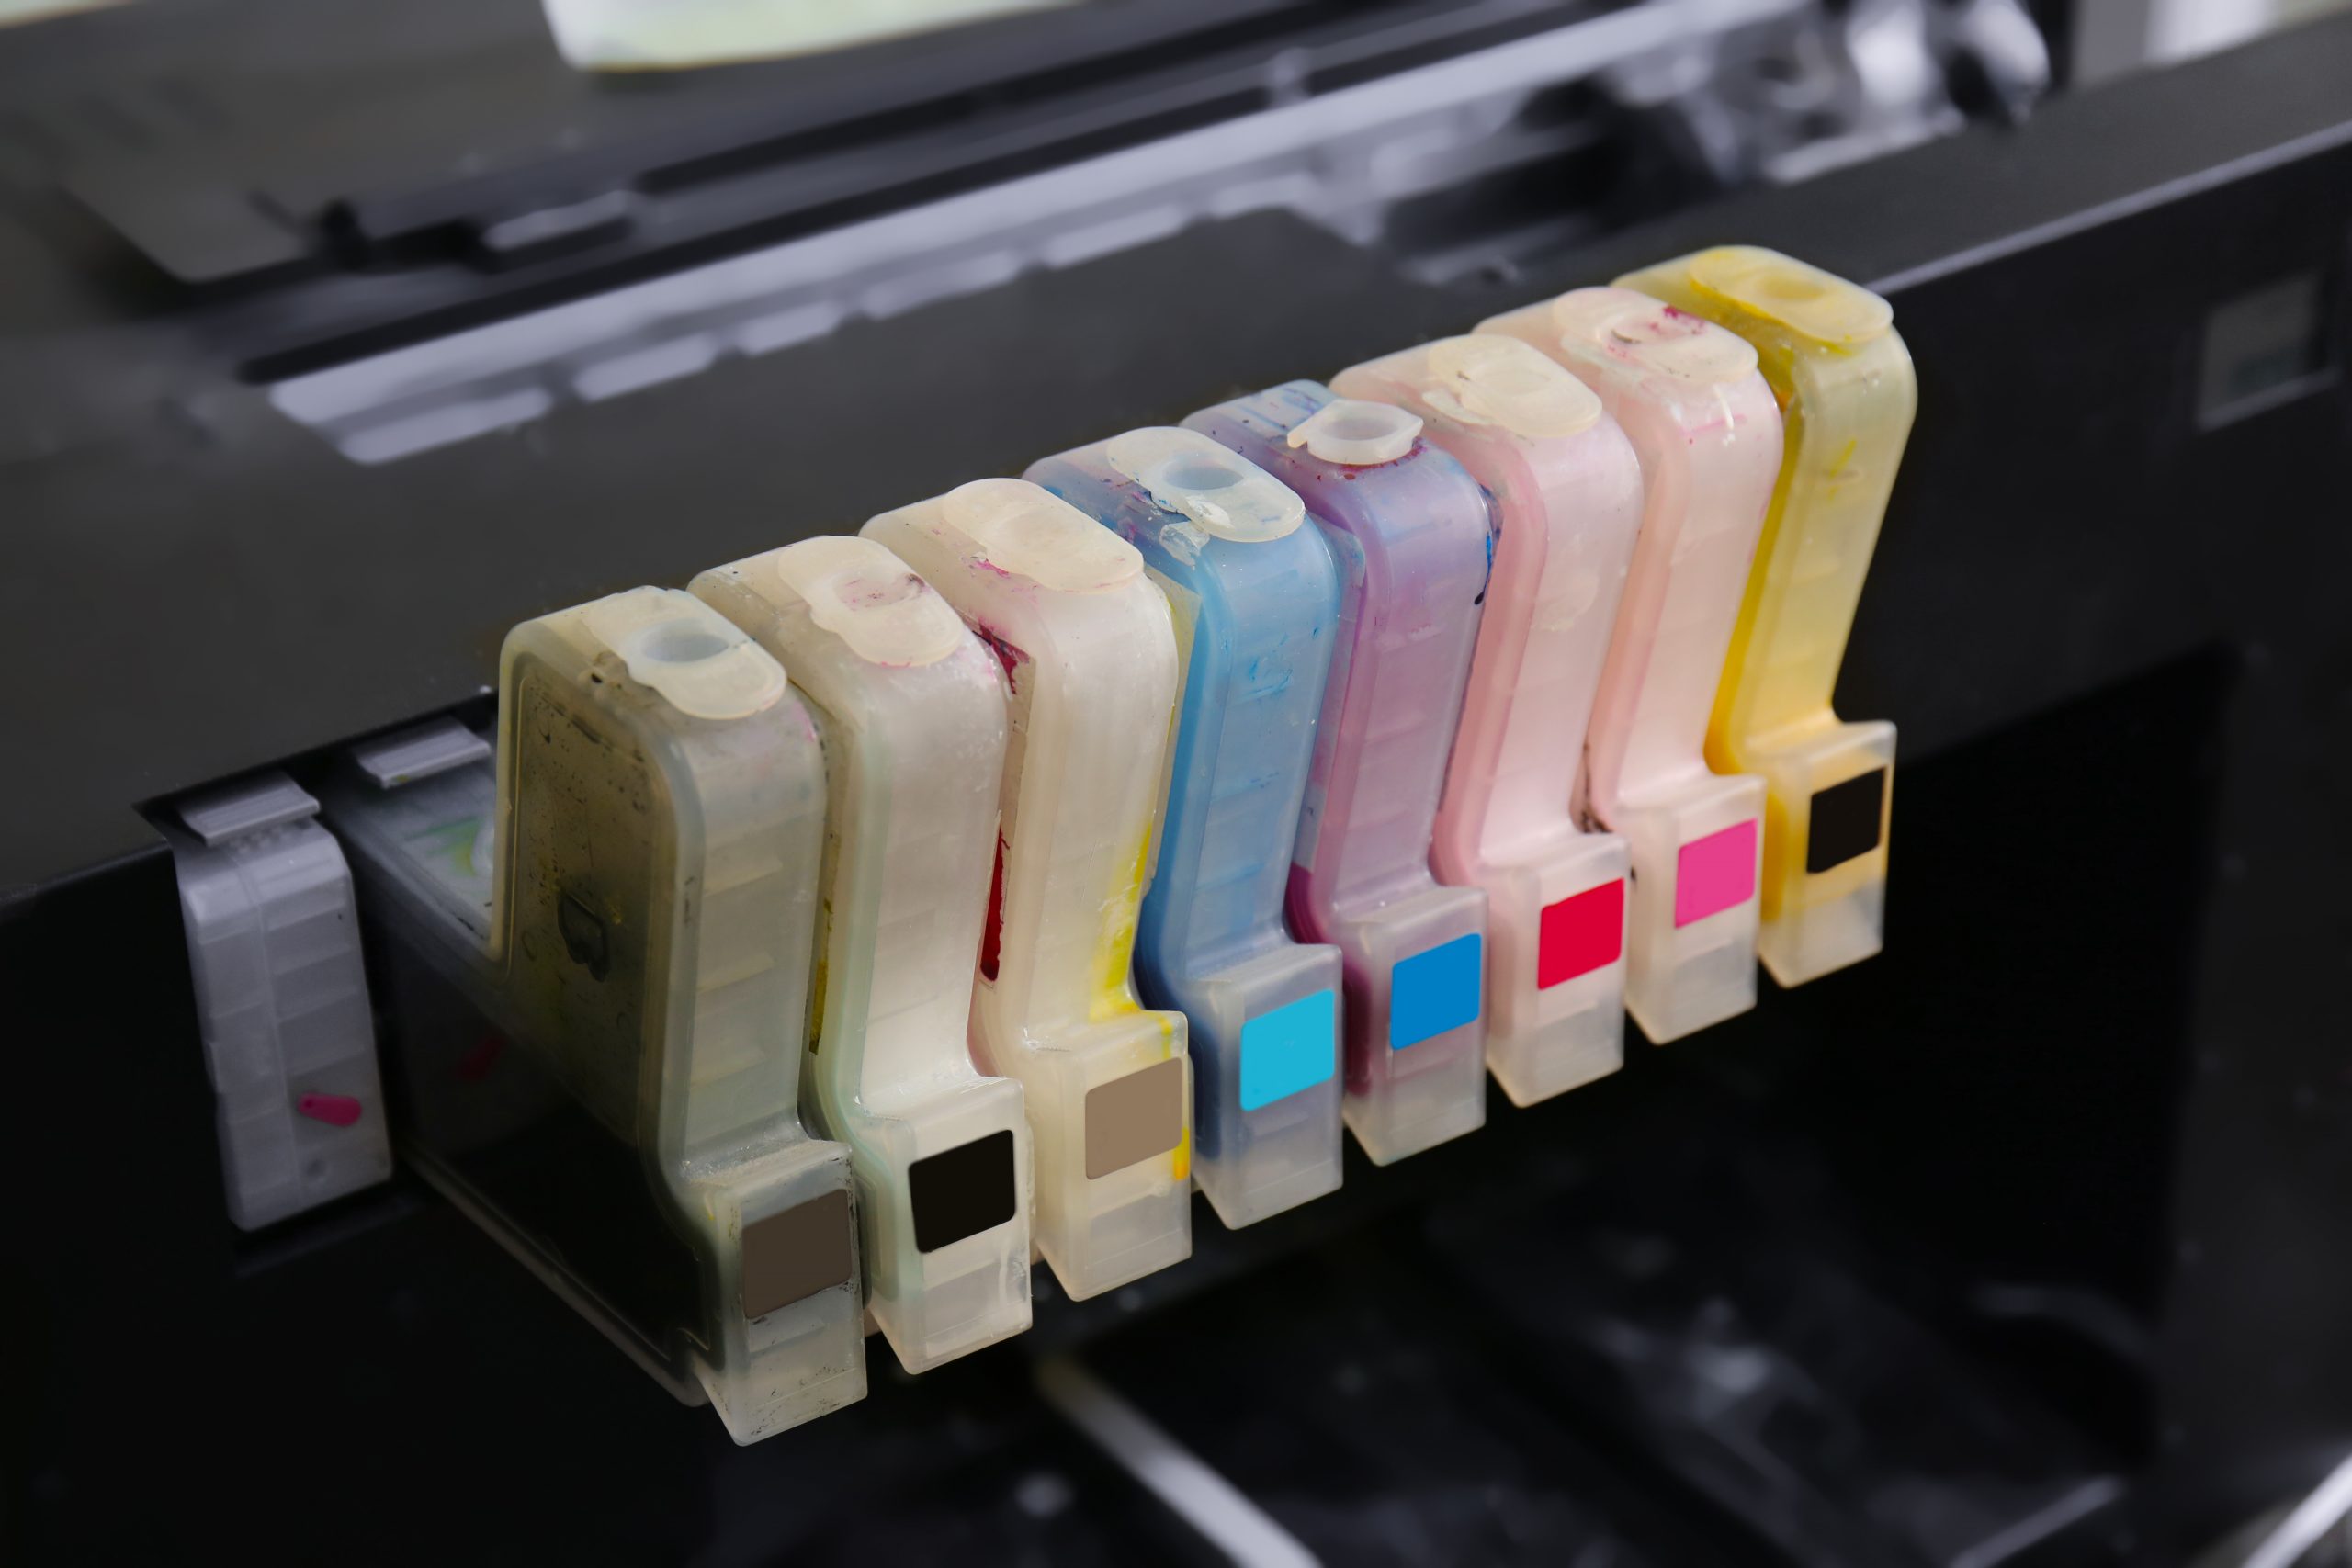 Ink pricing
When the original desktop DTG printer came about in 2004, there wasn’t white ink available. So the cost of ink wasn’t much a factor compared to other methods of printing. The average print for DTG with no white ink uses about 1ml split between CMYK. So whatever your liter price is, that was the average.
If it was $350 a liter at that time, then the average cost for a white shirt was $0.35. When you include white ink to the print, it typically will add an extra 5ml of ink, making the same print on dark about $2.10.
There are various ways to approach this. Start by setting your pricing structure by playing to the decoration’s uniqueness. DTG wildly outperforms other methods with specific jobs. Set your pricing to focus on those areas.
The reality is, you will never print 24 garments with high-end full-color screen printing. The cost to produce this would be extremely high and is an example of where DTG fits nicely. If you were to print one or possibly two colors for these small orders, then maybe screen printing is an option.
Small orders are better for DTG because of the work involved in other print methods. Labor is one of the highest costs associated with production. Becoming more efficient will help reduce your overall costs.
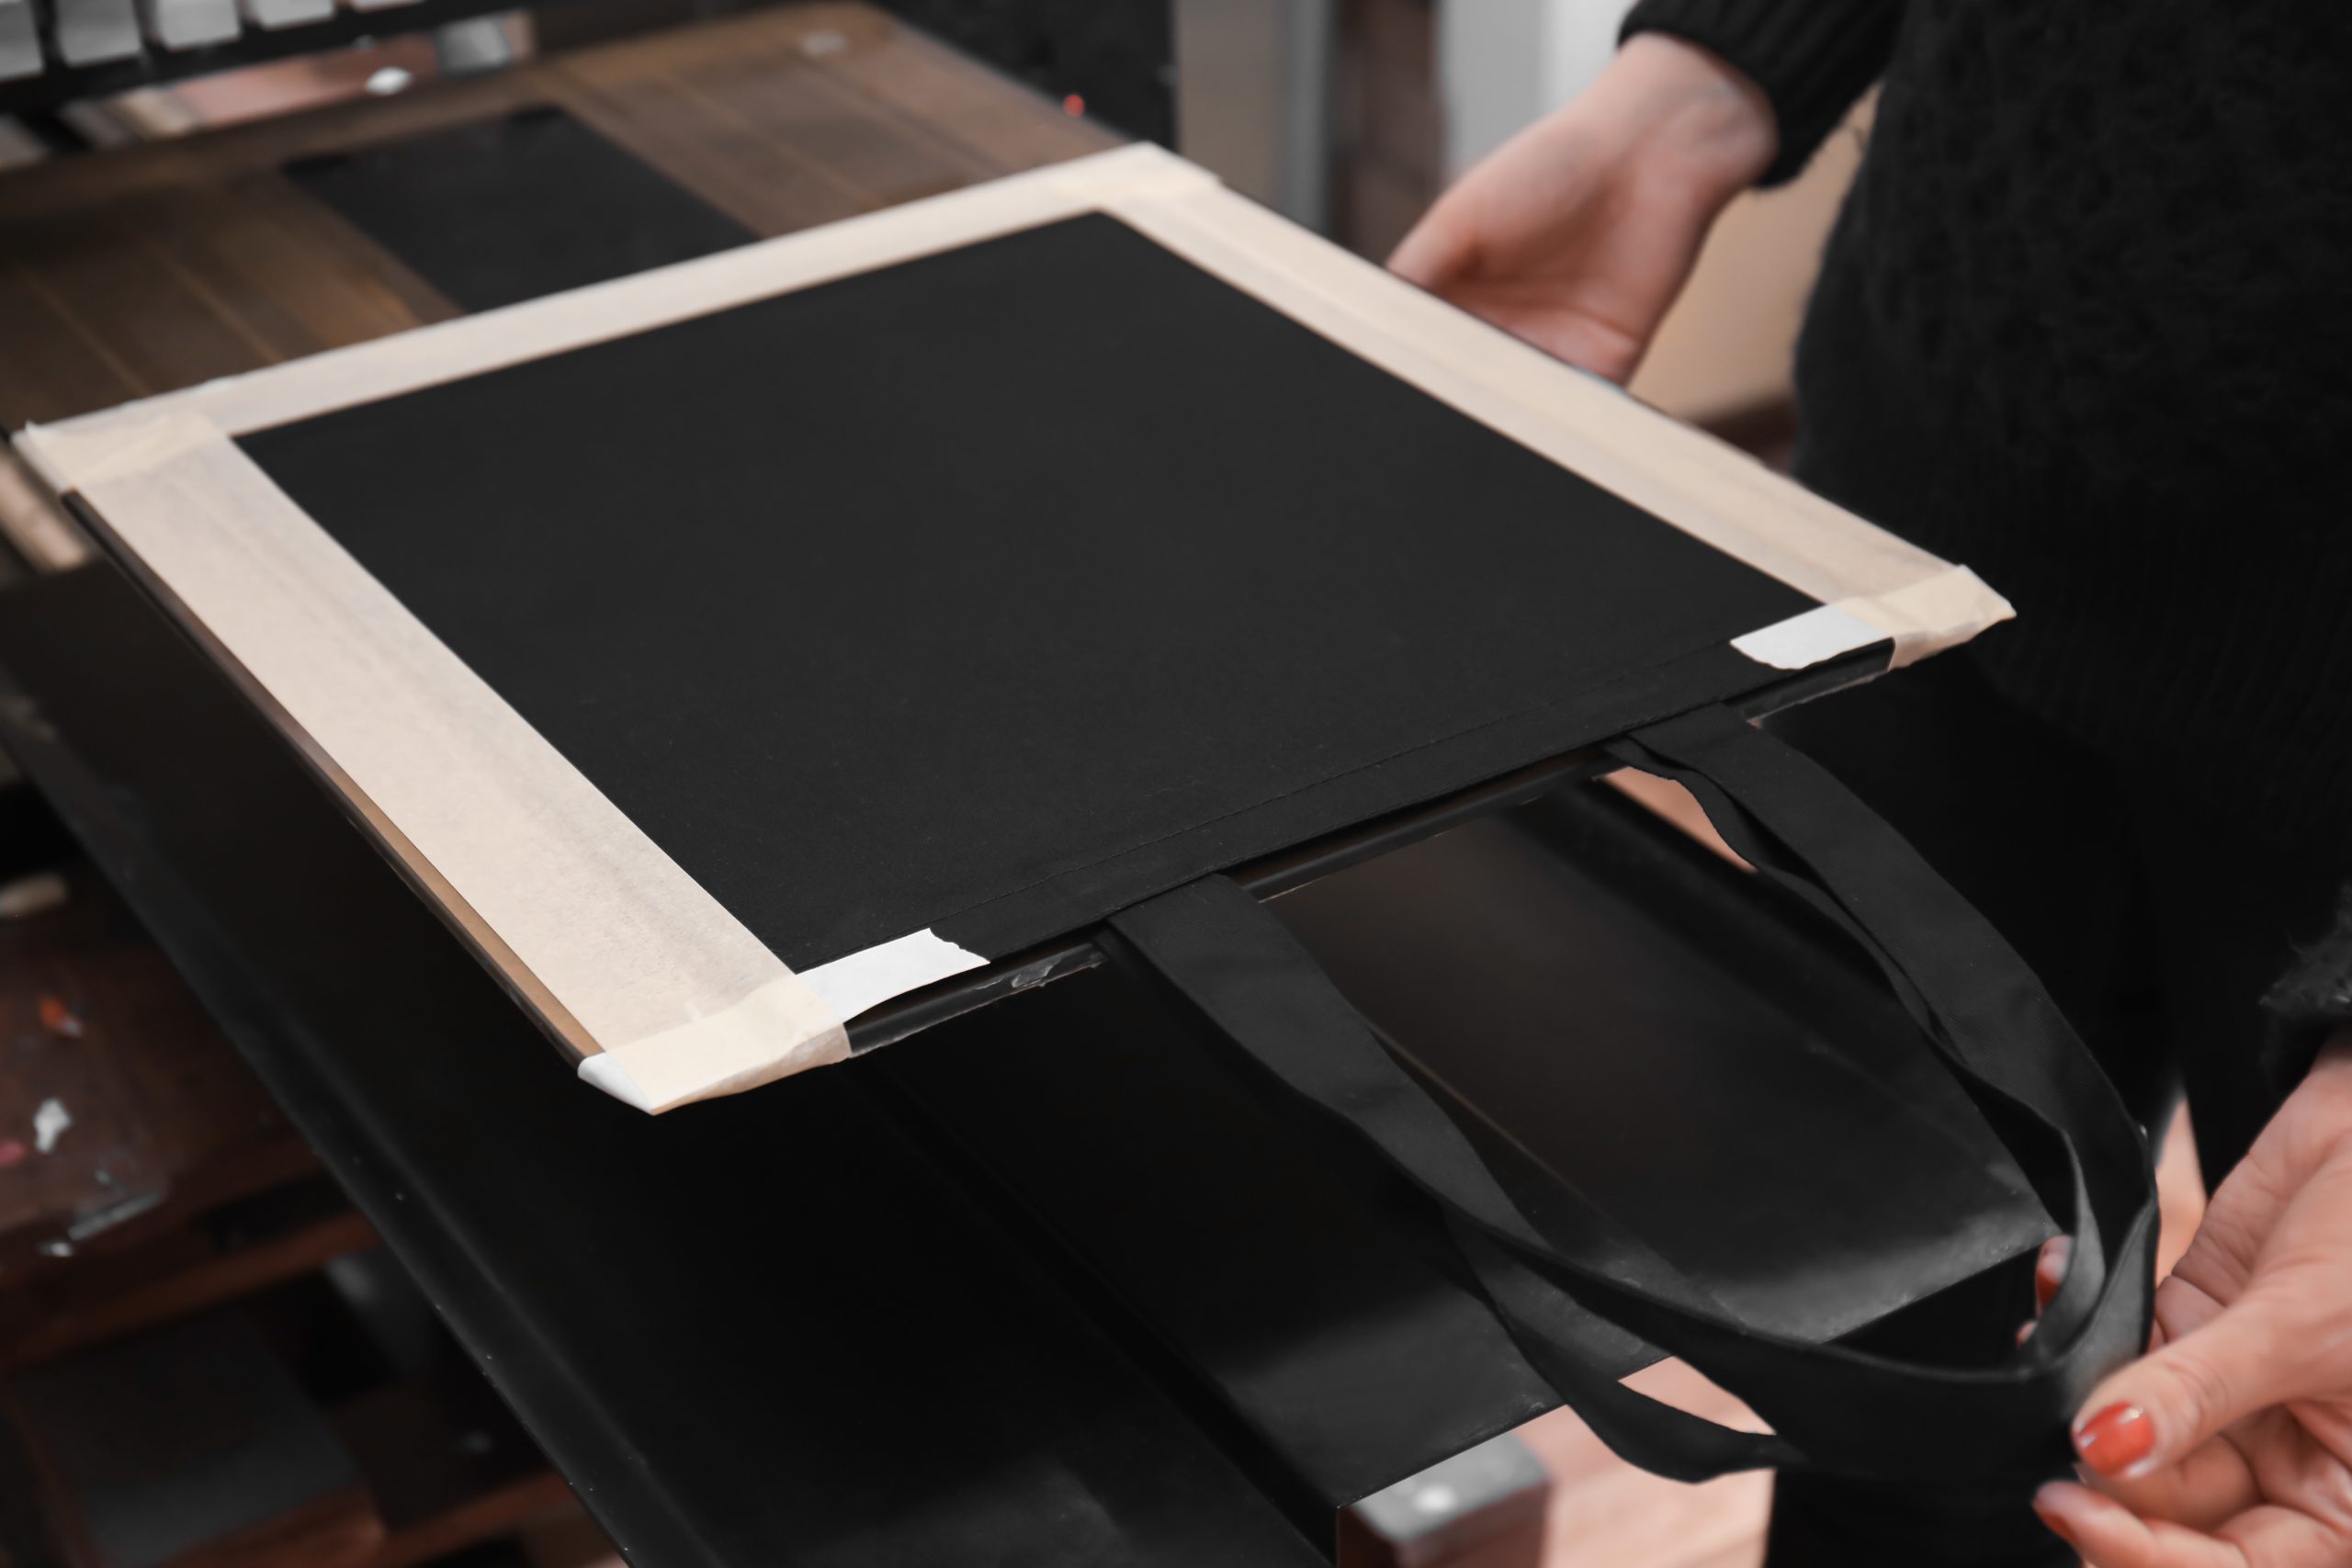
Pretreatment process
When it comes to the pretreatment process, not all garments are created equal. As we all know, 100% cotton works the best for DTG, but even then, there are challenges with staining, discoloration, fibers, and poor print quality. The best thing I can say to this is to create a chart and test thoroughly and making sure to state your results clearly.
One thing I will do when testing a new garment is to make a step wedge. It’s a little time consuming to do, but instead of potentially damaging 10 shirts, I print one test shirt to make sure the pretreatment is correct first.
I will mark off 10 blocks that are the width of the pretreat spray and the length of the platen. Then I section off one block at a time and spray different levels from a pretreat machine. Each block will have a different volume of pretreatment on it. Then after drying, I’ll print a sizeable rectangular design with a solid white background over the entire garment. I’ll cure, then perform wash tests, looking for problem areas.
Recording your results is critical for consistency over time. Records will also give you a great understanding of cause and effect. One option is to keep recipe cards for each type of garment and make notes as you go along. Spending the time upfront in the pretreat process will save you countless hours in the end.
White ink
Part of the challenge of working with white ink is that it has titanium dioxide in it. It’s a unique pigment that, for years, has been used to create white inks of all sorts. In other words, it makes your white ink even whiter. To create the ink, we suspend this metal compound in water, and over time, it settles due to gravity.
When the ink settles, it has the potential for damage to the ink lines, dampers, capping station, and print head. So, to prevent that, you’ll need to agitate a cartridge, bottle, or utilize an auto-circulating system of some sort.
If your printer doesn’t circulate white ink for you, then you will need to make sure the ink stays in solution by performing regular maintenance.
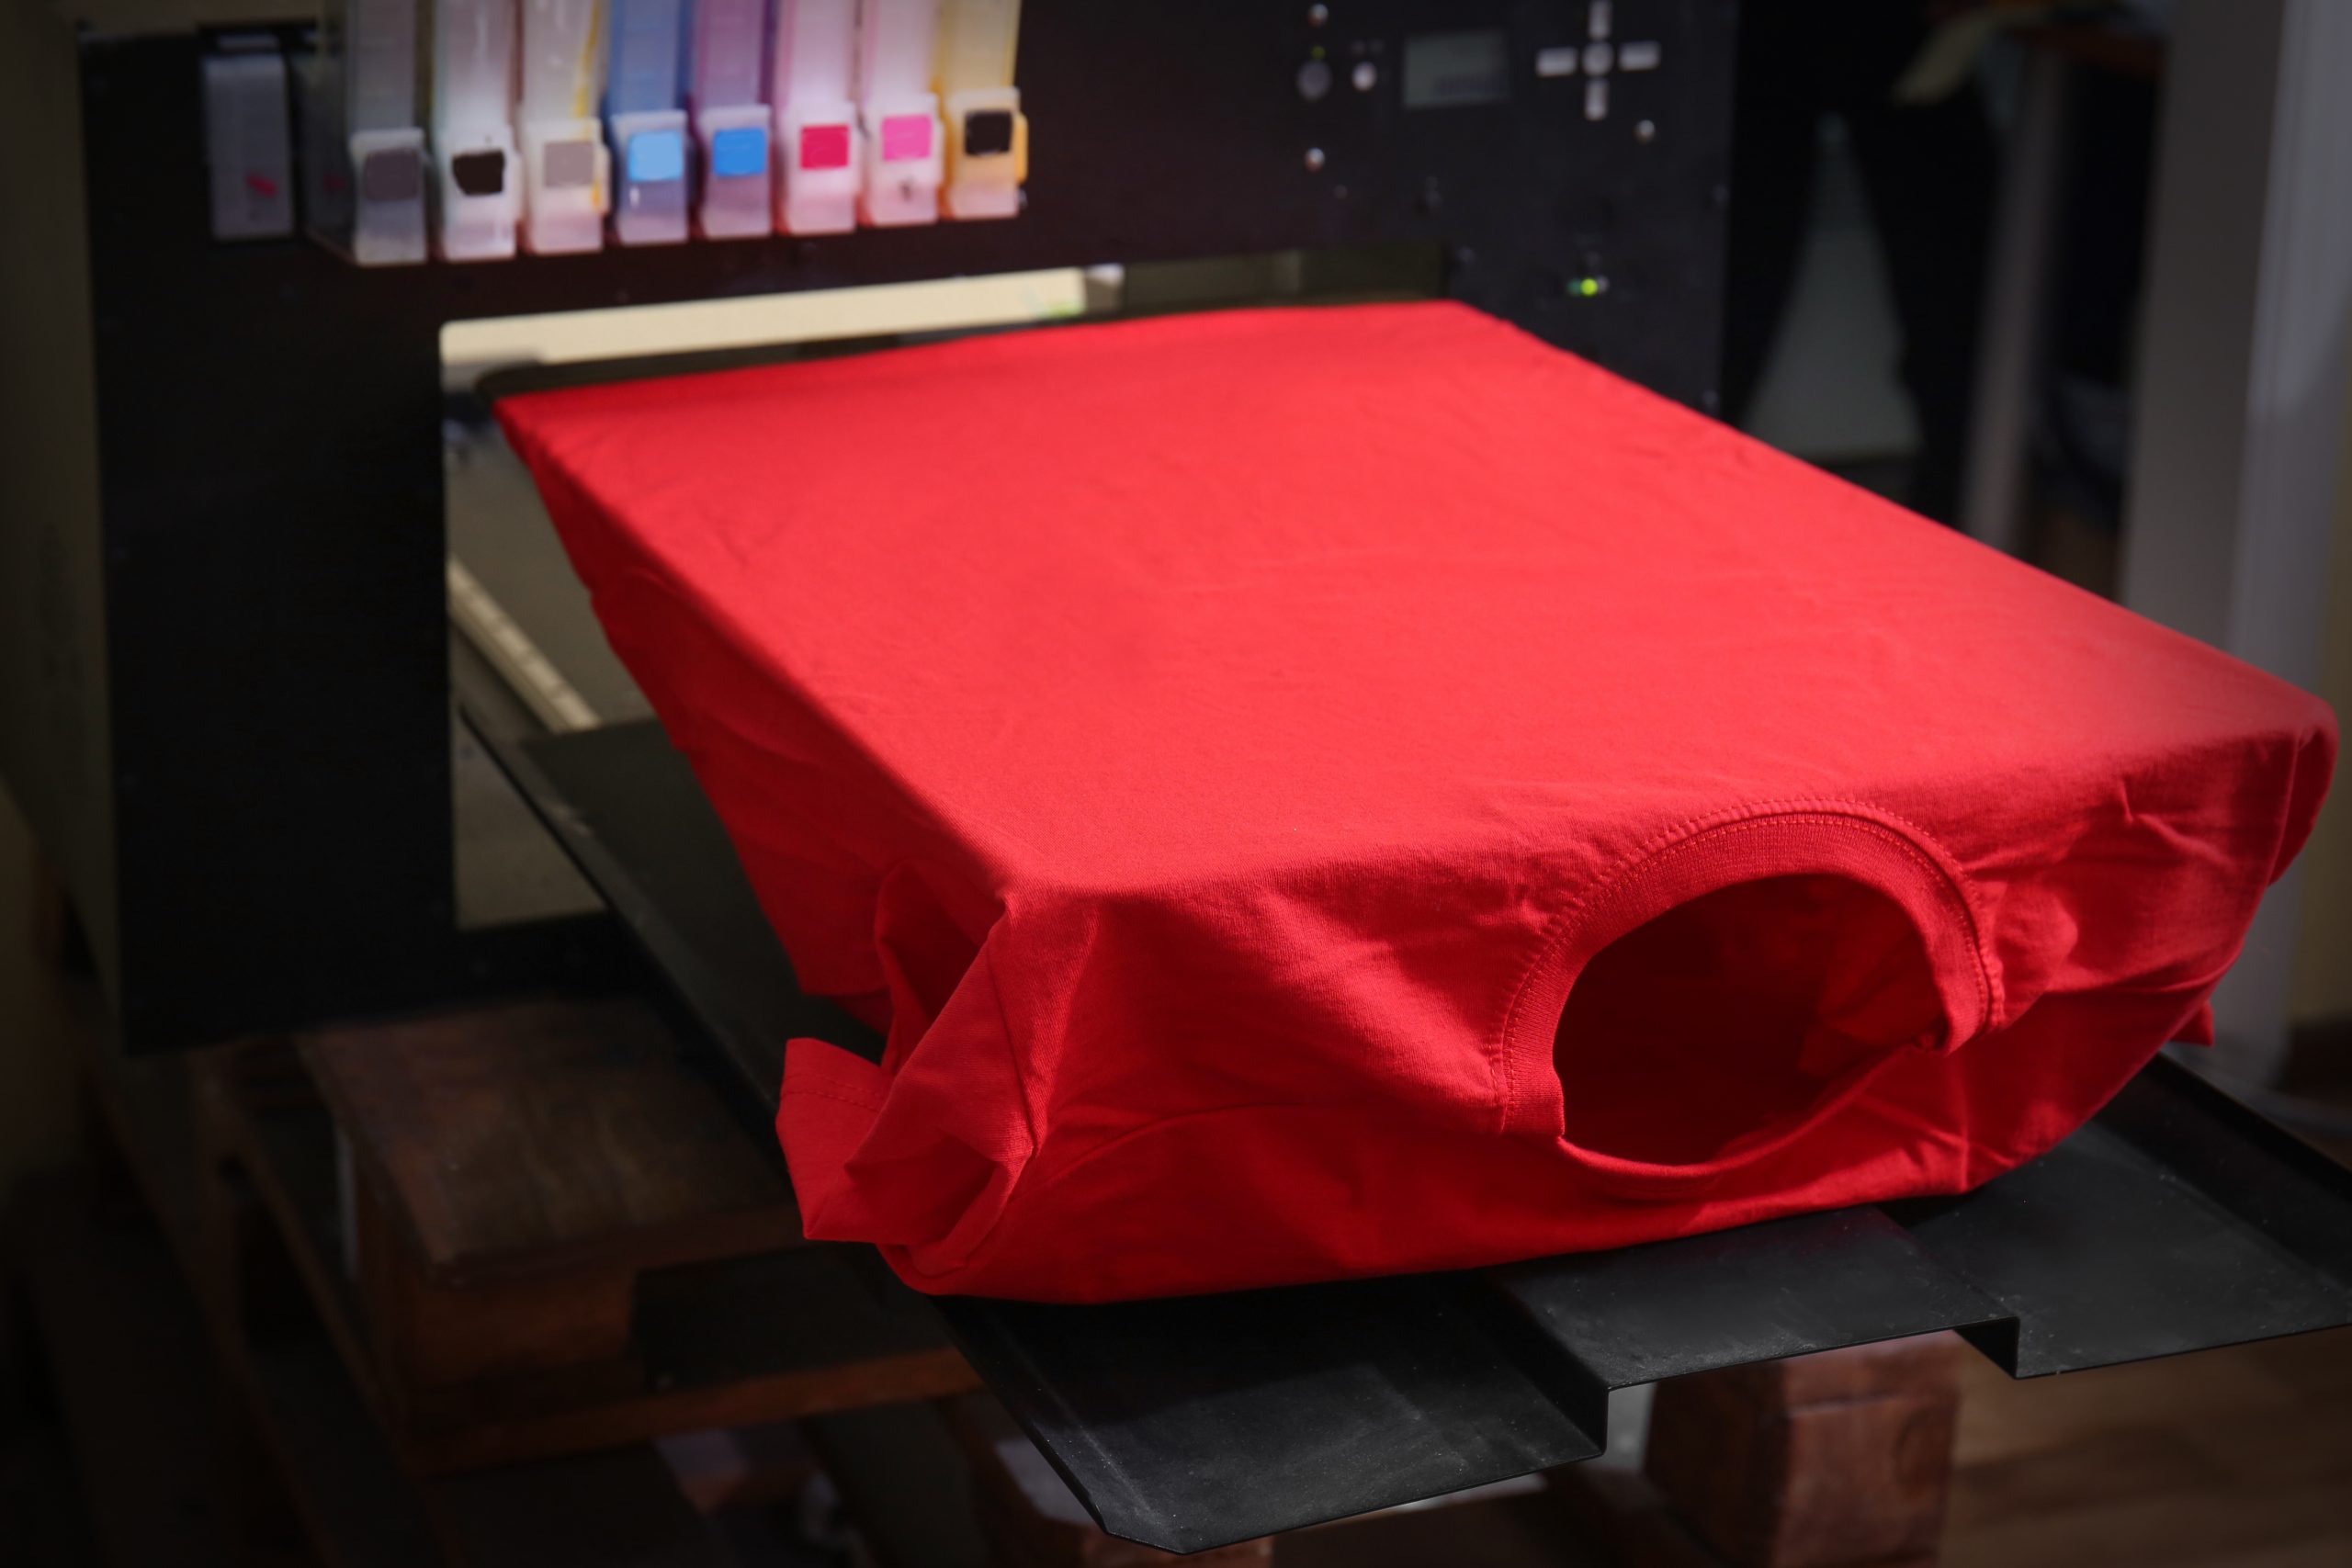
Printing on dark-colored garments and fabrics
 Printing on dark-colored garments and fabrics
When printing on dark fabrics, I’ll use the same advice as above, test everything. DTG inks are water-based, so printing on a natural fiber will yield a much better result than something synthetic.
Take, for example, polyester. It’s basically plastic, so when you print with water, the synthetic fibers will want to repel the water. Most of the time, you will see this in the curing process. There are ways to get around this, but the methods take longer and aren’t as productive and predictive, which drives up the costs.
With 100% cotton, the fibers of the fabric tend to absorb the ink rather than repelling it. But manufacturing of the garment (how and where) can make a difference.
One of the best methods I’ve seen using only a heat press and the right shirt (preferably ringspun) is the following:
- After spraying garment with pretreatment, hover for at least 30 seconds
- Place a non-absorbent sheet of paper that is silicon infused over the shirt
- Press with heavy pressure
Why heavy pressure? Try this test sometime, fold a shirt in half lengthwise, and press a crease in the shirt. Then place the creased shirt in the center from top to bottom of the heat press and put a freshly pretreated shirt over the top of that and press with medium pressure.
What you’ve done is created a garment in which half of it has medium pressure, and half of it has heavy pressure. Print on that and look at the results. The heavy pressure will produce a brighter white ink, but why?
When using heavy pressure, you are capturing some of the critical components of the pretreat and essentially trapping it on the fabric. Throughout this process, the glossier the cover sheet, the more chance of a crystalized or shiny surface, which is why you want to hover first. It will reduce this effect.
One last area when it comes to printing on dark garments is discoloration. Sometimes, you just have to change the garment style/brand to get away from this. If the amount of pretreatment you have discolors the shirt but has a solid white or the amount in which it doesn’t discolor the garment but has a poor white, there’s nothing else to do but go other than a different garment.
Some of those colors might be greens, reds, and grays, but I’ve seen it where changing the brand was the only thing that alleviated the issue.
And once again, this is why in all of this, you document everything you are doing. It will not only help you understand the process better, but it will decrease your learning curve and turn your challenges into advantages.