Material, Design, and Placement for Womenswear
Don't get into trouble with design sizing and bad placement
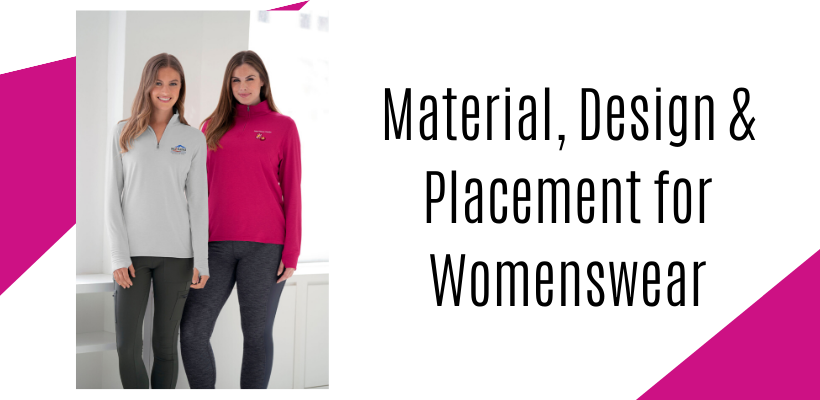
The materials used in women’s clothing are usually softer, thinner, and sheerer. Take some time to get samples from your distributors. Get to know what shirts will hold up to the printing process, or if the shirt is going to be difficult to embroider. You wouldn’t print on a woven button-down shirt, so you would want to direct your customer to embroidery. Before you sell that shirt, do you have the expertise to embroider it? Will it require a special needle for the material, do you have the right stabilizer to ensure it doesn’t pucker? And if it requires extra work to produce it, are you pricing it correctly to protect your profit margins?
Similarly, if you have T-shirts or items you are going to print, you need to consider the curing temperature for the material, the heaviness of the print, the correct ink to use, and if the shirt has a texture that will show through the design. Many women’s items may contain a small percentage of rayon or spandex, which will affect your print process, whether you are producing traditional screen print or DTG.
Let’s talk design
In my experience, design and placement are top areas where decorators can get into trouble. I recently had a new customer walk into my shop with a T-shirt that had been done by another shop. It was for a high school women’s basketball team, and the shop printed on a basic T-shirt. It featured a left-chest and right-chest logo. Being that it was basketball, both of the designs were circular. Based on the choices the shop made, it effectively looked like bullseyes were placed over the young women’s breasts. Not a good look!
That leads me to breasts. Yes. Women have breasts, and we must discuss them when it comes to the design and placing it. You can pick the best shirt, nail the fit, and then fall flat on your face when it comes to the design and placement.
My recommendation for putting designs on womenswear is to keep the design slightly smaller than you would for a unisex or men’s design. For example, if you would typically print a full-front design at 11.5-12″ wide, consider making the design for a women’s shirt 8-10.5″. This scaling will keep the design from overwhelming the frame of the women wearing the shirt. That being said, if you are designing for plus sizes, you won’t want to print that small as the design will get lost.
Placement is everything. When you are starting, I suggest testing, testing, testing. Print or embroider full-front and left-chest designs on different shirts and ask female team members or friends to try them on for you. Take note of where the design lands on their body and make adjustments. In short, don’t just print standard sizes. Make sure you are looking at junior fit, women’s fit, and plus sizes. For more on the breakdown of these different womenswear sizes, check out this tip.