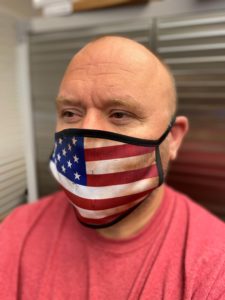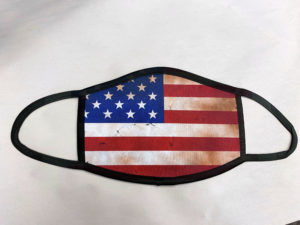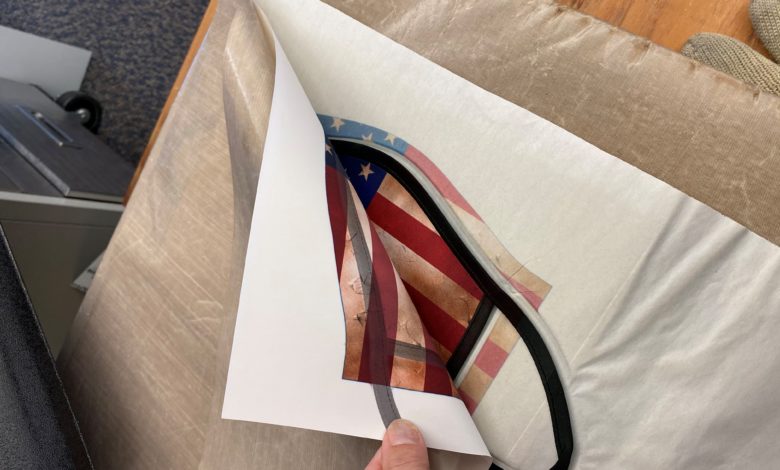
Protective face masks are becoming more and more required across the country. Sublimatable face masks give you endless personalization potential for schools, businesses, events, causes, teams, and much more. JDS sublimatable face masks are easy to sublimate and can generate additional sales that you may have previously lost because of the pandemic. This tutorial demonstrates how to sublimate the SBL300 face masks.
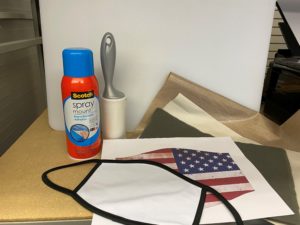
Supplies needed:
- Heat press
- Lint roller
- Heat-resistant foam
- Sublimation printer
- Transfer sheet
- Mask (SBL300)
- Spray adhesive
- Butcher paper
Step 1:
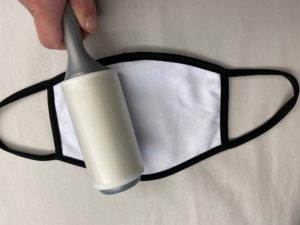
Lint roll the mask to prevent blue line marks. These lines are created by small, nearly invisible fibers that release blue dye when pressed.
Step 2:
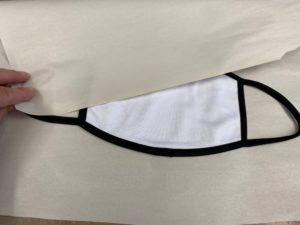
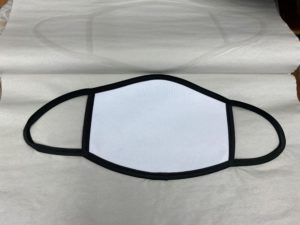
Prepress the mask for 5 seconds between two pieces of butcher paper. This will remove any wrinkles, creating a flat surface for a good transfer.
Step 3:
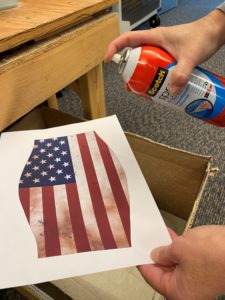
Spray a fine mist of repositionable adhesive spray on the printed transfer sheet, holding the spray about 8″ away from your transfer.
Step 4:
Center the mask on the transfer sheet. Make sure it feels smooth and without wrinkles. If the mask overlaps, it will create a crease that won’t receive any ink.
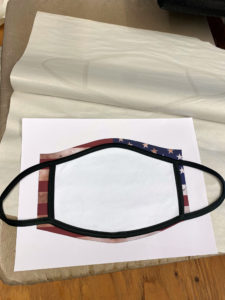
Step 5:
Layer the heat press from the bottom pad to the top heat platen in this order.
- Foam larger than the face mask
- Clean Teflon or butcher paper
- Mask
- Transfer (artwork)
- Clean Teflon or butcher paper
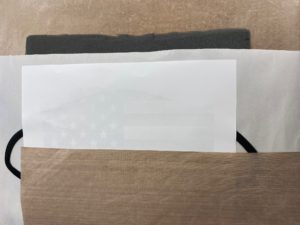
Step 6:
Heat press the mask with these settings:
- Temperature:380–385 degrees F
- Dwell time: 50 seconds to 1 minute
- Pressure: medium
Remove items from the press immediately. Use heat resistant gloves if necessary—the items will be very hot.
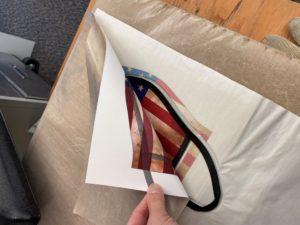
These 3-ply masks are available in child, medium, and large. JDS also has 2-ply masks, available in child, medium, and large, and made in the USA. Visit www.jdsindustries.com to see the full line of sublimated face masks.
