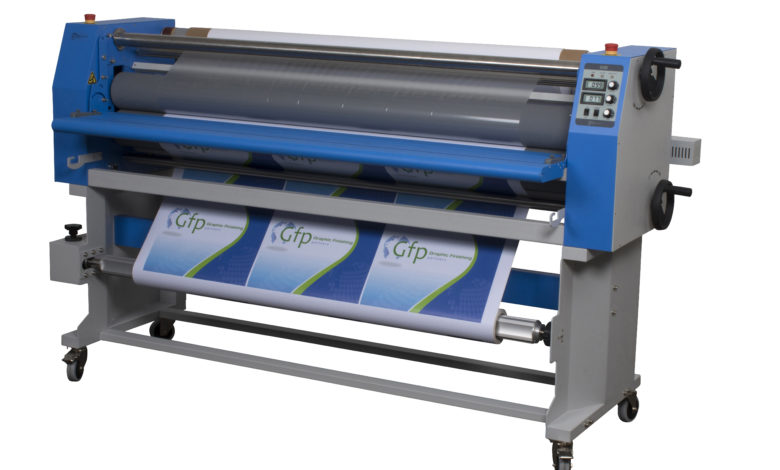
According to Tony Caruso, Advanced Greig Laminators Inc., not all laminators are the same. He says understanding your piece of equipment and why it works the way it does is vital to its overall performance.
Substrate
When the laminate is applied to a rigid substrate, like fluted plastic styrene (a very soft material), the laminator needs to apply just enough pressure to get the job done without collapsing or crushing the substrate.
Pneumatic laminators allow a shop to fine-tune the amount of pressure needed on any given project down to a half-inch setting.
If the substrate is dense and rigid like a piece of acrylic, PVC, or even half-inch aluminum, you want a good firm press into the product to increase the amount of pressure forcing down.
The biggest challenge when laminating is getting waves or wrinkles in the laminate when running it through the equipment. Having a laminator with process control feedback helps when a shop figures out the best tension to apply to a project (so it runs through the laminator without waves or wrinkles). Shops can easily make a note of the machine’s settings, so it’s repeatable in the future.
In thermal applications, shops need to take into account the temperature of the machine. If it is not hot enough, the adhesive on the laminate won’t activate, and it won’t stick, Caruso says.
“If it is too hot, it is affecting the integrity of the laminate and could cause it to deform and cause waves or wrinkles,” he adds.
Speed, pressure, tension
Another factor is speed. If you run your laminator too fast, you do not give the adhesive on the laminate enough time on the heated rollers to activate it. The pressure is also important. If there isn’t adequate pressure, there is not going to be a good bond. Tension is another crucial feature of good lamination. If too much tension is applied to the film, it will stretch or elongate the material and want to contract and revert back, causing the image to curl or causing premature delamination.
Lamination approach
Bob Pryor, Graphic Finishing Partners, says the best way to laminate, regardless of whose laminating equipment you have, is to laminate roll to roll. That way, an entire project gets done with the press of one button.
He also recommends using films with no lining or backer to them. It makes the entire process easier because there is no waste. He adds, “This is greener and far less expensive because there is no liner.”
Sally Becker, Coda Inc., adds, “One of the tips we like telling people is if you are going to put overlaminate film on a graphic, do that first because it requires more pressure and needs 100% contact.” That type of pressure could potentially crack or crush the substrate the graphic is being mounted to.
Tabletop machines do have the option for roll feed. If shops are doing higher production runs, Becker recommends they get a laminator with roll feed.
Brian Biegel, D&K Group, suggests shops do test runs on similar substrates before starting a lamination job for the first time. Begin with the lowest and slowest settings. If there are problems with adhesion, gradually increase the heat by 10-degree increments until the best results are achieved. For cold films, he suggests shops use a little bit of heat to help the adhesives flow better with textured surfaces and inks. No more than 104 degrees, or it could damage the films.
Having a work table located nearby, about the height of the laminating rollers, is also a must to assist in getting images into the machine and back out again without being damaged.
If a shop is interested in buying a laminator, he recommends purchasing a machine one size bigger than a shop would currently use.
“It gives them the opportunity to grow into other areas they may not be taking advantage of at that time,” Biegel says.


