What could be cooler than a custom personalized beach/pool towel in the summer months?
In this article, I’ll walk through how to easily create one with a desktop sublimation printer. In this case, I used a towel with 100% polyester on one side and brushed cotton on the other.
Step 1
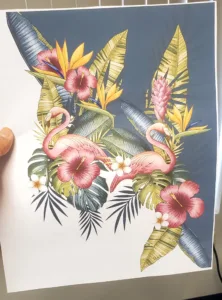
Layout: you will need to have a printed image (regular paper and ink) to create a mockup so that it is easy to put together. (Fig. 1)
Step 2
Sizing the artwork:
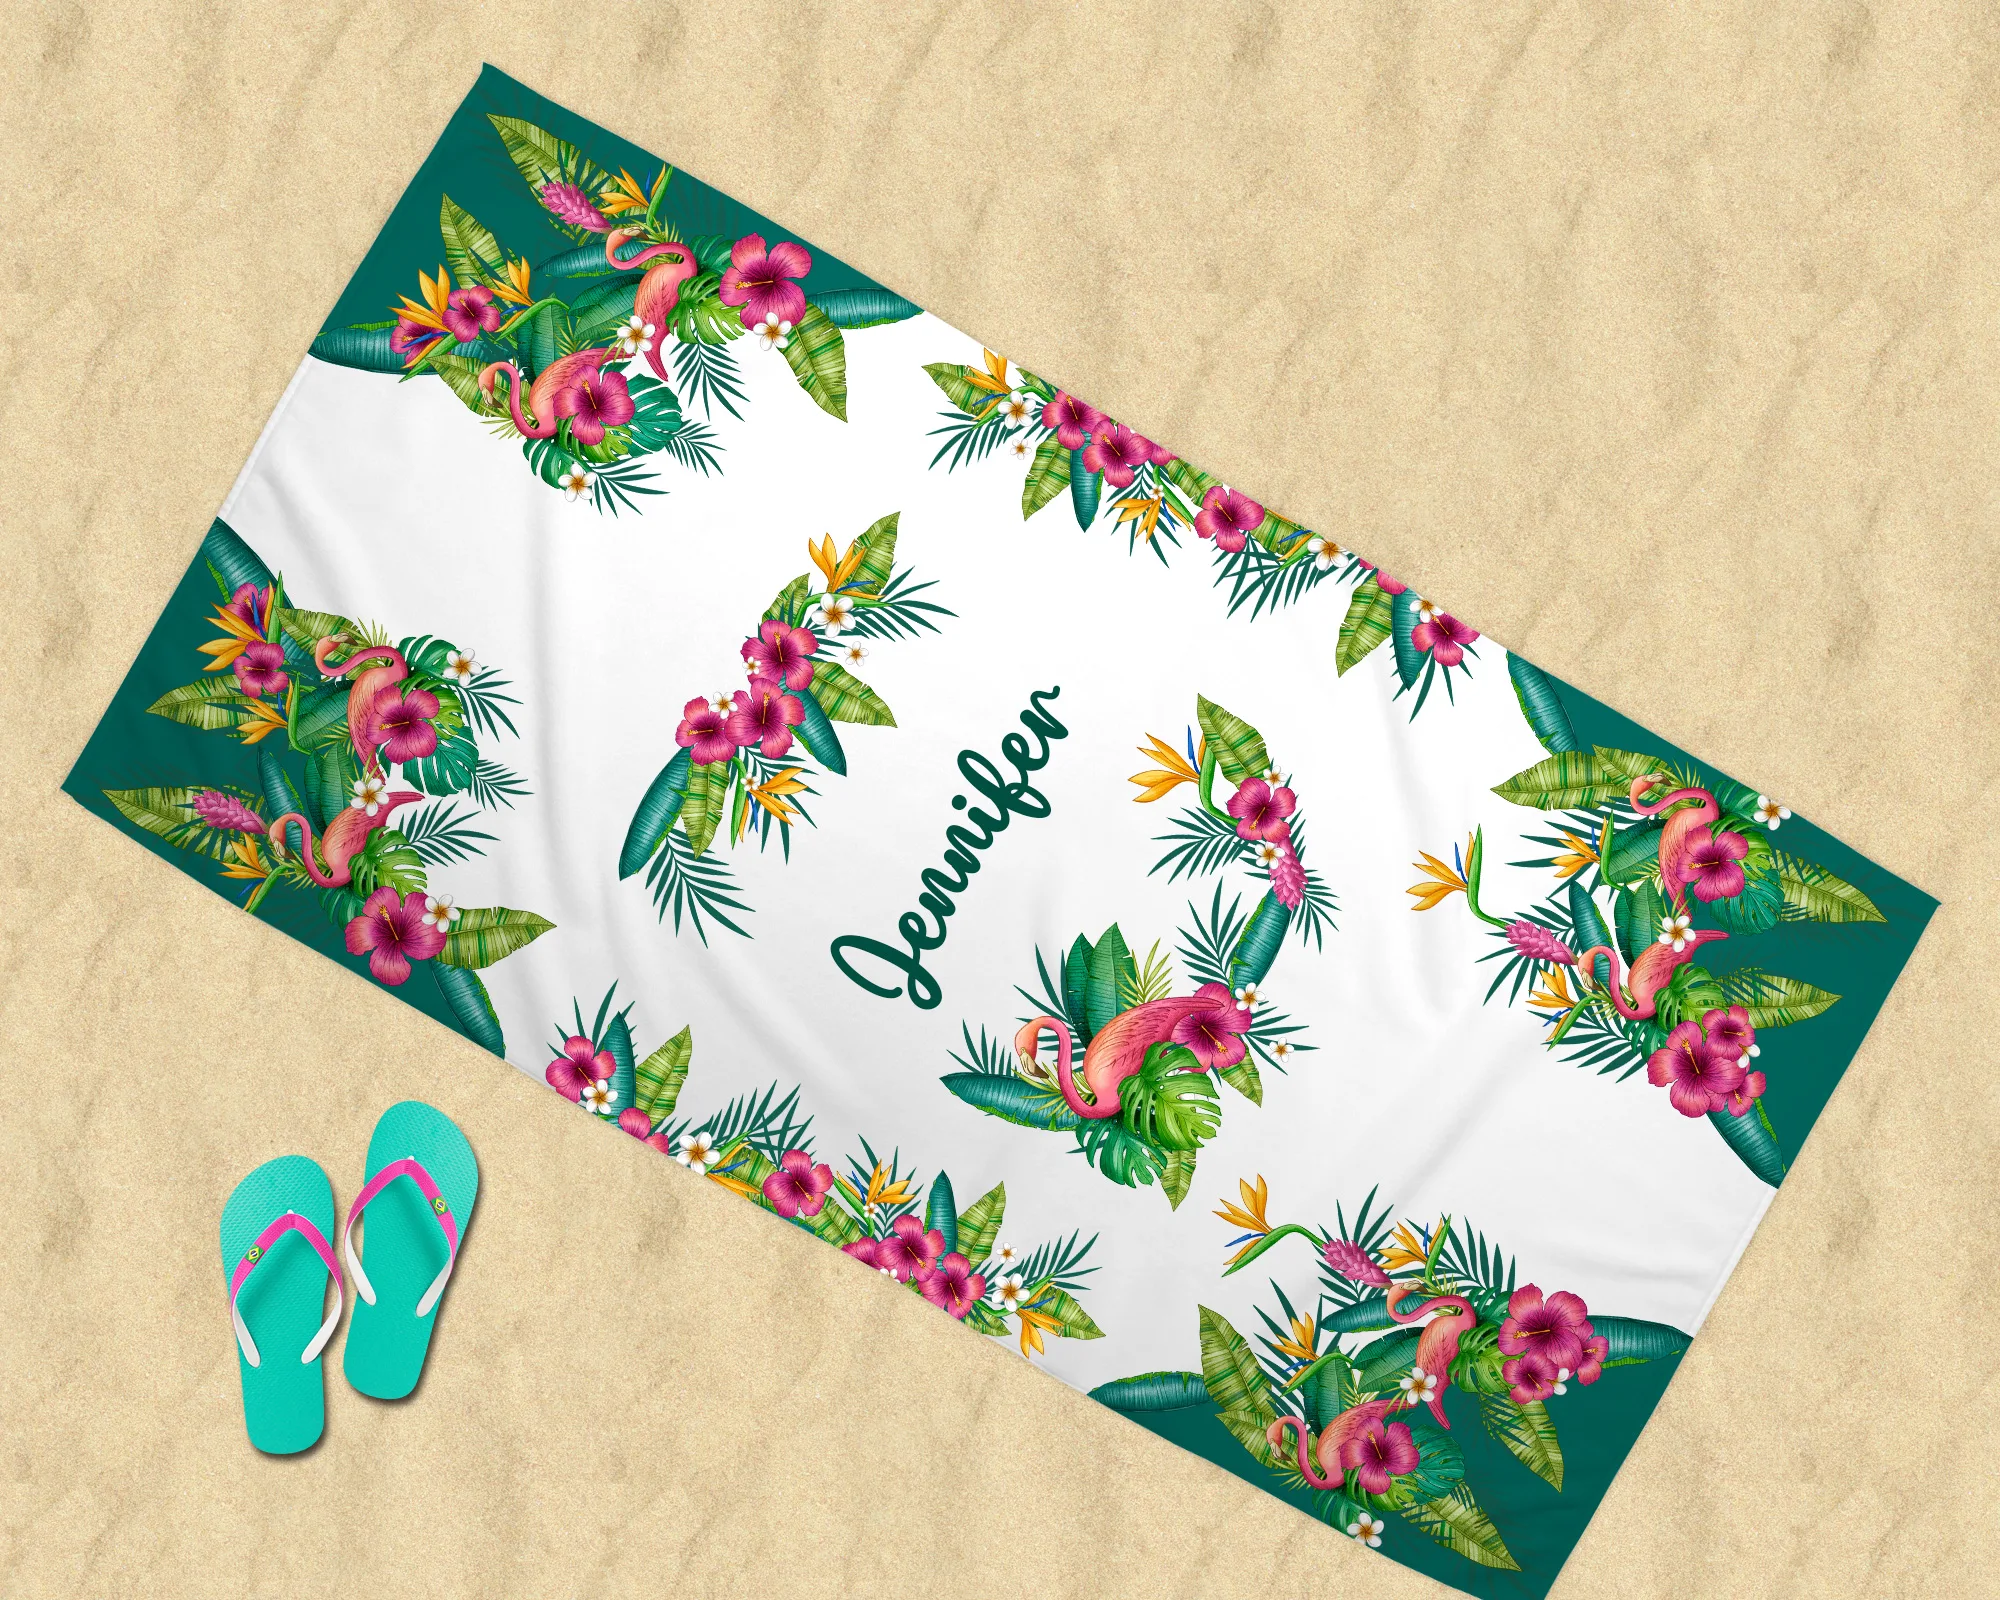
- Corners: average size 6.25”-8.25” canvas to hold artwork printed on 8.5” x 11.0” sublimation paper and ink. Total of four images — one per corner
- Sides: The average size is 14” long by 5” high. Two of the images need to be printed for both sides
- Middle: 10” wide by 16” long
Step 3
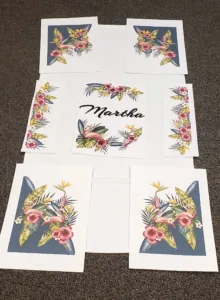
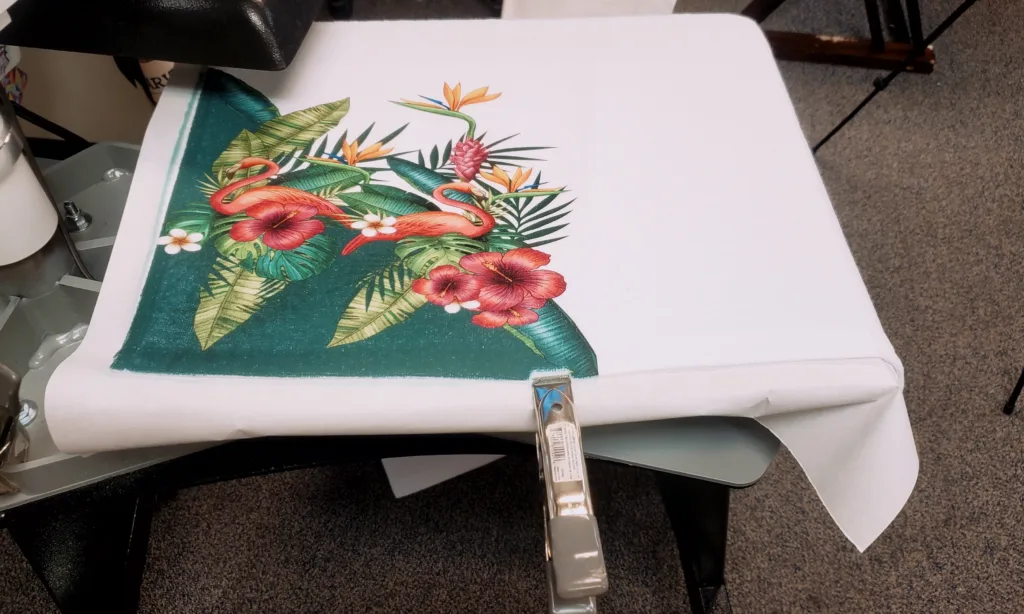
Lay out the images in their proper locations. (Fig. 2)
Now the fun part is assembly and pressing!
- Fold the towel in half, then over, and press so you get a center point. This makes it easier to line up vertically and horizontally.
- Press at 400 degrees for 30 seconds
- Start with a corner. Then go to the sides and use your guide points by folding the center image in half — marking a center point — then line up.
- Work your way up one side, then repeat for the other side.
Then press the middle and you are finished! (Fig. 3)