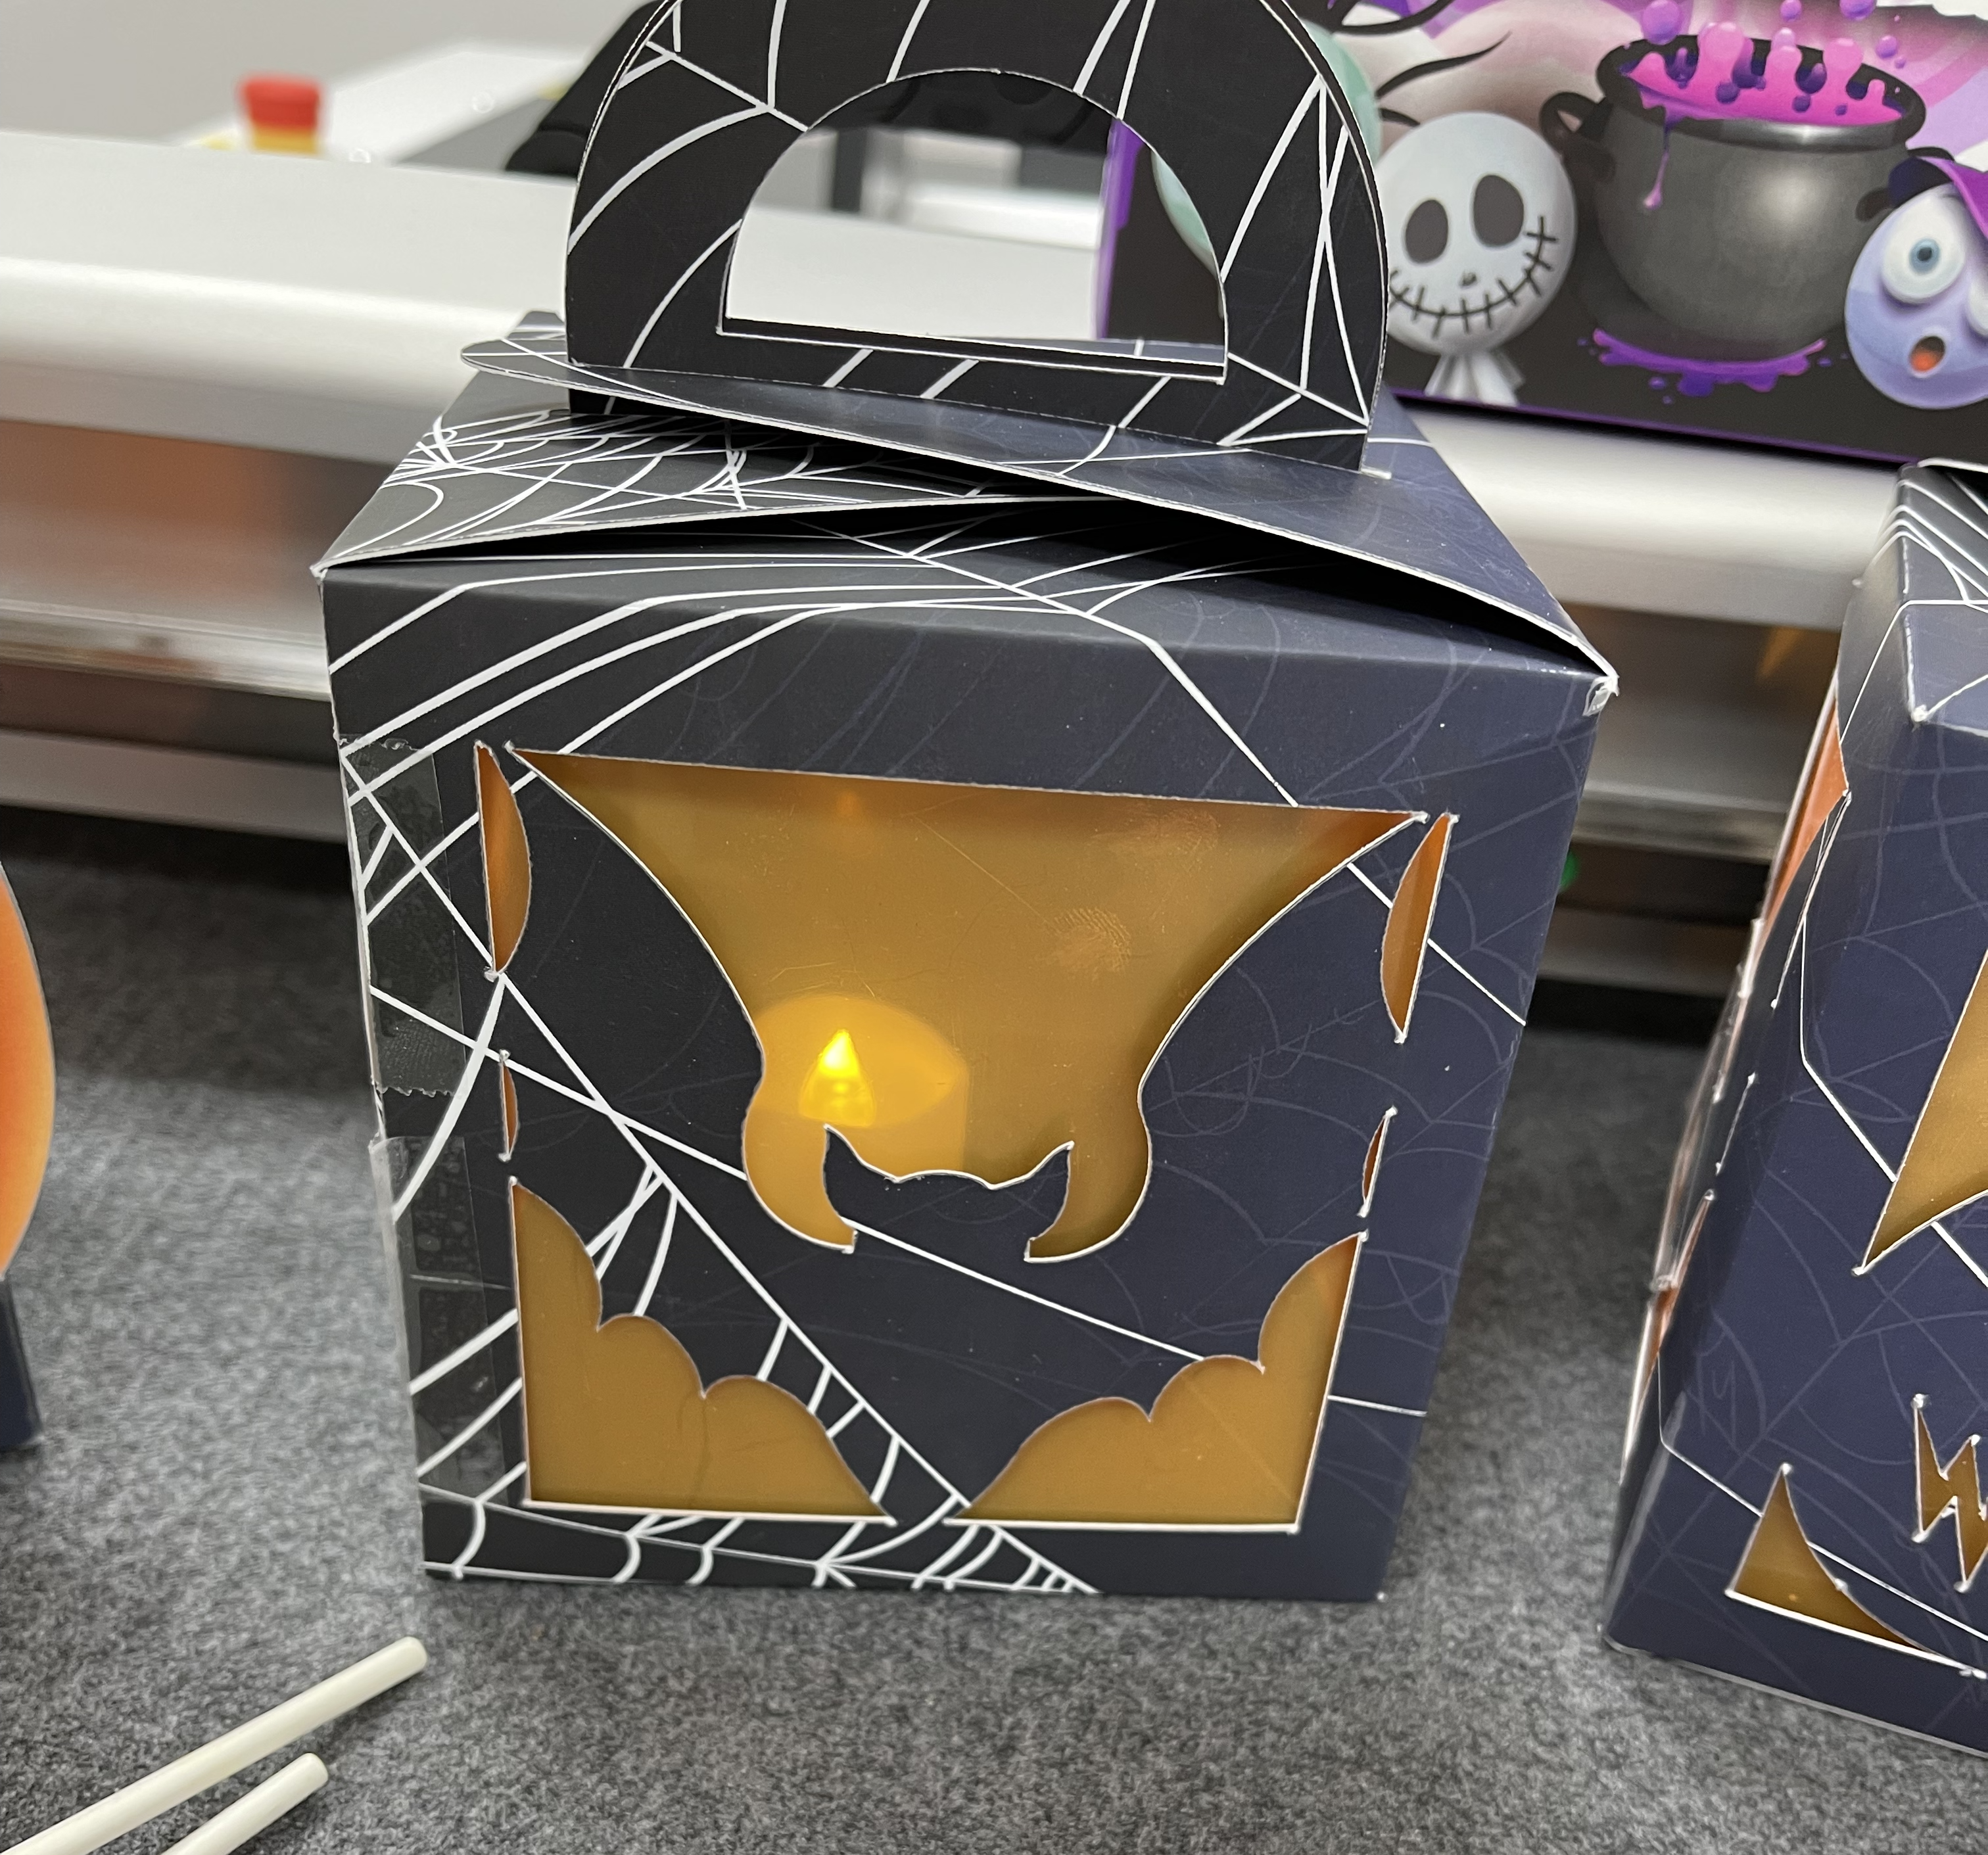
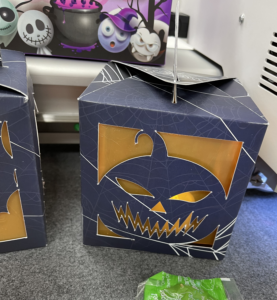
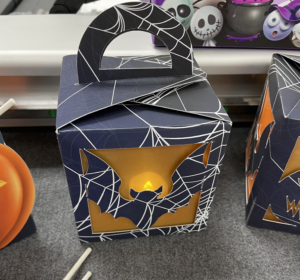
What’s this?! What’s this?! A Halloween treat for you! Want to create your own spooky decorations and other Halloween applications? Look no further as we explore creating a pumpkin and bat lantern box.
Creating a lantern box
Starting off, we open our design software and begin creating die lines for our box outline. Measurements are important so we can ensure the box folds together properly.
We separate our pattern into five layers: registration crop marks, crease/score layer, cut layer, foil layer, and print/artwork layer. On our registration crop mark layer, we create five, 6mm black-filled circles and place them along the edge of the artboard about a quarter-inch off the edge. This will allow the digital die cutter to read the marks and align the tools to position correctly for processing.
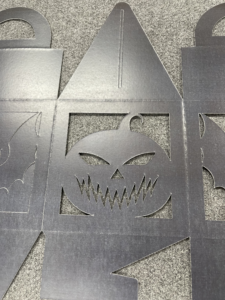
Next, we place our thru cut die lines on a layer, so we can assign a cut tool to process only these lines, this includes the pumpkin shape, teeth, bat, and handles. The same process is followed for the crease layer.
For our artwork/print layer we found some spider webs on a vector site and place those down on top of the black box we have created. For foil, we placed more spider webs — but bigger — and changed the color to black as the foil device will adhere foil to black toner ink.
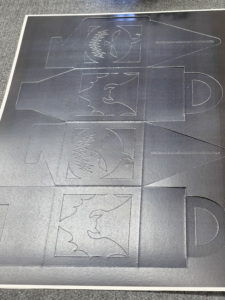
After the designing stage is complete, it’s time to export our files. We export only the registration mark layer and artwork layer as one PDF. This PDF will be printed, and soft-touch laminate will be applied on top of it to reduce cracking on certain paper types when we fold the box together. We export our foil layer as another PDF. We reprint the foil PDF on top of the laminate sheets we just finished.
To finish up our sheets, we applied white foil to the sheets to create a shiny spider web effect, which is a good alternative if you do not have the capabilities to print white toner ink.
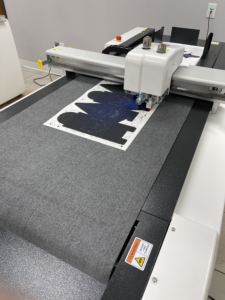
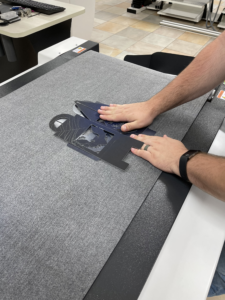
Last, we export our cut file, this includes the registration crop mark layer, cut layer, and score layer as a DXF. We load our sheets onto our digital die cutter and load our cut file and begin processing the sheets for output. Once the sheets are completed, we begin folding the box together. For greater effects, we applied some translucent foil to the inside of the box and added an electric candle to finish our lantern box.