Before you get started with this process, gather the right tools. You’ll need:
- Magnetic sheet cut into 6″ X 12″
- Digital camera
- Tape measure
- Design software
Next, you need to gather photos. To do this, follow these simple steps.
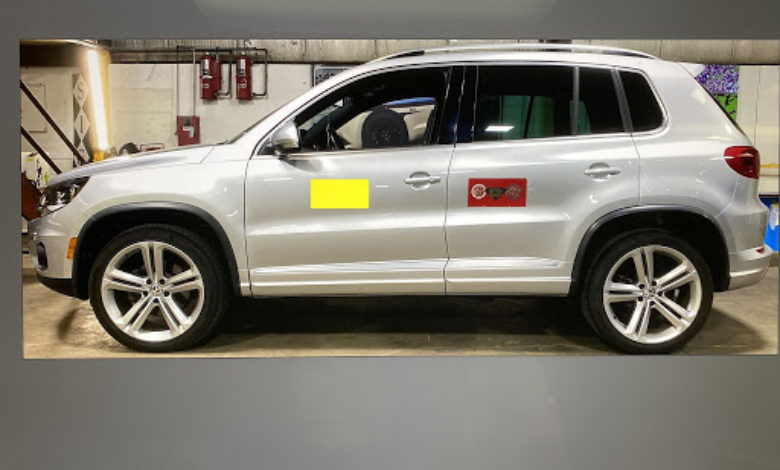
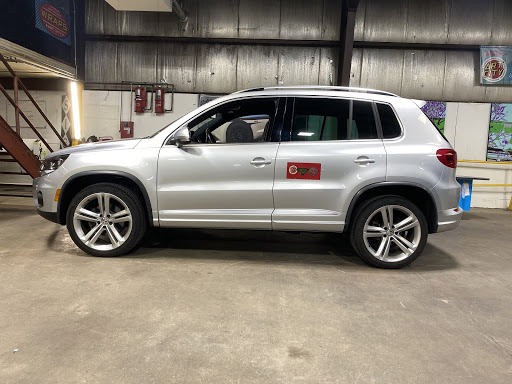
Place a 6″ X 12″ flexible magnet on the side of the vehicle. I use this size because most license plates are also this size and it gives me another reference to use. In this example, my magnet is the red rectangle in the photos.
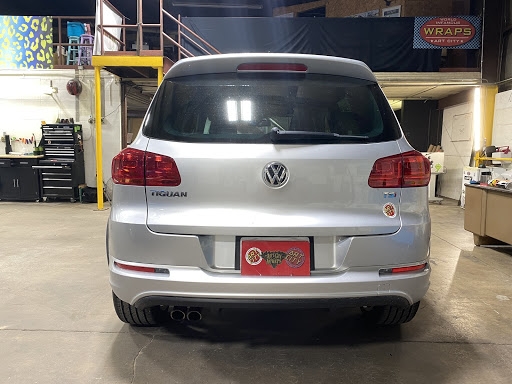
Next, grab your camera (I use my phone) and stand approximately 10′ away from the vehicle. In your camera’s viewfinder, square up as perpendicular as possible with the vehicle; keeping the front end and rear end in view as well as the roofline and tires touching the ground.
 Gather more shots of the vehicle for each side/area you are going to address (i.e., the hood, bumpers, tailgates, etc.). I use this process to help with site surveys as well, gathering photos for each specific location.
Need specific measurements? Grab a tape measure to ensure things are nice and tight. Need a seamless wrap? Don’t believe this process works? Scared of screwing up? Then take measurements or live dangerously and let it whip.
Now what?
- Send photos to your design software.
- In this software, create a rectangle of contrasting color, mine is yellow, that is 6″ X 12″. I design at 1/10th scale, which means the rectangle I create is .6″ X 1.2″.
- Now, zoom in; really zoom in. Scale your photo up or down until the rectangle you created in the previous step is the exact same size as the magnet in the photo. Make sure you constrain your proportions. The yellow box in the photo is .6″ X 1.2″ and the red magnet in the photo is the same size. The image is now scaled and cropped.
- It is important to take into consideration extra wrap material that may be needed to completely cover horizontal planes and also safe areas for any copy. On a three-dimensional object like a vehicle, I also need extra material to help install the piece correctly.

- It is important to take into consideration extra wrap material that may be needed to completely cover horizontal planes and also safe areas for any copy. On a three-dimensional object like a vehicle, I also need extra material to help install the piece correctly.
- Use your gathered measurements to double-check. You’ll find some measurements right on and some are off. Zoom in to make sure your yellow design box and red magnet are as close to the exact same size as possible. Make your adjustments and notes.
- Now chill out, you did it. Oh wait, don’t forget to save!

Other important notes
- Photo size/resolution – I use the basic settings on my phone. If I need a higher resolution I’ll take a higher resolution photo. When I email other designers/clients I send medium resolution photos from the phone or design program and haven’t had a complaint yet.
- Use scale/manage file size – I use a 1/10th scale with all of my file creations. This seems to keep my computer moving quickly and the files I end up with are high resolution and easily emailed or processed. I save files as .pdf or .eps and print them from my RIP at 1000%.
Action items
Think like an artist: Ask yourself, how can I best explain these complex shapes to another person so they can reproduce a perfectly fitted garment? This will help you think like an installer too, as you contemplate the different planes, flat shapes, and obstacles that make up a sculptured wrap piece.