Are you looking to master advanced lasering techniques such as photo engraving, color mapping, and relief engravings? With these basic and straightforward tips and recommendations, you’ll be processing like the pros in no time.
Photo engraving
Selecting the right image is critical in achieving high-quality photo engravings. Stick to graphics that are high quality (300 DPI), with great contrast and lighting if possible. Often, the perfect image is not easy to find, so a supportive photo editing software is highly recommended. For example, you can edit the brightness, contrast, or increase the resolution by resampling the image, if necessary. Some rendering software solutions contain built-in templates and settings for image processing onto various substrates.
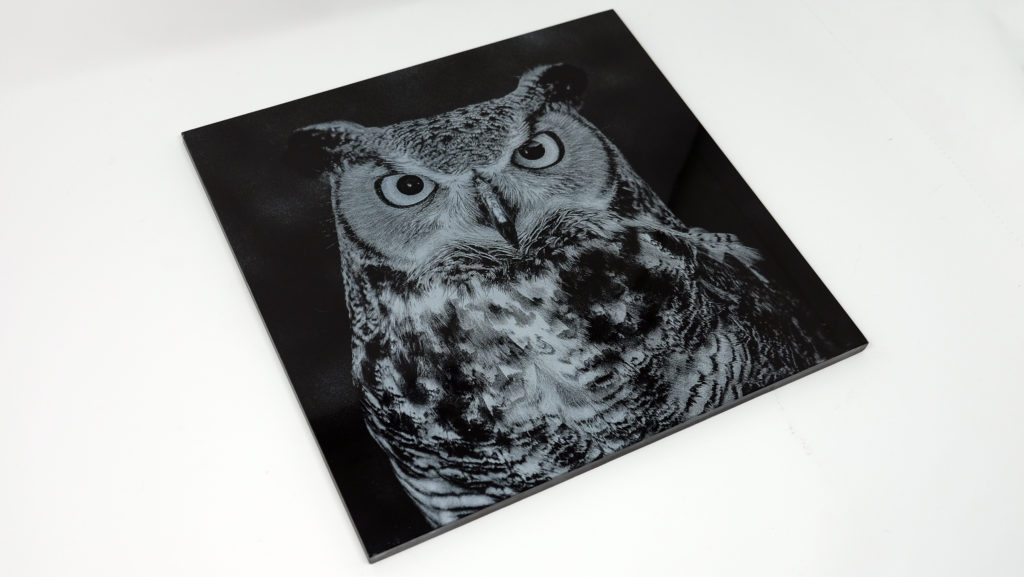
Materials will impact the overall quality of any photo engraving. Avoid materials that yield patterns or grains and stick to ones that produce crisp detail and engrave or mark with high contrast like anodized aluminum, wood, or engravers plastic. Best results are always achieved with appropriate material parameters. Too much laser power can result in a “flat” engraving with little details because the raster dots overlap. Also, be sure to use the appropriate lens to get the best quality photo engraving. A 1.5″ or a 2.0″ focal lens will often yield the best results.
Color mapping patterns
Color mapping is a way to denote multiple laser processes in one job, such as power and speed, and even table height settings. This is done by choosing colors from your palette and assigning them to different parameters. For example, if you are processing a job that requires different engraving depths for text, you would give each text a different color and change the power setting for each one. This way, you can save time by processing the entire piece in one job.
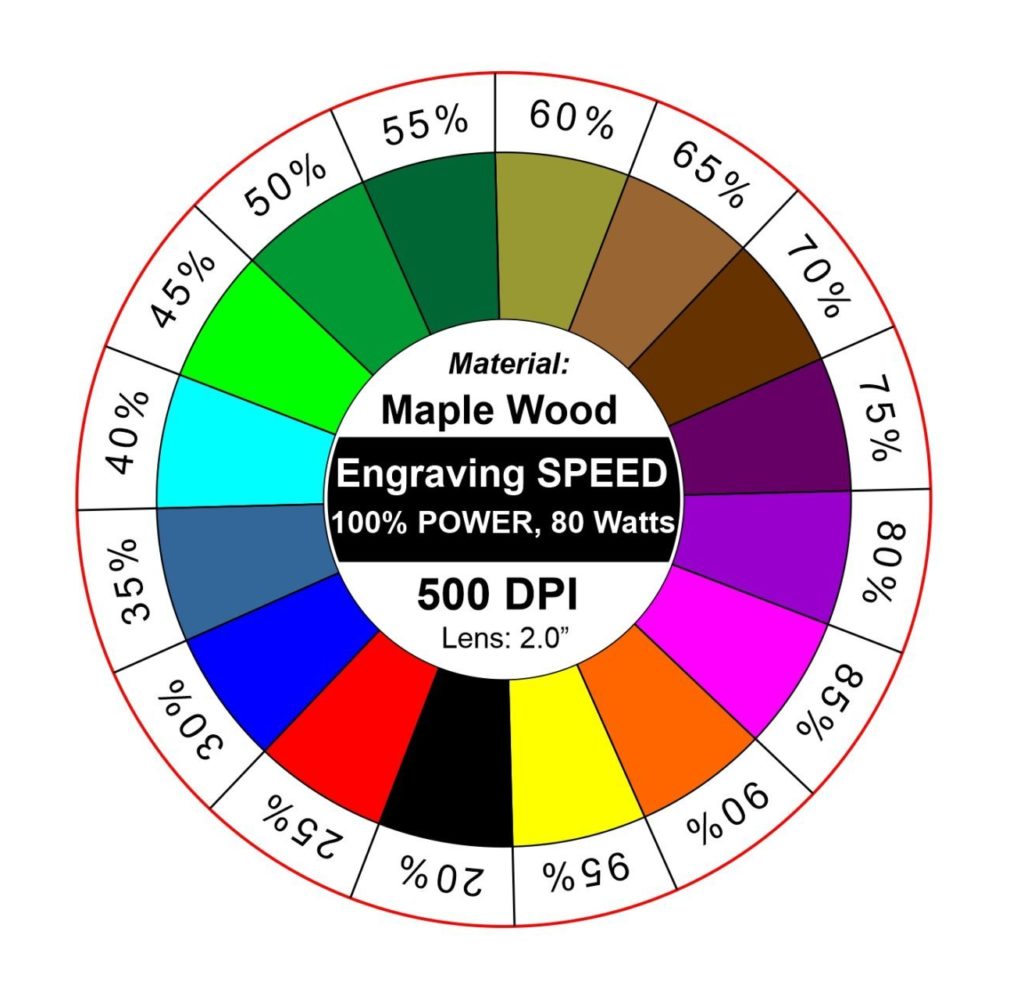
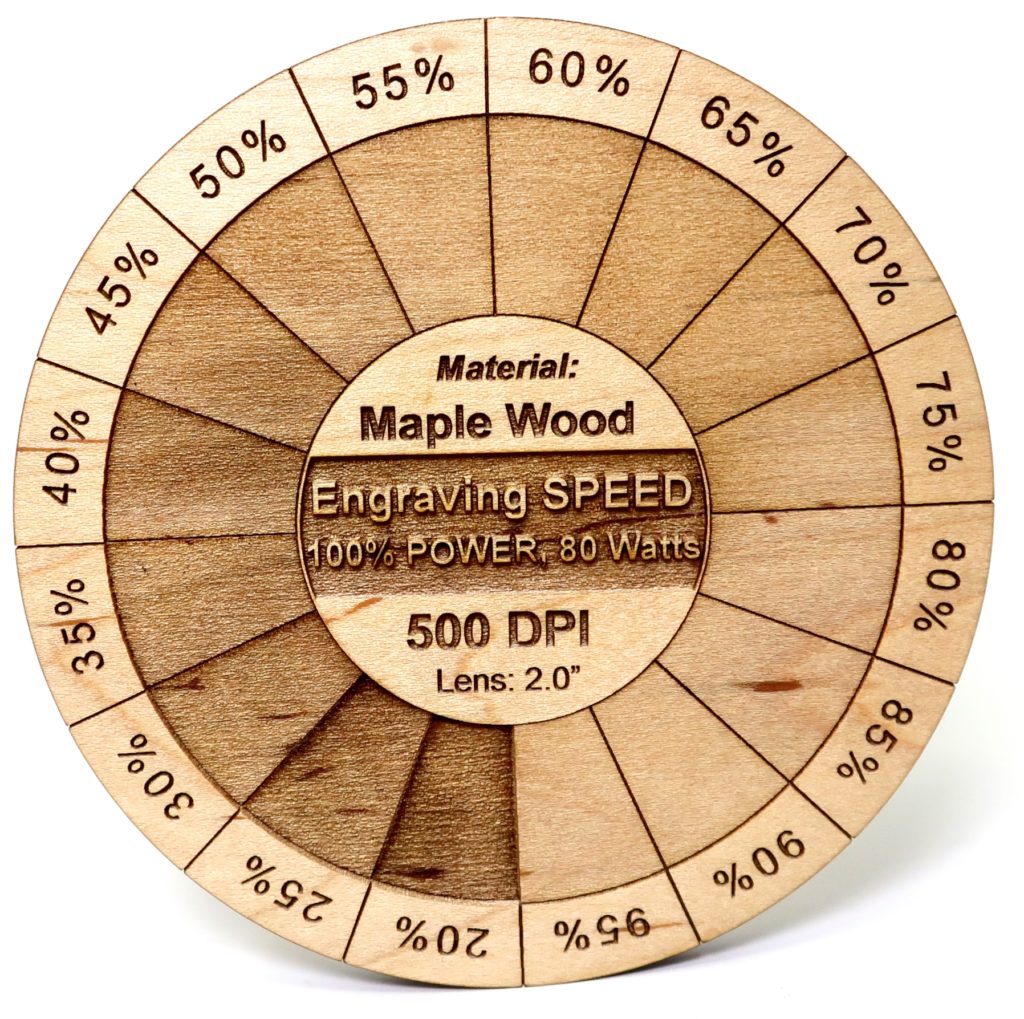
Suppose you have a material you frequently work with. In that case, you can also use color mapping to create a map or matrix of different laser settings so you and your customers can see what different speed or power settings look like on that material to determine the ideal parameters for an application.
Relief engraving
A relief engraving is a deep engraving with differing, eye-catching heights created by gray shades in the graphic. Data can be generated using gradients and grayscale fillings, which can be set up in your graphics program and/or in your laser software. Any gray shade ranging from 0% up to 100% black is compatible and will produce variations of height within the material. Furthermore, grayscale gradients will create flowing transitions between differences in height. The laser machine will regulate power output through the graphic’s grayscale, and darker graphics will deliver greater amounts of power while brighter graphics deliver less power. If you are looking for high-quality photos or data representations for relief engravings, use a 3D program for this complex process because these programs can produce extremely fine gradations at gray steps.
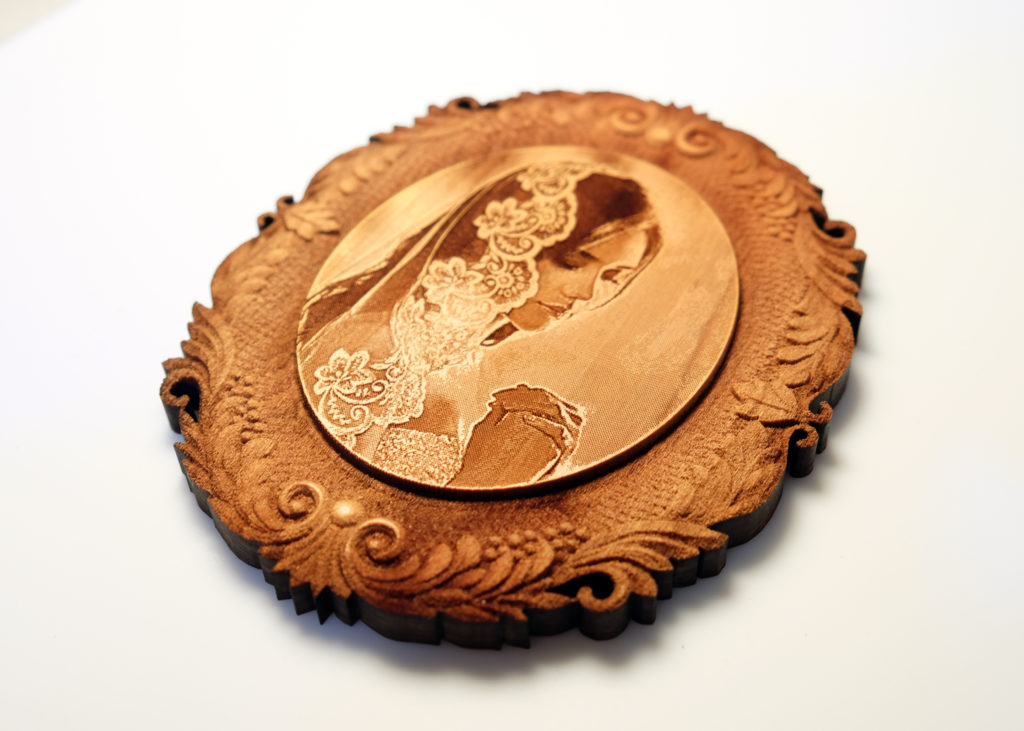
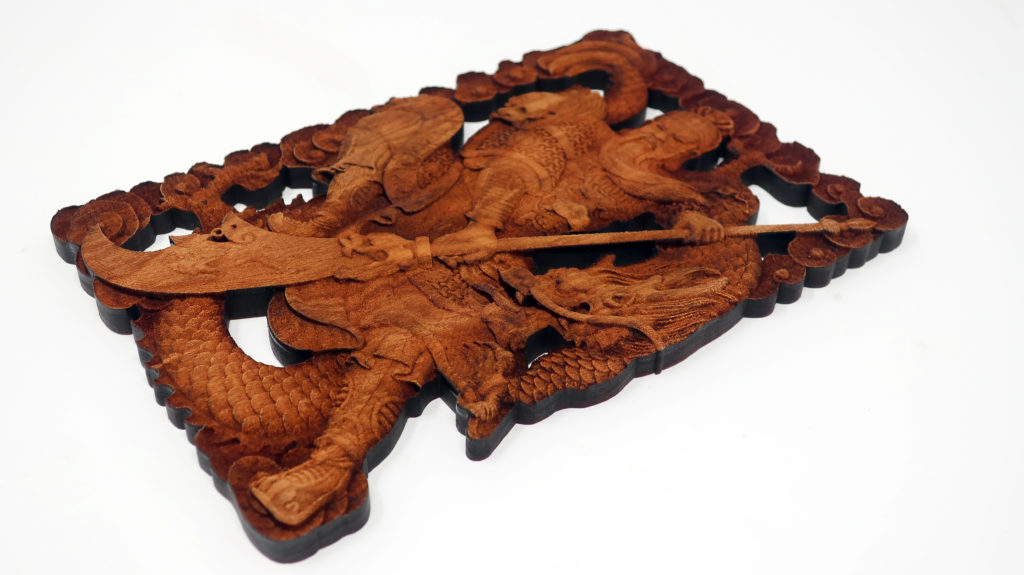
Relief engraving can be produced into many materials if the composition has the same layer structure throughout or is completely permeated with color, offering a uniform appearance. Suitable materials include solid wood, MDF, transparent and colored acrylic, and Delrin.
While wood adapts naturally to the relief engraving process and will produce highly impressive results, some are better suited than others. Woods that will generate the best results when relief engraving include cherry, maple, walnut, MDF, and other hardwoods.


