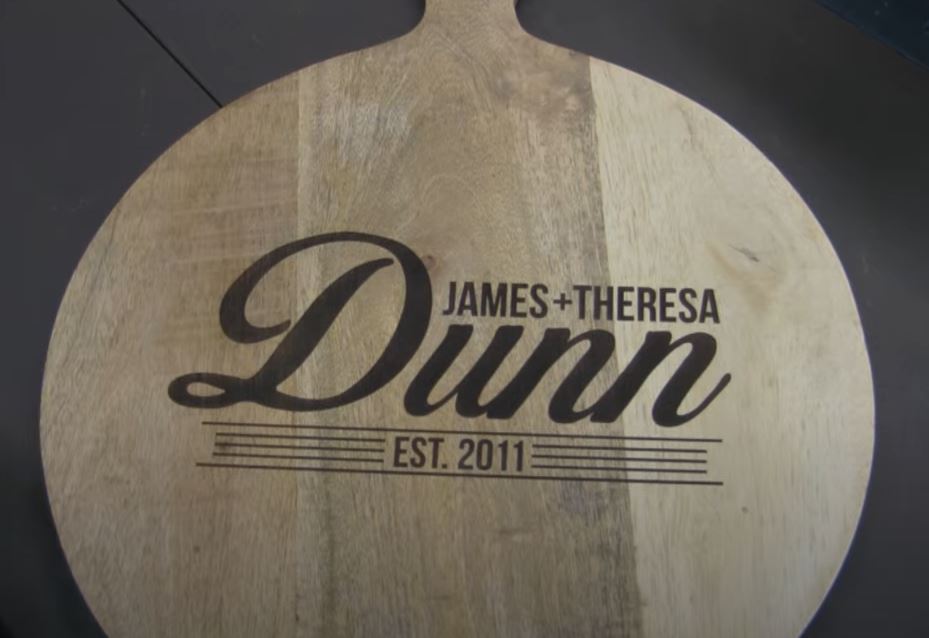
Prepare for the upcoming holiday season with unique, one-of-a-kind products. Follow the steps below to create a laser-engraved, wooden cutting board in minutes. Keep up with order demand by creating templates and keeping files editable. Apply these principles to any custom holiday order.
Needed materials:
- (1) Wooden cutting board
- (1) Roll of laser application tape
- (1) Cutting board laser file
Step 1: Prepping the cutting board
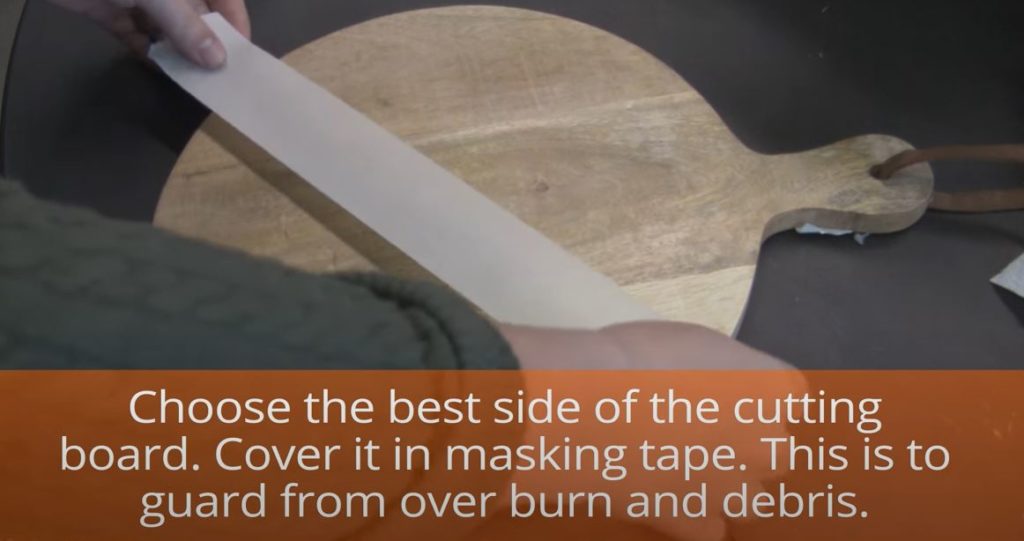
- Identify which side of the cutting board will be engraved
- Then, cover that side with laser application tape to guard the cutting board against over-burn and debris
Pro tip: Do not overlap the tape. Align pieces as close together as possible
Step 2: Prep file for laser
- In LightBurn (or similar design software) select speed and power settings
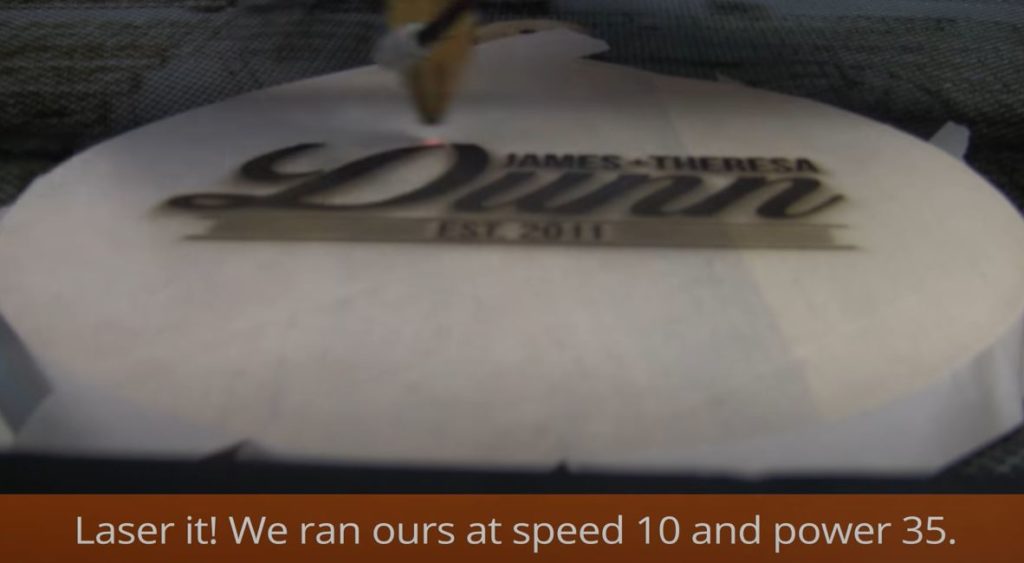
- AP Lazer recommends 10 speed and 35 power
Pro tip: Machine speed and power settings may vary. Reference your laser manufacturer speed and power settings database.
Step 3: Laser engrave the cutting board
- Place cutting board in the laser machine bed
- Send cutting board file to the laser from design software
- Focus the laser head to the cutting board using the machine’s focus tool
- Select “origin” to set origin point and “frame” to outline the file size (selecting frame ensures the file will fit within the desired material)
- Shut the lid and push “start”
Step 4: Clean up
- Remove cutting board from laser bed
- Remove application tape from cutting board
- Apply any desired seals or oils to the finished board
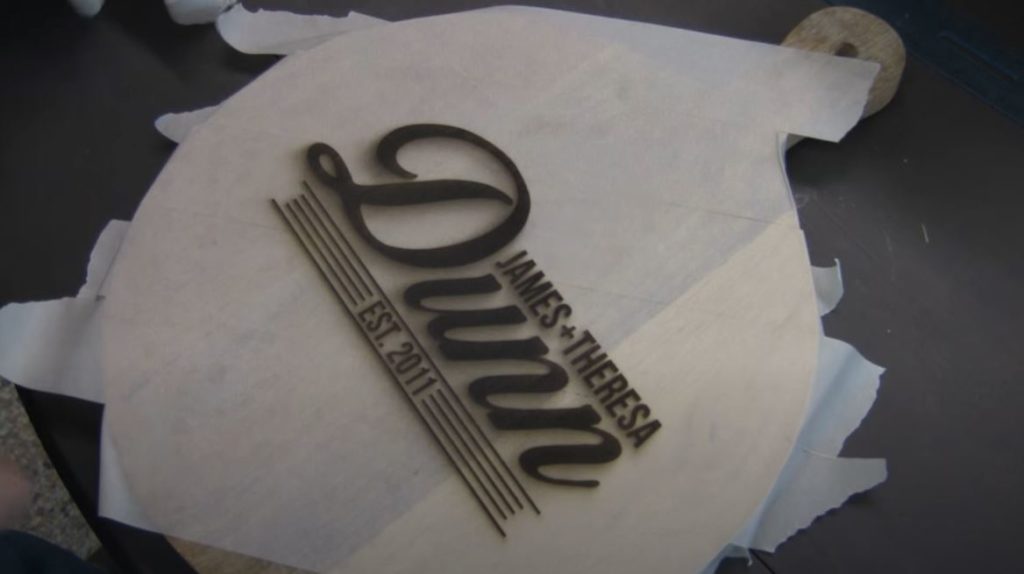

Pro tip: Save the cutting board file as an editable template for easy repeatability this holiday season.
Now it’s time to create your lasered holiday products. There’s no time like the present!


