Socks and mugs fall in the “most common” category of sublimatable goods, but they can pose some difficulty for those who aren’t experienced in the process. Try these approaches for each:
Sublimating socks
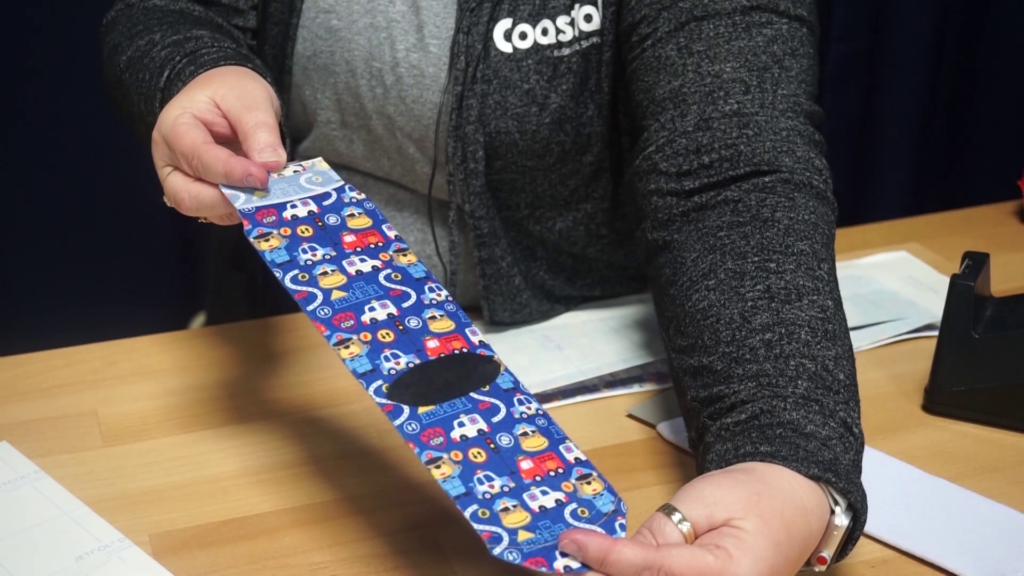
I recommend producers use a busy pattern as the background. You will often get a darker print along the side of the sock, and a busy pattern helps hide this feature. Try using a spray adhesive or a dye-sublimation paper that has an adhesiveness on it.
When pressing the socks, decorators can use a sandwich technique. Make sure to print both the front and the backside of the sock at once. Then, fold the paper in half and insert the sock. Next, put the sock into the heat press. Press the top side first and then the bottom. When done printing, remove the transfer, and the sock is done.
Sublimating mugs
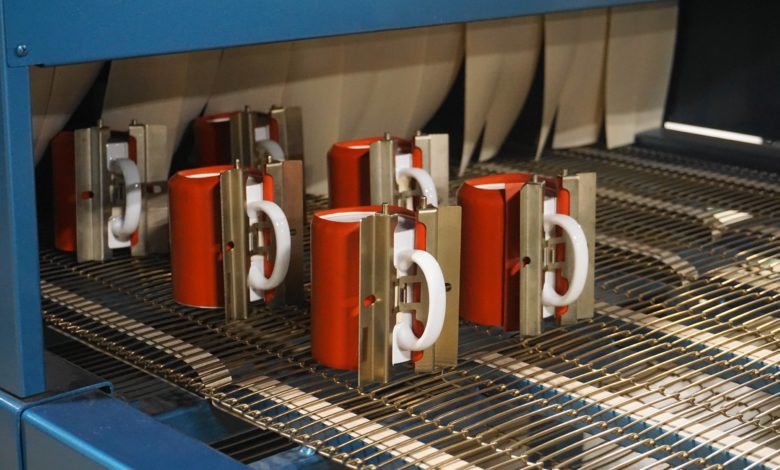
For this drinkware item, producers have a couple of options. They’ll need to decide if they’re using a mug press or a mug wrap.
No matter the size of the design, the transfer paper should completely cover the mug — from top to bottom and around to the handle. With the mug press, test out how long you will be pressing your mugs.
The time is usually between 10-15 minutes per mug. If a producer chooses a mug wrap, they need to decide which conveyor or convection oven they wish to use as it will dictate how long the mug needs to be inside the heat source. Whichever heat source the shop chooses, it needs to maintain a consistent temperature of 400 F.


