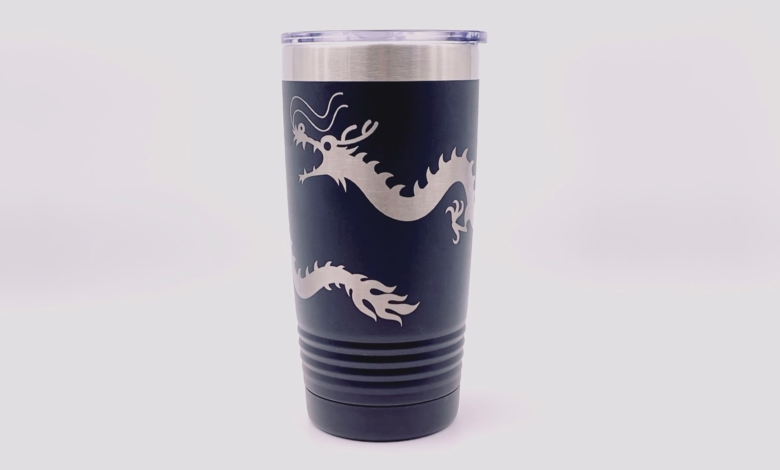
Tumblers remain one of the most popular personalization items that can provide an easy profit for businesses. Follow these steps to create custom drinkware on your laser system using a rotary attachment.
Step 1: Install your rotary attachment
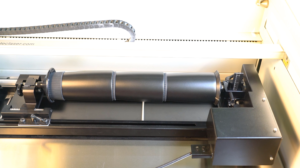
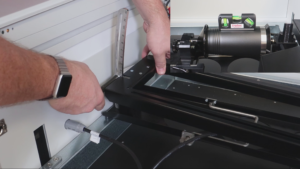
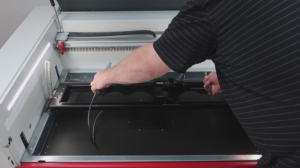
If you’re using a Trotec Speedy 400 laser system, make sure the laser is off and remove the cutting or engraving table. Insert the rotary attachment into the center side pins to keep it in place, and with the laser still off, plug in the attachment and then turn the laser on.
Step 2: Prepare tumbler for laser processing
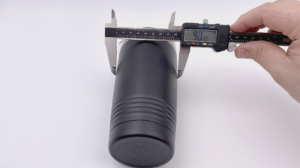
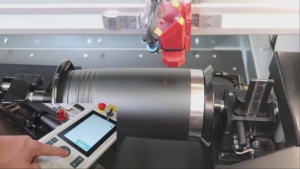
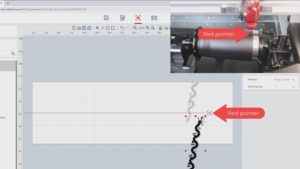
Using calipers, measure the diameter of the tumbler and record it for future use. Then load the tumbler into the attachment and make sure it is secure and level. If you’re using the rotary attachment on a Speedy 300, 360, or 400, you can quickly level the tumbler by adjusting the rotary angle. Remove the nose cone and manually focus onto the surface of the tumbler using the focus tool. Position the red dot pointer to the desired starting point of your graphic using the arrows on the keypad.
Step 3: Prepare and position file
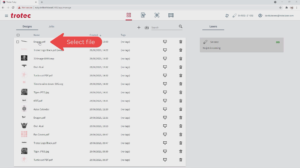
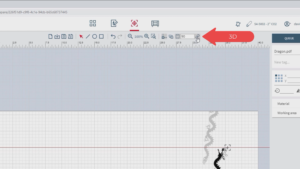
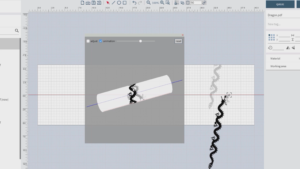
Open Ruby laser software or other design software and choose your graphic. If no adjustments are needed, create the job, and go to the prepare screen. Turn on the rotary by selecting it at the top of the toolbar. For this graphic, we rotated the design 90 degrees. Then move the design to the red pointer, which is visualized by the crosshairs on the screen. If you are using a wrap graphic, you will notice that Ruby displays a shadow of the wrapped design that simulates how the graphic will appear when engraved on the tumbler. Now place the diameter measurement from Step 2 in the rotary field in the toolbar. You can scale and adjust the graphic as necessary. Select the 3D button to see a 3D simulation of the final product. You can click and drag the simulation around to ensure you’re satisfied with the design from every angle.
Step 4: Engrave your tumbler
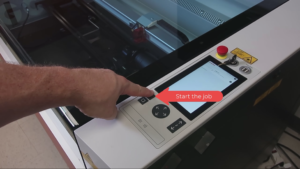
If you are using a separate graphics program, send your job to your laser software and adjust your parameters. In Ruby, select the material from the right side of the prepare screen to change your parameters if necessary, then send the job to the laser by pressing the “Push to Laser” button. When you’re ready to start the job, press the start button on the keypad. When finished, remove the tumbler from the laser, and it’s ready for use! Repeat the job as many times as necessary.
For a full video tutorial, click here.
Pro tip: Stacking tumblers can help save you time by processing multiple pieces in one job — just make sure they don’t slip during processing by using silicone or another material in between the tumblers that will keep them in place.
