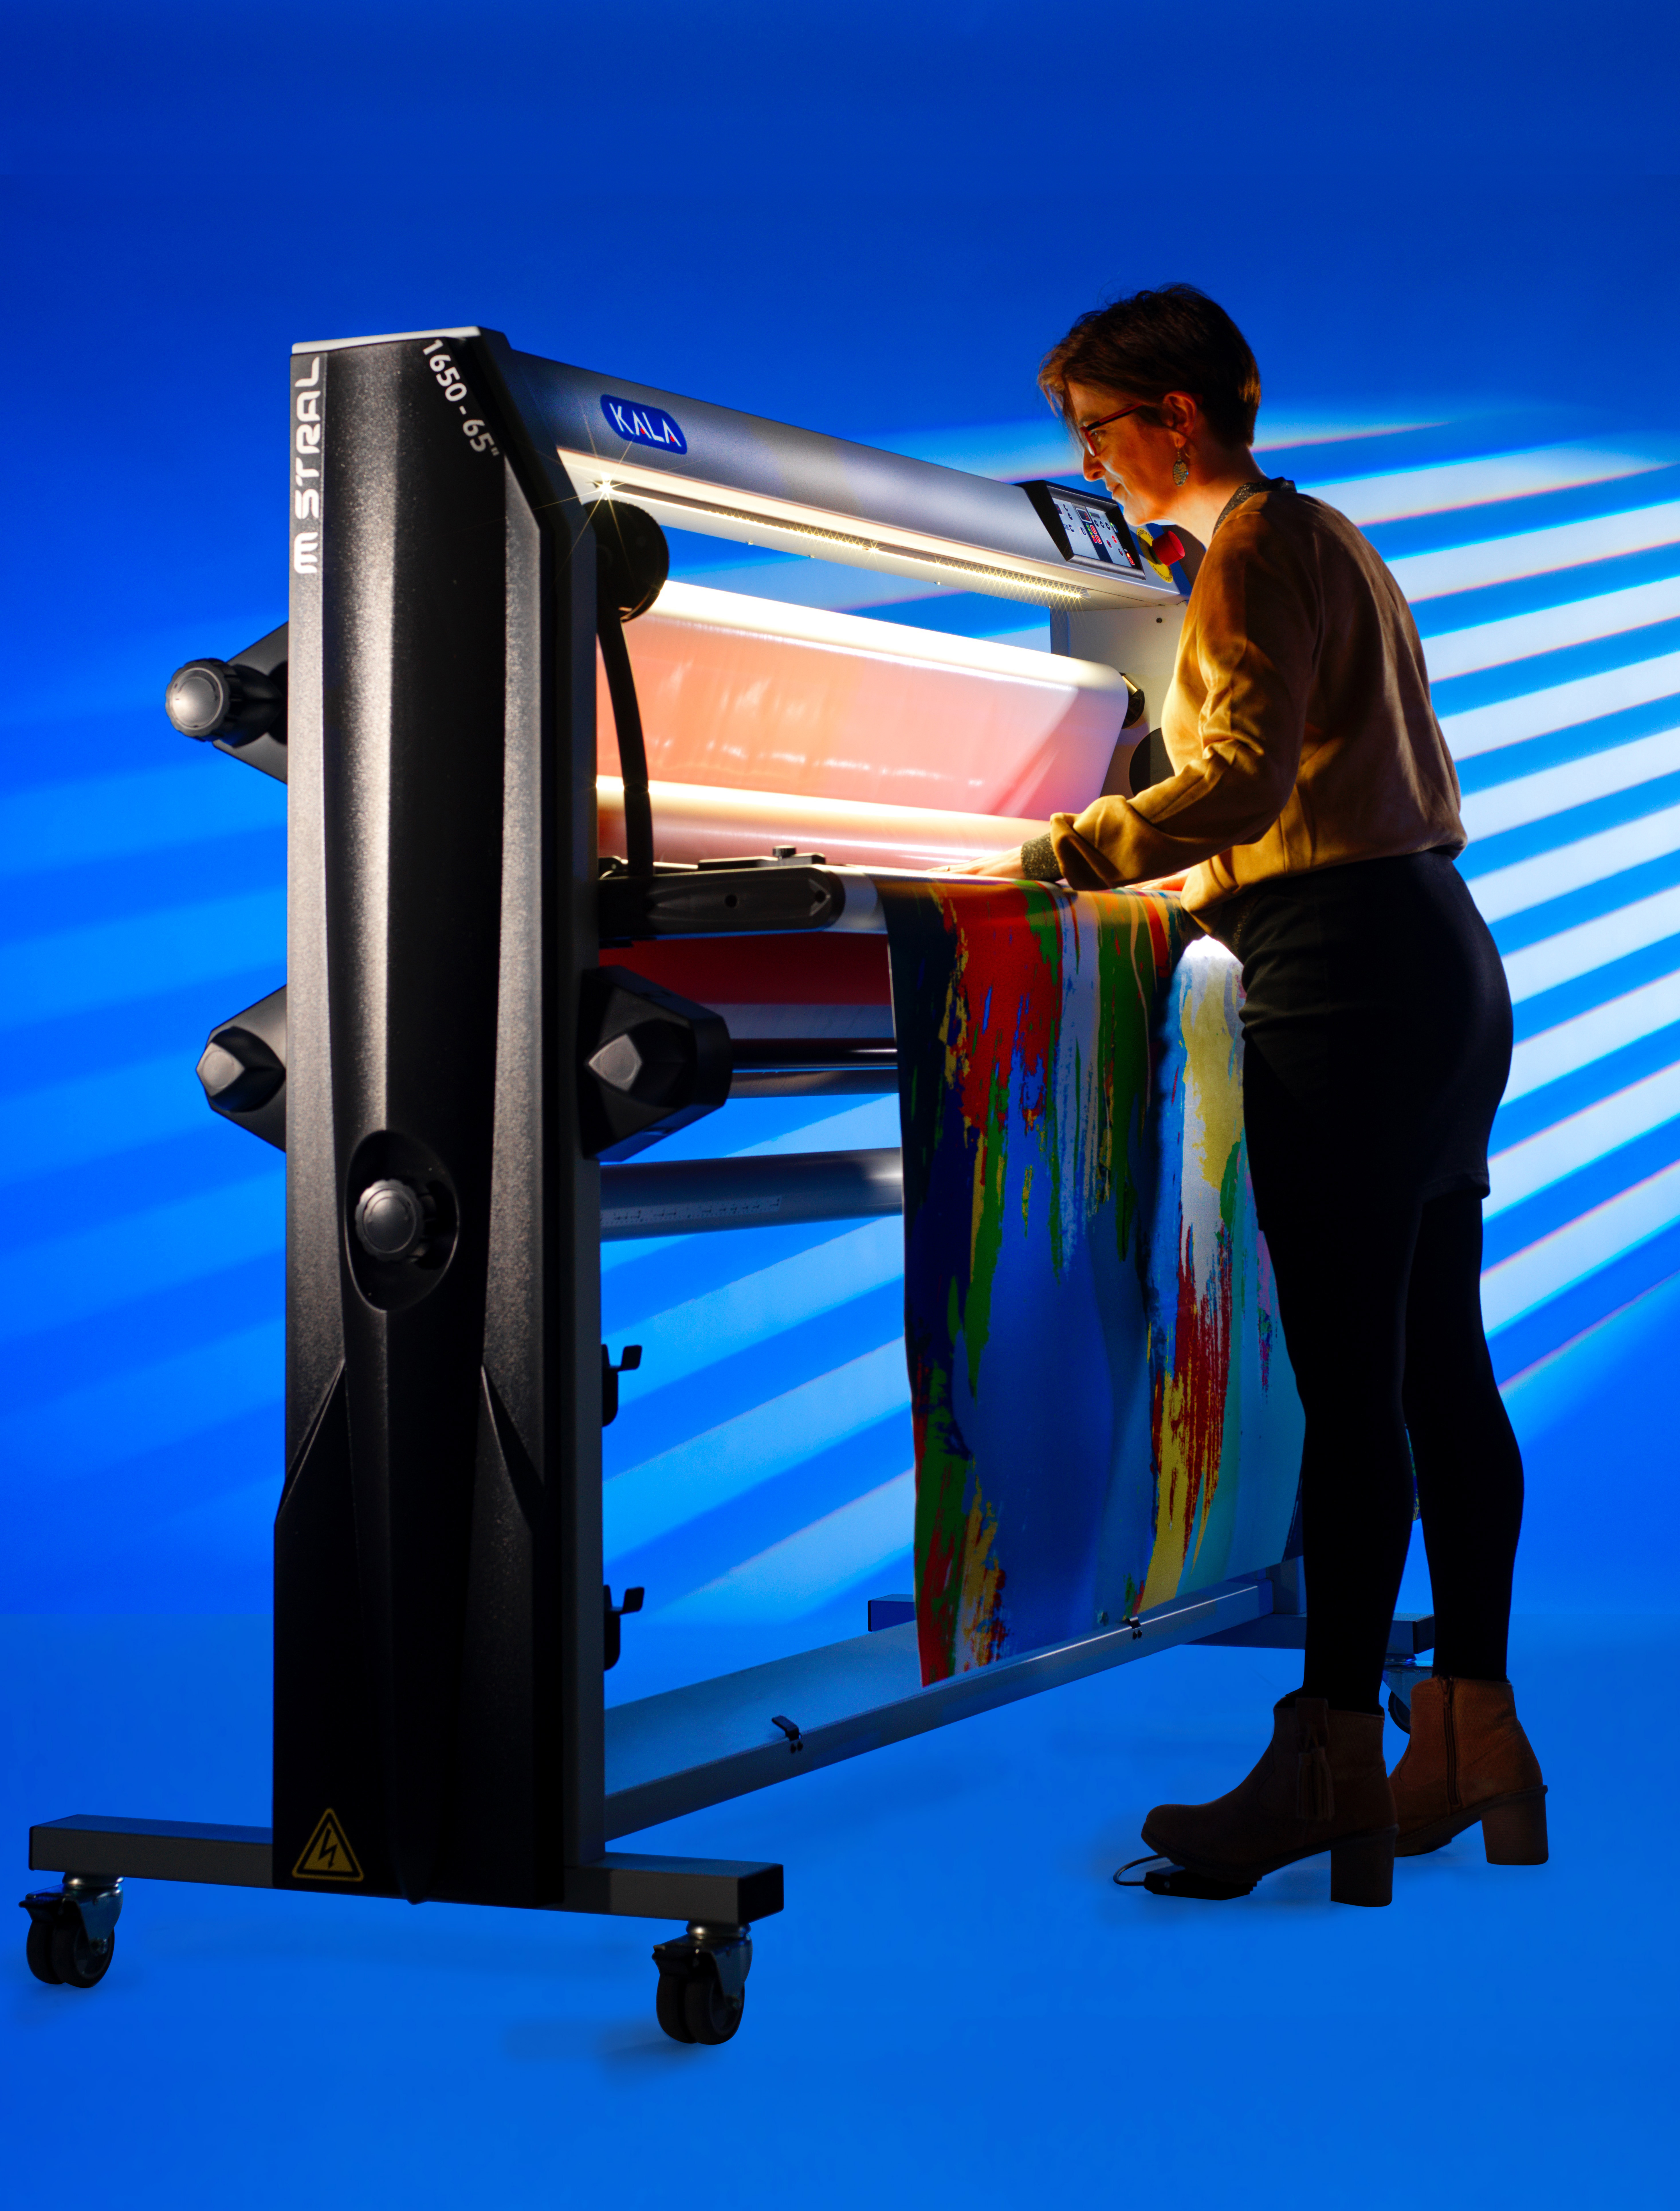
The process of lamination is fairly straightforward. A film is placed over a print and then sealed tight with heat or cold and pressure. But like everything in the graphics world, laminators have improved with age. Now, instead of having to complete the process manually, many models of laminators use smart technology to help the operator complete projects, from raising and lowering the rollers to the amount of tension needed for a particular job.
Tips and tricks for laminating prints
To get the best lamination possible, it is important to choose the correct print media and laminating film for the job. “A lot of people make mistakes by not using the correct print media to get longevity out of their graphic. Pick carefully,” advises says Bob Pryor, Graphic Finishing Partners.
Car wraps, for instance, require a cast laminate and a cast print media that is going to last seven years outdoors under extreme conditions. For outdoor signage, cast laminate isn’t necessary, just a polymeric laminate and polymeric print media that can last up to five years outdoors. Monomeric films will last up to two years outside. This is less expensive than the other options but perfect for temporary outdoor projects. If the project is going to be used indoors, you can use whatever laminate you want because it won’t be subjected to the elements like an outdoor sign or car wrap, according to sources.
Make sure your laminator is in a clean environment. Dust and dirt can get on your print and ruin your job, so make sure your work area around the laminator is clean and dust-free, and make sure the laminator’s rollers are clean.
Decide early on how you are going to run a job. Is it a single sheet that requires a certain setup or are you doing a longer piece that would work better with a roll-to-roll machine? Anything over 8′ should be done on a roll-to-roll. If using a roll-to-roll laminator, make sure it is loaded correctly with film and print media so that when it runs through the machine, it moves through without shifting left or right.
Buying a laminator with smart technology helps with that. It raises and lowers the rollers depending on how much pressure the project needs.
When companies first purchase a laminator, they may waste a lot of film just learning how to operate it, so training is crucial. “We tell you how to do every process correctly so you don’t waste consumables, which can be very expensive,” says Pryor.
There are laminators in all price ranges. The least expensive are ones in which the operator must do everything themselves manually. As the laminators get more features, the operator has to do less to get the required results.
“Finishing is where you add value to the prints, and our solution to do this is with minimum waste of media,” says Laurent Bouchard, Kala Finishing Systems. “We do this to improve profit. There is a lot of waste involved in this part of the process. If you don’t do it right, you have to start again from the beginning.”
Frank Romanello, Kala Finishing Systems, agrees. “The finishing area is where most of the run time errors occur, so by making the process easier, we drastically cut back on unit errors.”
Because the newer laminators run so seamlessly, some shops might decide to bump up the heat and run the laminator at full speed, around 21′ per minute for a 150′ roll of laminate. That can overload the motor and cause an error stop. He recommends running the machine a little slower for the best results.


