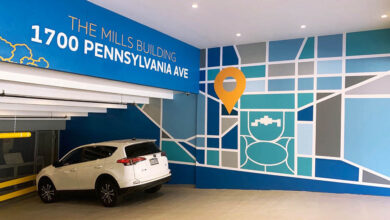
As brands try to catch a consumer’s attention in every possible location and direction, floor graphics are becoming increasingly popular and causing many of us to look down and take notice. Creative designers and installers are incorporating floor graphics for high-traffic retail environments, healthcare, and community spaces, and also for POP, special events, and home and office decoration. Designers also have the opportunity to take creativity to a whole new level with 3D floor graphics. Once the designer creates a concept for the kind of floor graphic they want and the overall effect of the design, the next step is determining which pressure-sensitive vinyl to use.
Before choosing a vinyl, the designer and installer should ask a series of questions with the customer to select the best solution for their needs.
These questions include:
- Is the graphic going to be indoors or outside?
- Will foot traffic or vehicle traffic come in contact with the graphic?
- What kind of substrate will the graphic adhere to?
- Is the substrate smooth or textured?
- How long is the graphic expected to last?
Once you gather these details, you are now ready to choose the film for your application. Here are some helpful tips to make sure your floor graphic is a success.
Smooth flat substrates (for indoor use)
These are usually the easiest to install and to choose a film for application. Examples of smooth substrates include sanded/finished wood floors (basketball courts), linoleum floors, painted and sanded concrete, or marble.
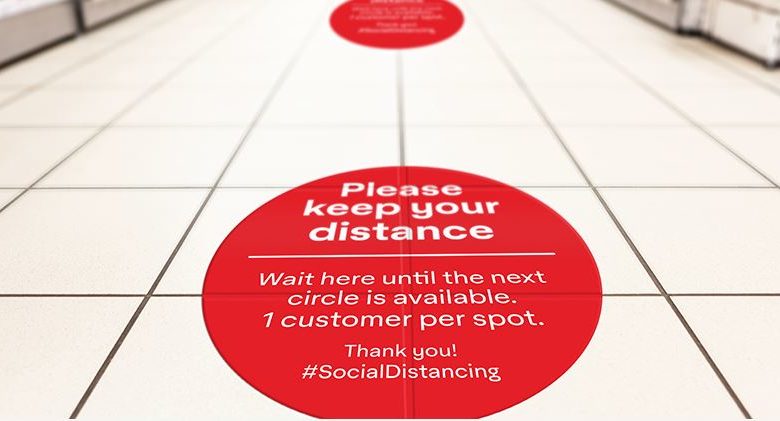
Grocery stores or department stores will utilize floor graphics for wayfinding or promotional graphics. Additionally, to help with the 6-foot spatial distance, stores use graphics on their floors to indicate where each customer should stand and wait while in the check-out line or walking down aisles.
Typically a calendered film that is 3-4 mil thick with removable adhesive or permanent adhesive is ideal for these types of applications. Try a removable gloss or gloss permanent film for digitally printable films that will be used indoors.
You will want to make sure to protect floor graphics with a UL-classified slip-resistant overlaminate. These are available in a variety of finishes, including gloss, luster, and matte.
Rough or Textured Substrates (for indoor use)
These can be a little more difficult to install. Examples include ceramic tile floors or indoor painted concrete.
These types of substrates will usually require a cast vinyl to conform with the peaks and valleys of the texture. Sometimes a heat source will be needed, which will soften the film during installation and allow it to conform more easily. For this type of installation, you’ll want to use a cast film and be sure to use an overlaminate to protect the graphics. A cast film will conform nicely to the rough surface and create a paint-like surface that offers durability.
One final unique application growing in popularity is installing short-term graphics on low pile carpet in hotels, conference centers, and trade shows. For these types of installs, try using a permanent adhesive calendered film. Since the application is going to be short-term, typically for a weekend trade show or event, there’s no need to use a high-performance cast vinyl. Carpet textures can be difficult to adhere to, so using a permanent adhesive film will help achieve the highest rate of success.
With these graphics, choose an overlaminate that can provide slip resistance and protect digital and opaque floor graphics.

By using these tips and techniques, and the proper film for your application, floor graphics can be as creative as the designer wants them to be.


