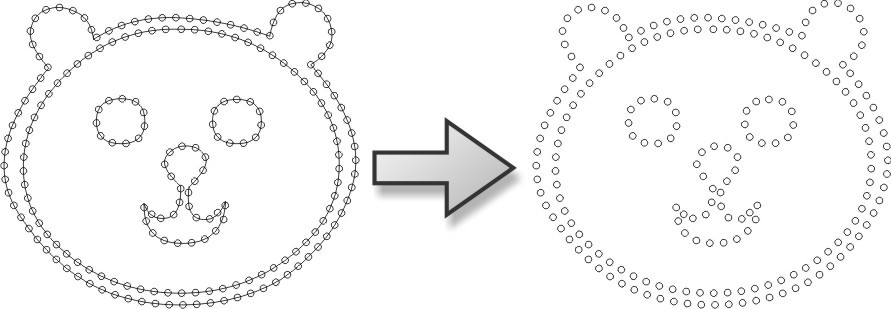
The range of rhinestone applications is rather wide. This decoration method is prevalent within the clothing and promotional products industry, where you can find rhinestones on T-shirts, bags, shoes, and other products. In this article, I’ll outline the steps for making rhinestone patterns. Instead of paying a lot of money to buy professional software, you can make an ideal rhinestone pattern using the CorelDRAW software you know and use.
Before making a pattern, there are a few things you need to know:
- Measure the size of your rhinestone to ensure it can be put into the pattern accurately (I used a 3 mm rhinestone in this example).

- When drawing the circle, create a symmetrical circle to be 0.1 mm to 0.2 mm smaller than the original size of the stone. The purpose is to avoid the pattern hole from expanding when cutting, which can make the rhinestones unevenly arranged.

Application Lab divides the rhinestone pattern creation into “filling the outline” and “filling the object.” For this example, I’m filling in the outline.
Filling the outline
Filling the outline is a rather simple approach. I have a bear animal graphic as a demonstration. Through some simple steps, you can create a rhinestone pattern as illustrated below.
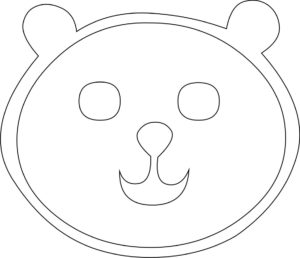
Step 1: Open or import the vector graphic you desire to create and scale it to the required size.

Step 2: Use the Ellipse tool in CorelDRAW to draw two circles of the same size. As mentioned, the illustrated example here uses a 3 mm rhinestone, and the created circle is slightly downsized to 2.9 mm.
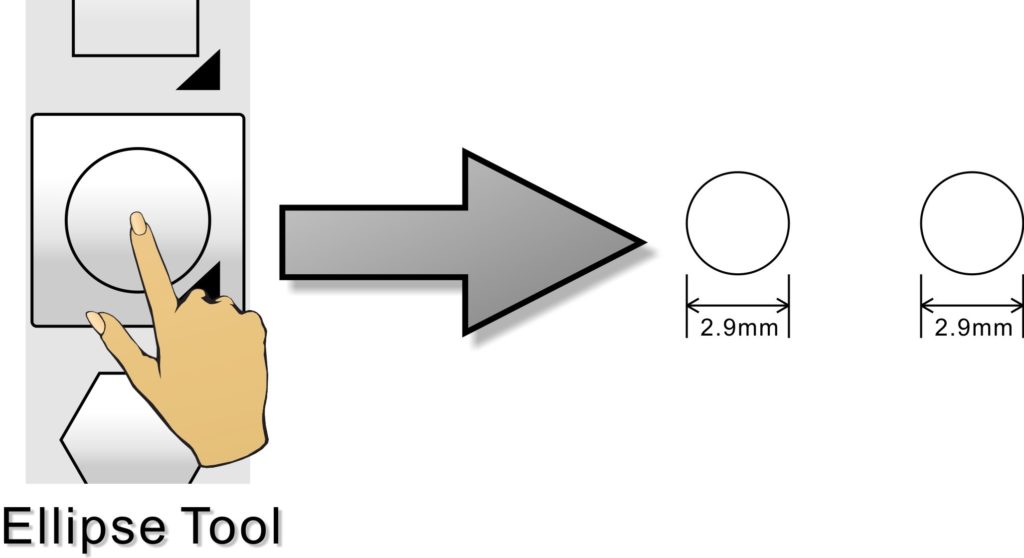
Step 3: Click Effects, then Blend to open the Blend functions (the functions will be listed on the right-hand side of the drawing).
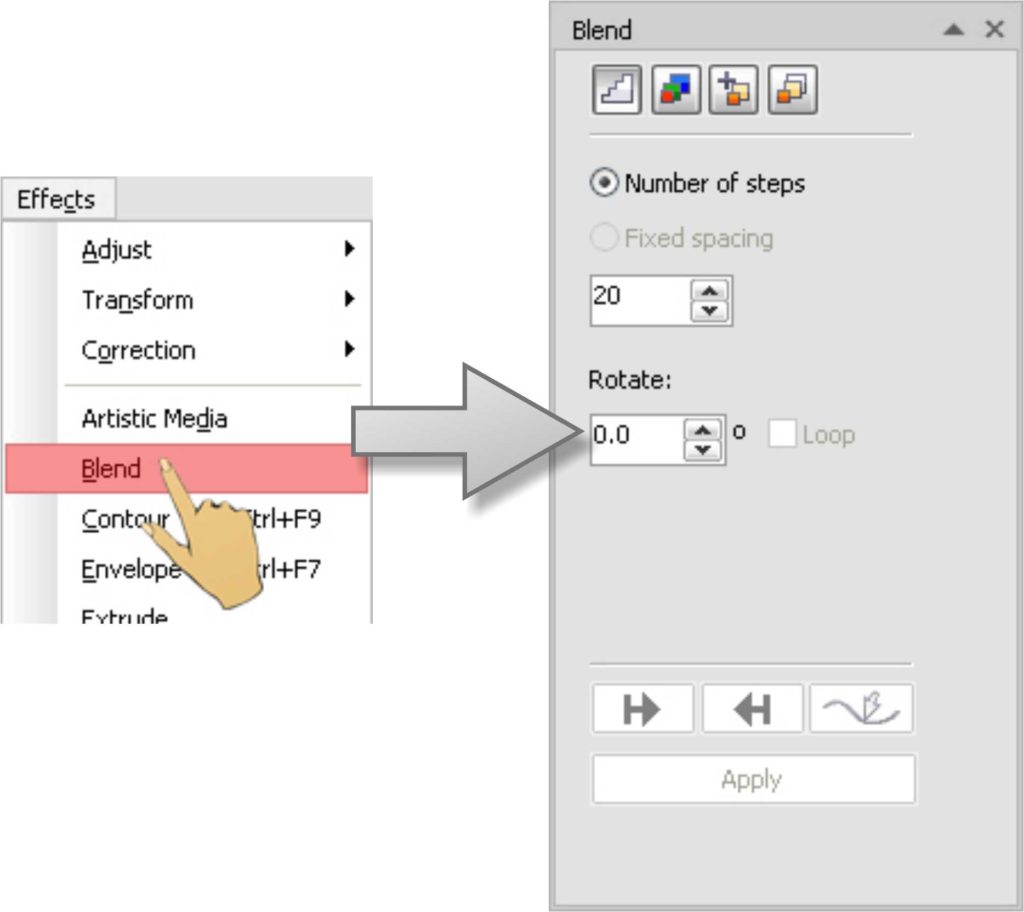
Step 4: Enter the number of copies required in ‘Number of steps.’ Click Apply to create the circles.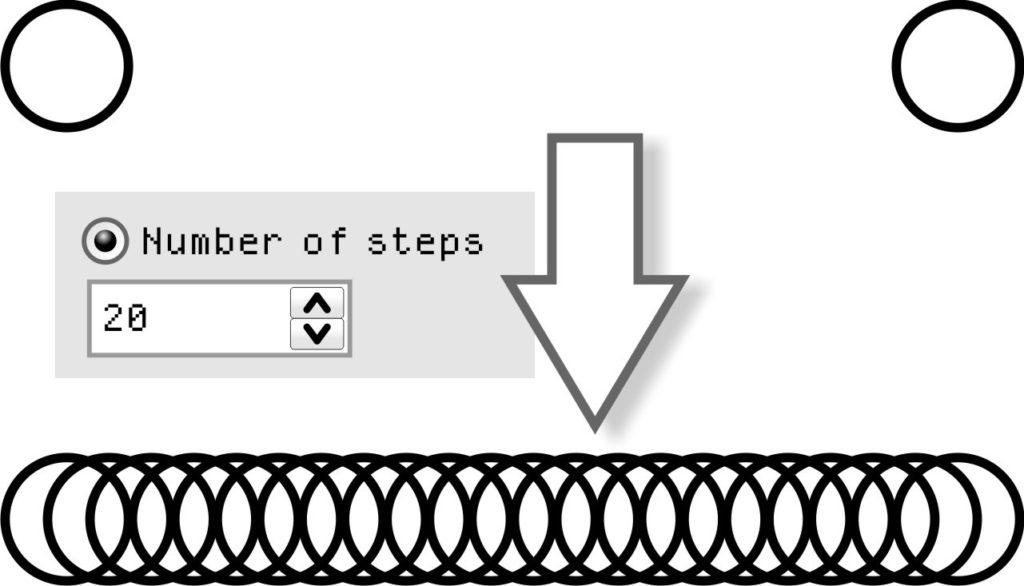
Step 5: In the toolbox of Blend, click the Path properties button and then New Path. An arrow indicating the path will appear.
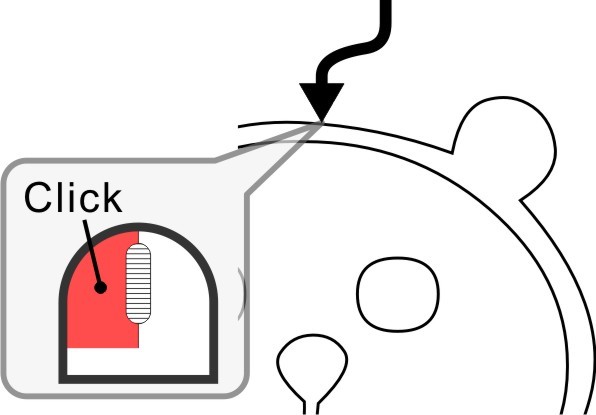
Step 6: Point the arrow to the vector graphic and click the left mouse button.
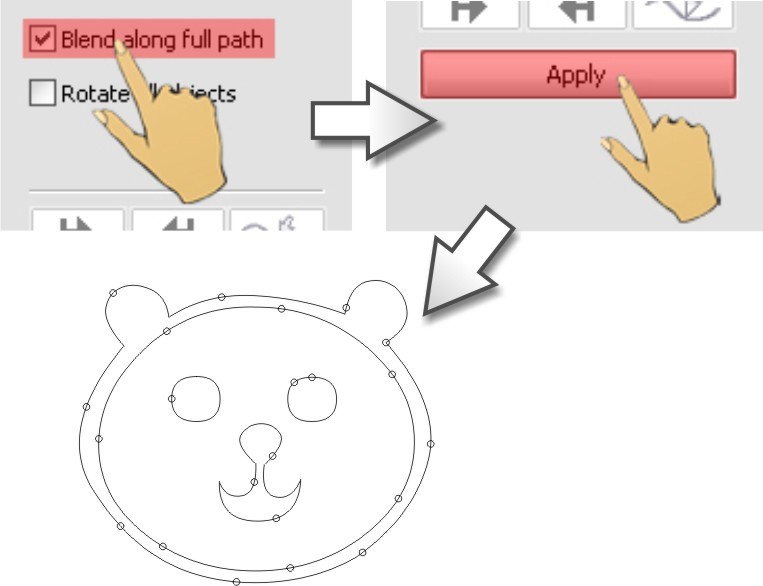
Step 7: In the Blend toolbox, select ‘Blend along full path,’ and then click Apply to fill the entire vector graphic with circles.
Step 8: Adjust the number of circles in the ‘Number of steps or offset between blend shapes’ box.
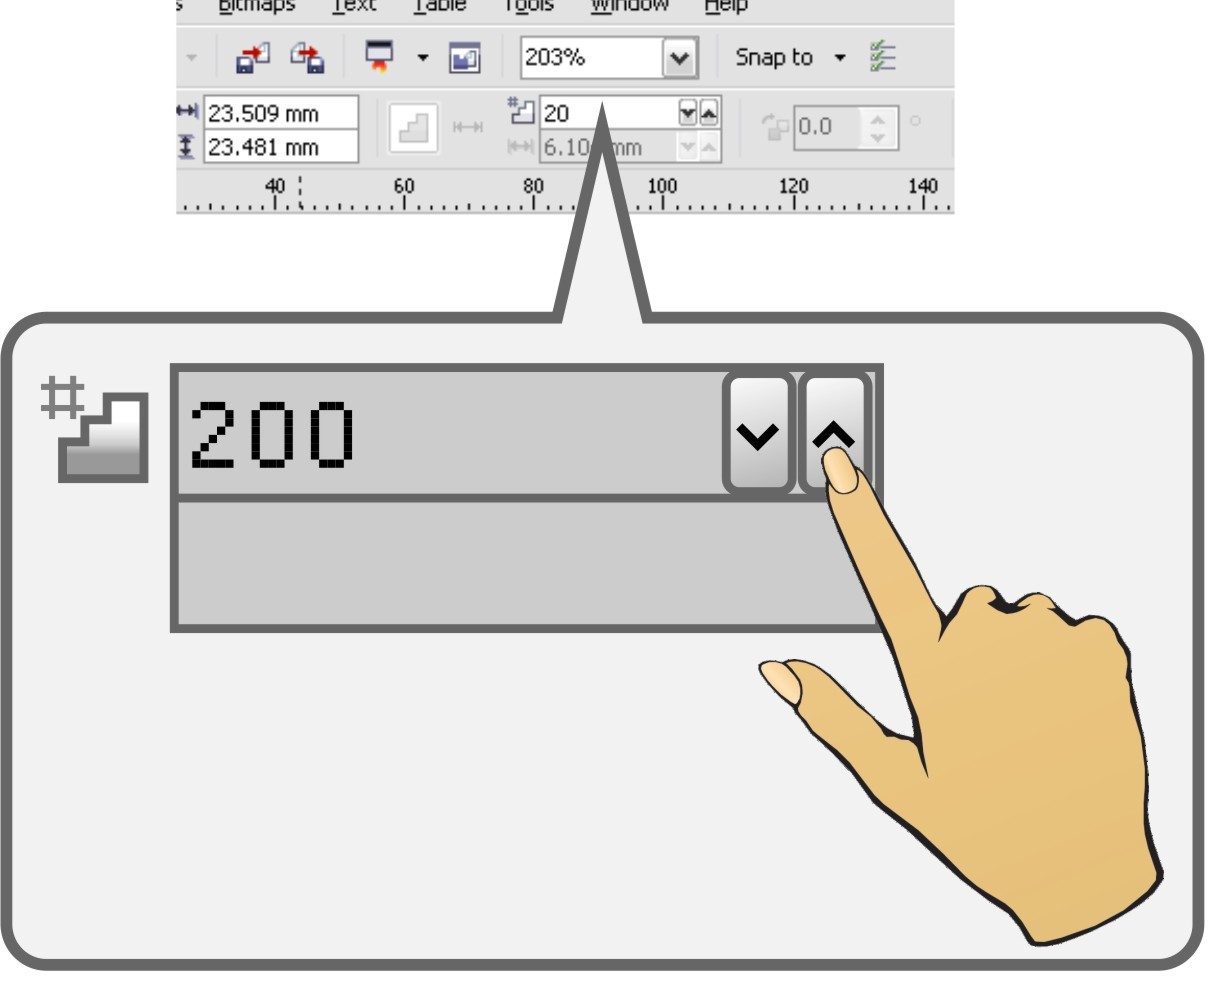
Step 9: Set the number of circles.
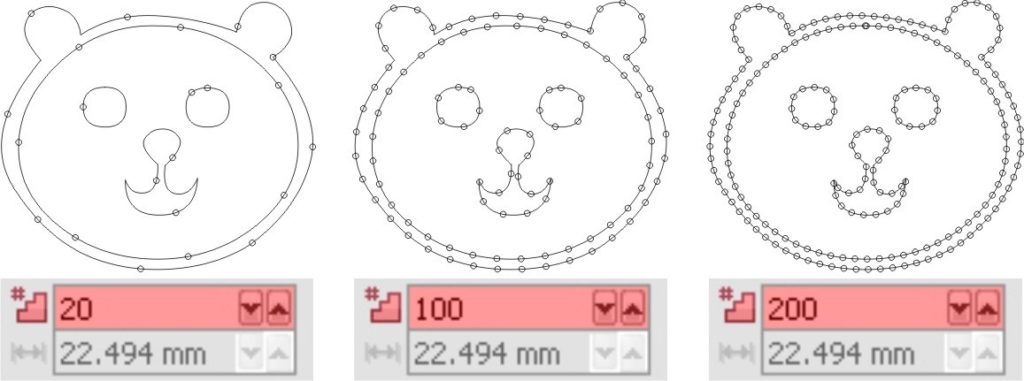
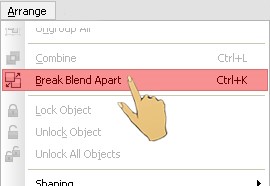
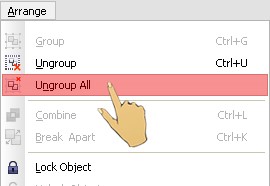
Step 10: Break apart the circles and vector graphic with the Break Blend Apart function. Then click the Ungroup All button to ungroup all circles to adjust the position.
Step 11: Adjust the circles that are overlapped or too close to each other.
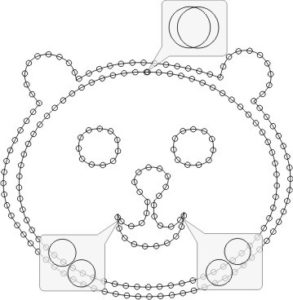
Step 12: Finally, remove the vector graphic to finalize the pattern.

