Pretreatment application has a definite learning curve, and you have to give yourself some time to master the process. Ask a room full of DTG printers how they do it, and you will get a plethora of different responses, each one being the best way to do it. This goes to show that once you understand the right amount and the process, you can form your artistic license on the process.
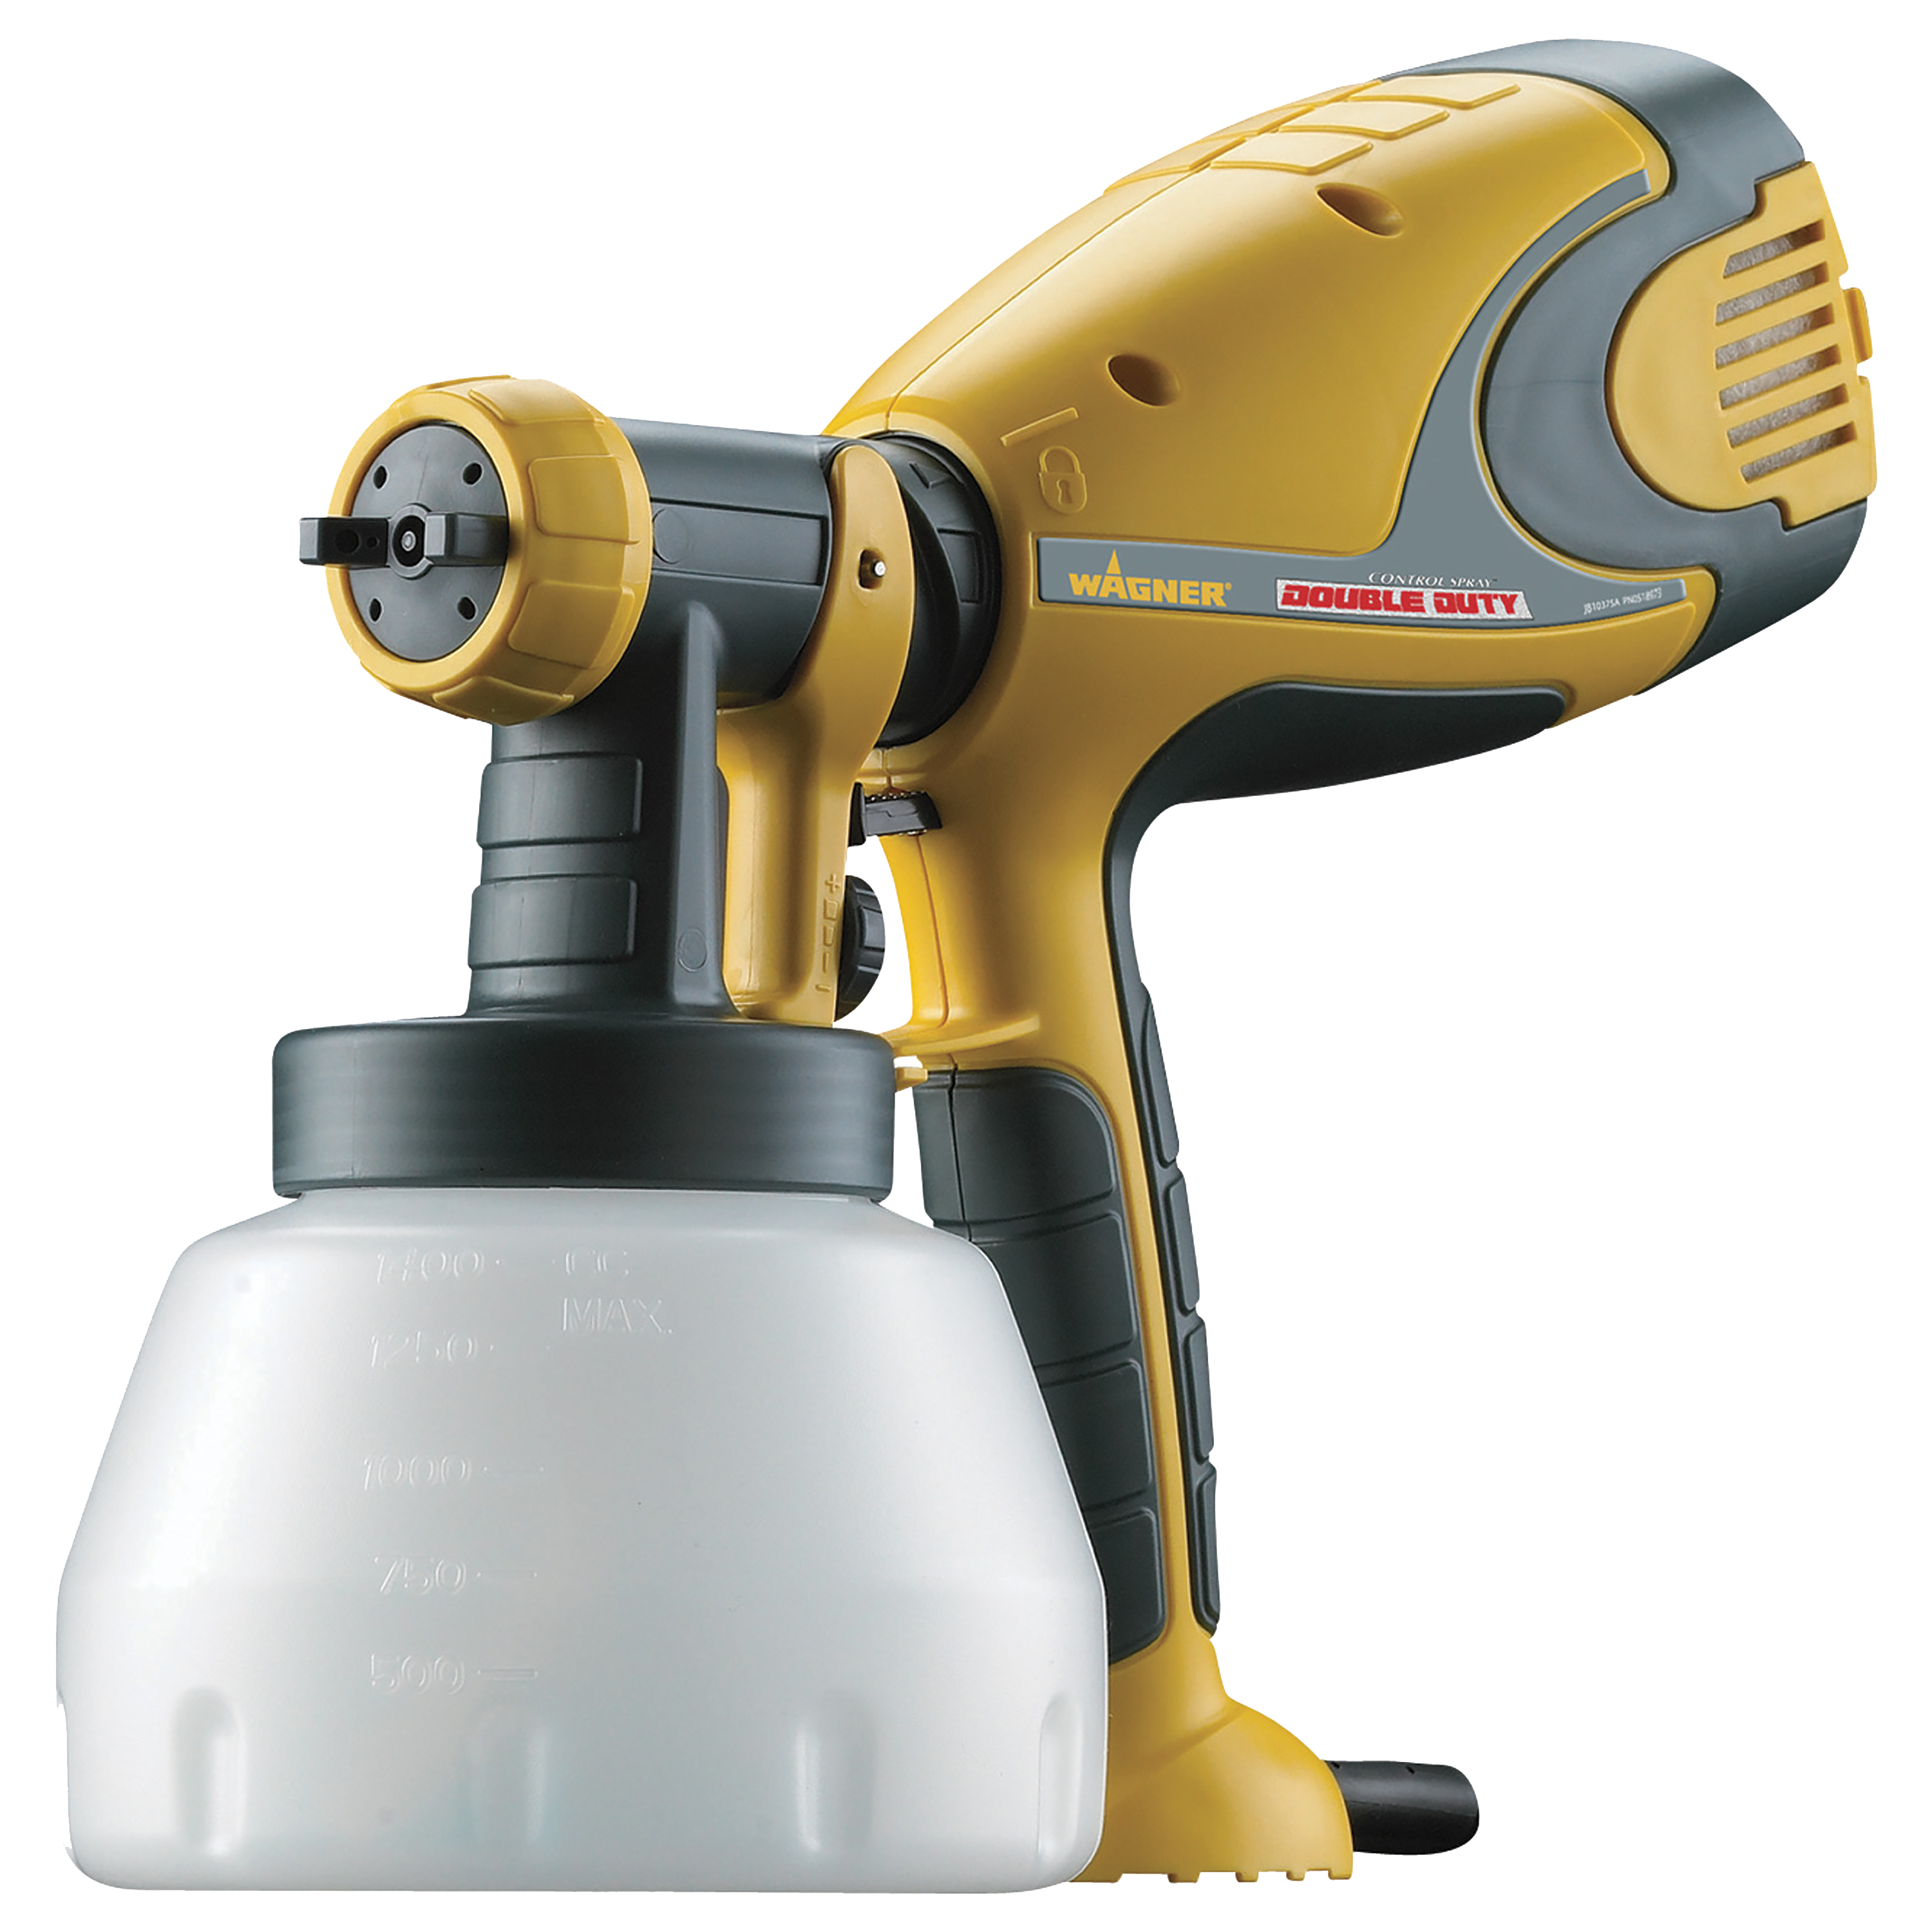
A household Wagner power sprayer (left) is standard for manual pretreatment application.
The No. 1 element to good pretreat application is consistency. Have you ever watched someone paint a car and how they move in a consistent, constant motion? This is because consistency gives you an even amount all over. When I spray across a shirt from left to right, I count in my head “one one thousand, two one thousand, three one thousand.” And the same goes for every pass I make. Here is a tried and true way to start and what I have trained people to do for the last decade.
- Lay your garment flat facing front side up on a flat, waist-high surface. A fold-up table works great.
- Starting at the top of the shirt, begin spraying and move across the garment from left to right in an even manner. Count in your head if needed, so the motion is always at the same speed. Once you pass the shirt’s edge, stop. You should see an even misty coat across the top layer of the garment.
- Your hand holding the sprayer will now be on the right side of the top half of the shirt. Move your hand down and now move across the garment in the opposite direction starting from where your hand is, right to left. You will be making the same pass but under and overlapping the one you just made, covering the bottom half of the shirt. Move at the same speed ending on the left side of the shirt. The shirt should now have an even square of preatreat on almost the entire front panel.
- Now you should be back on the left side of the garment where you started. This time we are going to move in a vertical pass instead of a horizontal pass. Start at the bottom left side of the shirt and evenly spray up to the top (neck). Make sure to move at the same speed and pace as your last two sprays. When you get to the top, stop spraying.
- Move over to the right side of the shirt and now work from top to bottom, evenly and at the same speed.
- Essentially, you have just painted a box in two directions, but now you should see a milkier, solid-looking square. The area should look wet with no visible dry spots. However, not so drenched that the back of the garment is wet, or you see the pretreatment move or drip when you pick it up. If it does, you have used too much and will need to speed up your passes a little more. If you see dry areas or an uneven square, you will need to slow down and make sure you are moving the sprayer at an even speed.
This process may sound somewhat simple, but I guarantee that it is going to take a few tries to get the hang of it. Use old shirts, the back and inside of shirts, and practice, practice, practice!