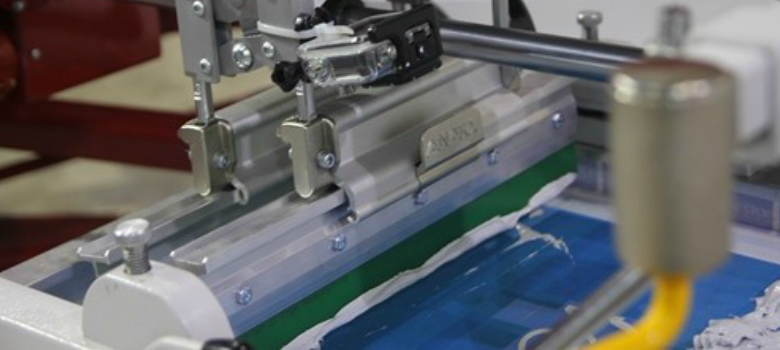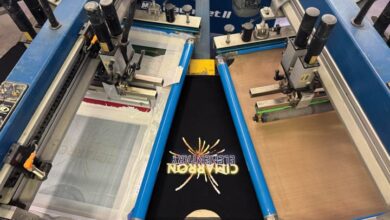
Almost nothing poses as big of a challenge for screen printers as printing white ink on dark-colored shirts. White ink on dark garments often comes out rough, splotchy, or blurry and can be challenging to fully cure.
Mastering white-on-dark screen printing is crucial for your business because customers will ask for it, and you want to meet their requests with quality products and processes. To that end, here are some do’s and don’ts to help you create sharp and bright white prints on dark materials.
The do’s
Outputting quality white-on-dark garments depends on proper pre-press set up, along with using proper technique. When setting up and carrying out your white-on-dark prints, keep in mind that a bright print hinges on a healthy application of ink without compromising the quality or crispness of the print.
Follow these steps for printing white ink on dark-colored garments:
- Begin with a lower mesh count screen. White inks tend to be thicker, and you need enough ink deposit on your substrate. For white-on-dark printing, a 110-count screen is a good rule of thumb. For a more detailed design, you can go as high as a 156-count screen; and for a heavy application, such as block letters on a jersey, you can go as low as a 60- or 86-count mesh.
- Create a thicker stencil. Creating a thicker stencil also helps to pass more ink to the substrate by creating a deeper well for the ink when printing. For white-on-dark printing, coat your screen with emulsions on both sides and let it dry. Follow with two more coats of emulsion on the outside of the screen, allowing dry time in between each coat. Remember, the thicker the emulsion the longer the exposure time.
- Set a larger off-contact. A thicker ink deposit requires a slightly higher off-contact distance to allow the screen to snap back cleanly from the substrate, leaving a crisp print behind. Off-contact for a white-on-dark print should be 1/16 to 1/8 of an inch.
- Print an underbase, flash cure, then print again. One of the most effective ways to get a bold print when using white/light inks on black/dark garments is to print a white underbase. Just make sure that your underbase cools before you print on top. Otherwise, the top coat of ink will stick, resulting in a rough hand feel. The proper way to do that is to:
- print one layer of white ink
- flash cure the print for five to 10 seconds
- and then print your top coat of ink.
- Be sure to thoroughly cure your ink. Your white-on-dark process may require a longer cure time due to the thicker ink deposit and the fact that the white ink will reflect the heat of your dryer. Use temperature strips or a temperature gun to make sure the entire deposit of ink is reaching the cure temperature recommended by the ink manufacturer.
The don’ts
While following the above steps when printing white ink on black or dark materials should set you up for a clear, crisp print, there are a few don’ts to note. When white-on-dark printing, don’t:
- Thin your ink. It can be tempting to thin your white ink because it tends to be thicker than other colors. However, you want to avoid this because thinning it out causes difficulties with opaqueness.
- Overwork your ink. If you are manually printing white on dark, you also might be tempted to do several passes of your squeegee over the stencil to lay down ample ink. Overworking your ink can upset the fibers in your substrate, causing fibrillation, or visible shirt fibers within your ink.
- Use your underbase as a final color. If you are printing a multi-color design that includes white, resist the urge to use the white underbase as a final color in your print. To make sure that the white in your design is as vibrant as the other colors, print a separate layer of white ink.
While white-on-dark printing intimidates many screen printers, it is possible to produce crisp, quality prints that satisfy your customers’ requests. And with any printing technique, the proper equipment goes a long way when you’re looking to achieve high-quality decorating.


