Try This: Create a Graphic Ornament or Separator
Provide a little extra panache for the spring and summer sports season.

As spring approaches, sports season kicks into high gear. Along with kids’ team sports, non-profit fundraising, and golf tournaments, there are plenty of individual children’s sports, such as karate, that continue into summer. I like to provide a little extra panache that can make an award or trophy extra special.
One way I add this special touch is by creating my own graphic ornaments. They may be called flourishes, icons, separators, highlighters, or one of another dozen names. Their purpose is to highlight important text, separate disparate text, add small graphics so an award does not look boring, or provide some fill for an award that may be larger than the desired message.
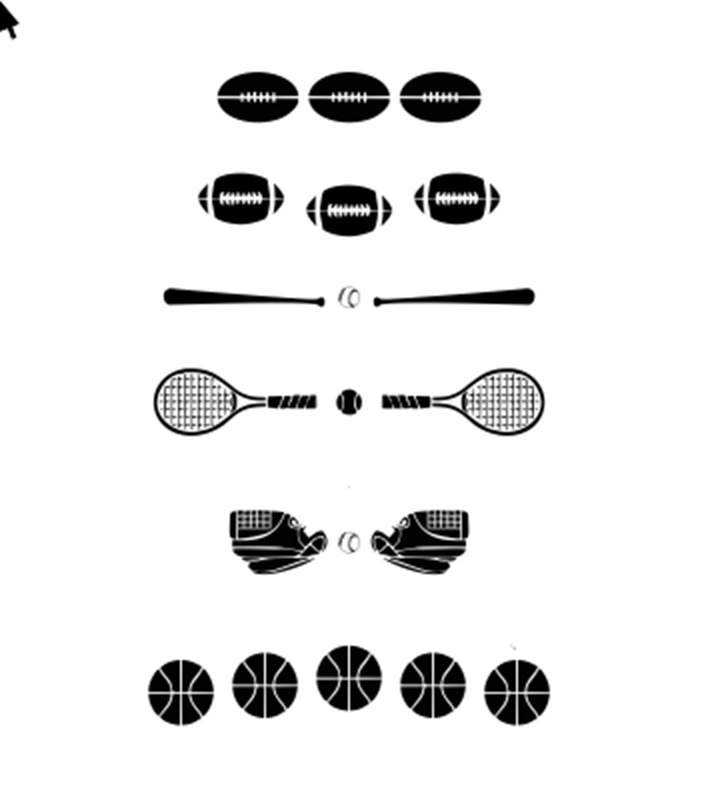
I create special ornaments for almost every kind of recognition, including taking pieces from a vector graphic of a corporate logo to use only with that company. I have created one for each sport to use when there is space on trophies and resins. When plaques are used for the recognition, there is almost always room. To find some designs online, try searching “sports equipment silhouettes” and view Images.
Here is the simple process I use to make an ornament.
Required materials:
- Computer design software (CorelDRAW is used in this example)
- Plaque, resin, or trophy
- Bitmap files
Step 1: Design considerations
I often use the graphic ornaments to highlight the individual’s name or the award name. Most ornaments you can add are not highly detailed, but are made from silhouettes of equipment used in the sport such as a baseball bat, ball, hockey stick, etc. I may use two objects from the sport such as a baseball and a bat.

Images courtesy Bob Hagel
Step 2: Vectorizing
After locating some silhouette bitmap files from a graphic package, or off the internet, trace them into vector objects to provide sharp edges and maximum ability to manipulate the objects.
In this example, I select the baseball first and use CorelDRAW’s Tracing tool. I select Line Art and use the default settings. I now have a group of objects I can refine if I like. As the graphic ornament will be small, the precise details are less important and may not need further refinements.
After vectorizing the baseball, I remove all the gray and white objects. This makes the area white and easier to select and change the color, or make sure all is pure black. Now I vectorize the bat.
Step 3: Complete the design
To create symmetry, I might place the bat with the top facing left, make a copy and reverse it so the top of the second bat is facing right, and place the ball in-between.
To provide some space between each object, I select all the objects and hit the “E” key to make them align horizontally, and then use the horizonal spacing tool to make sure they are evenly spread apart. Once grouped, I can size the new graphic to fit the design.

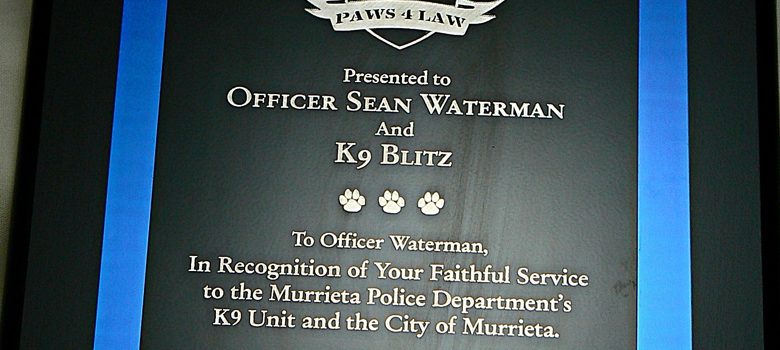
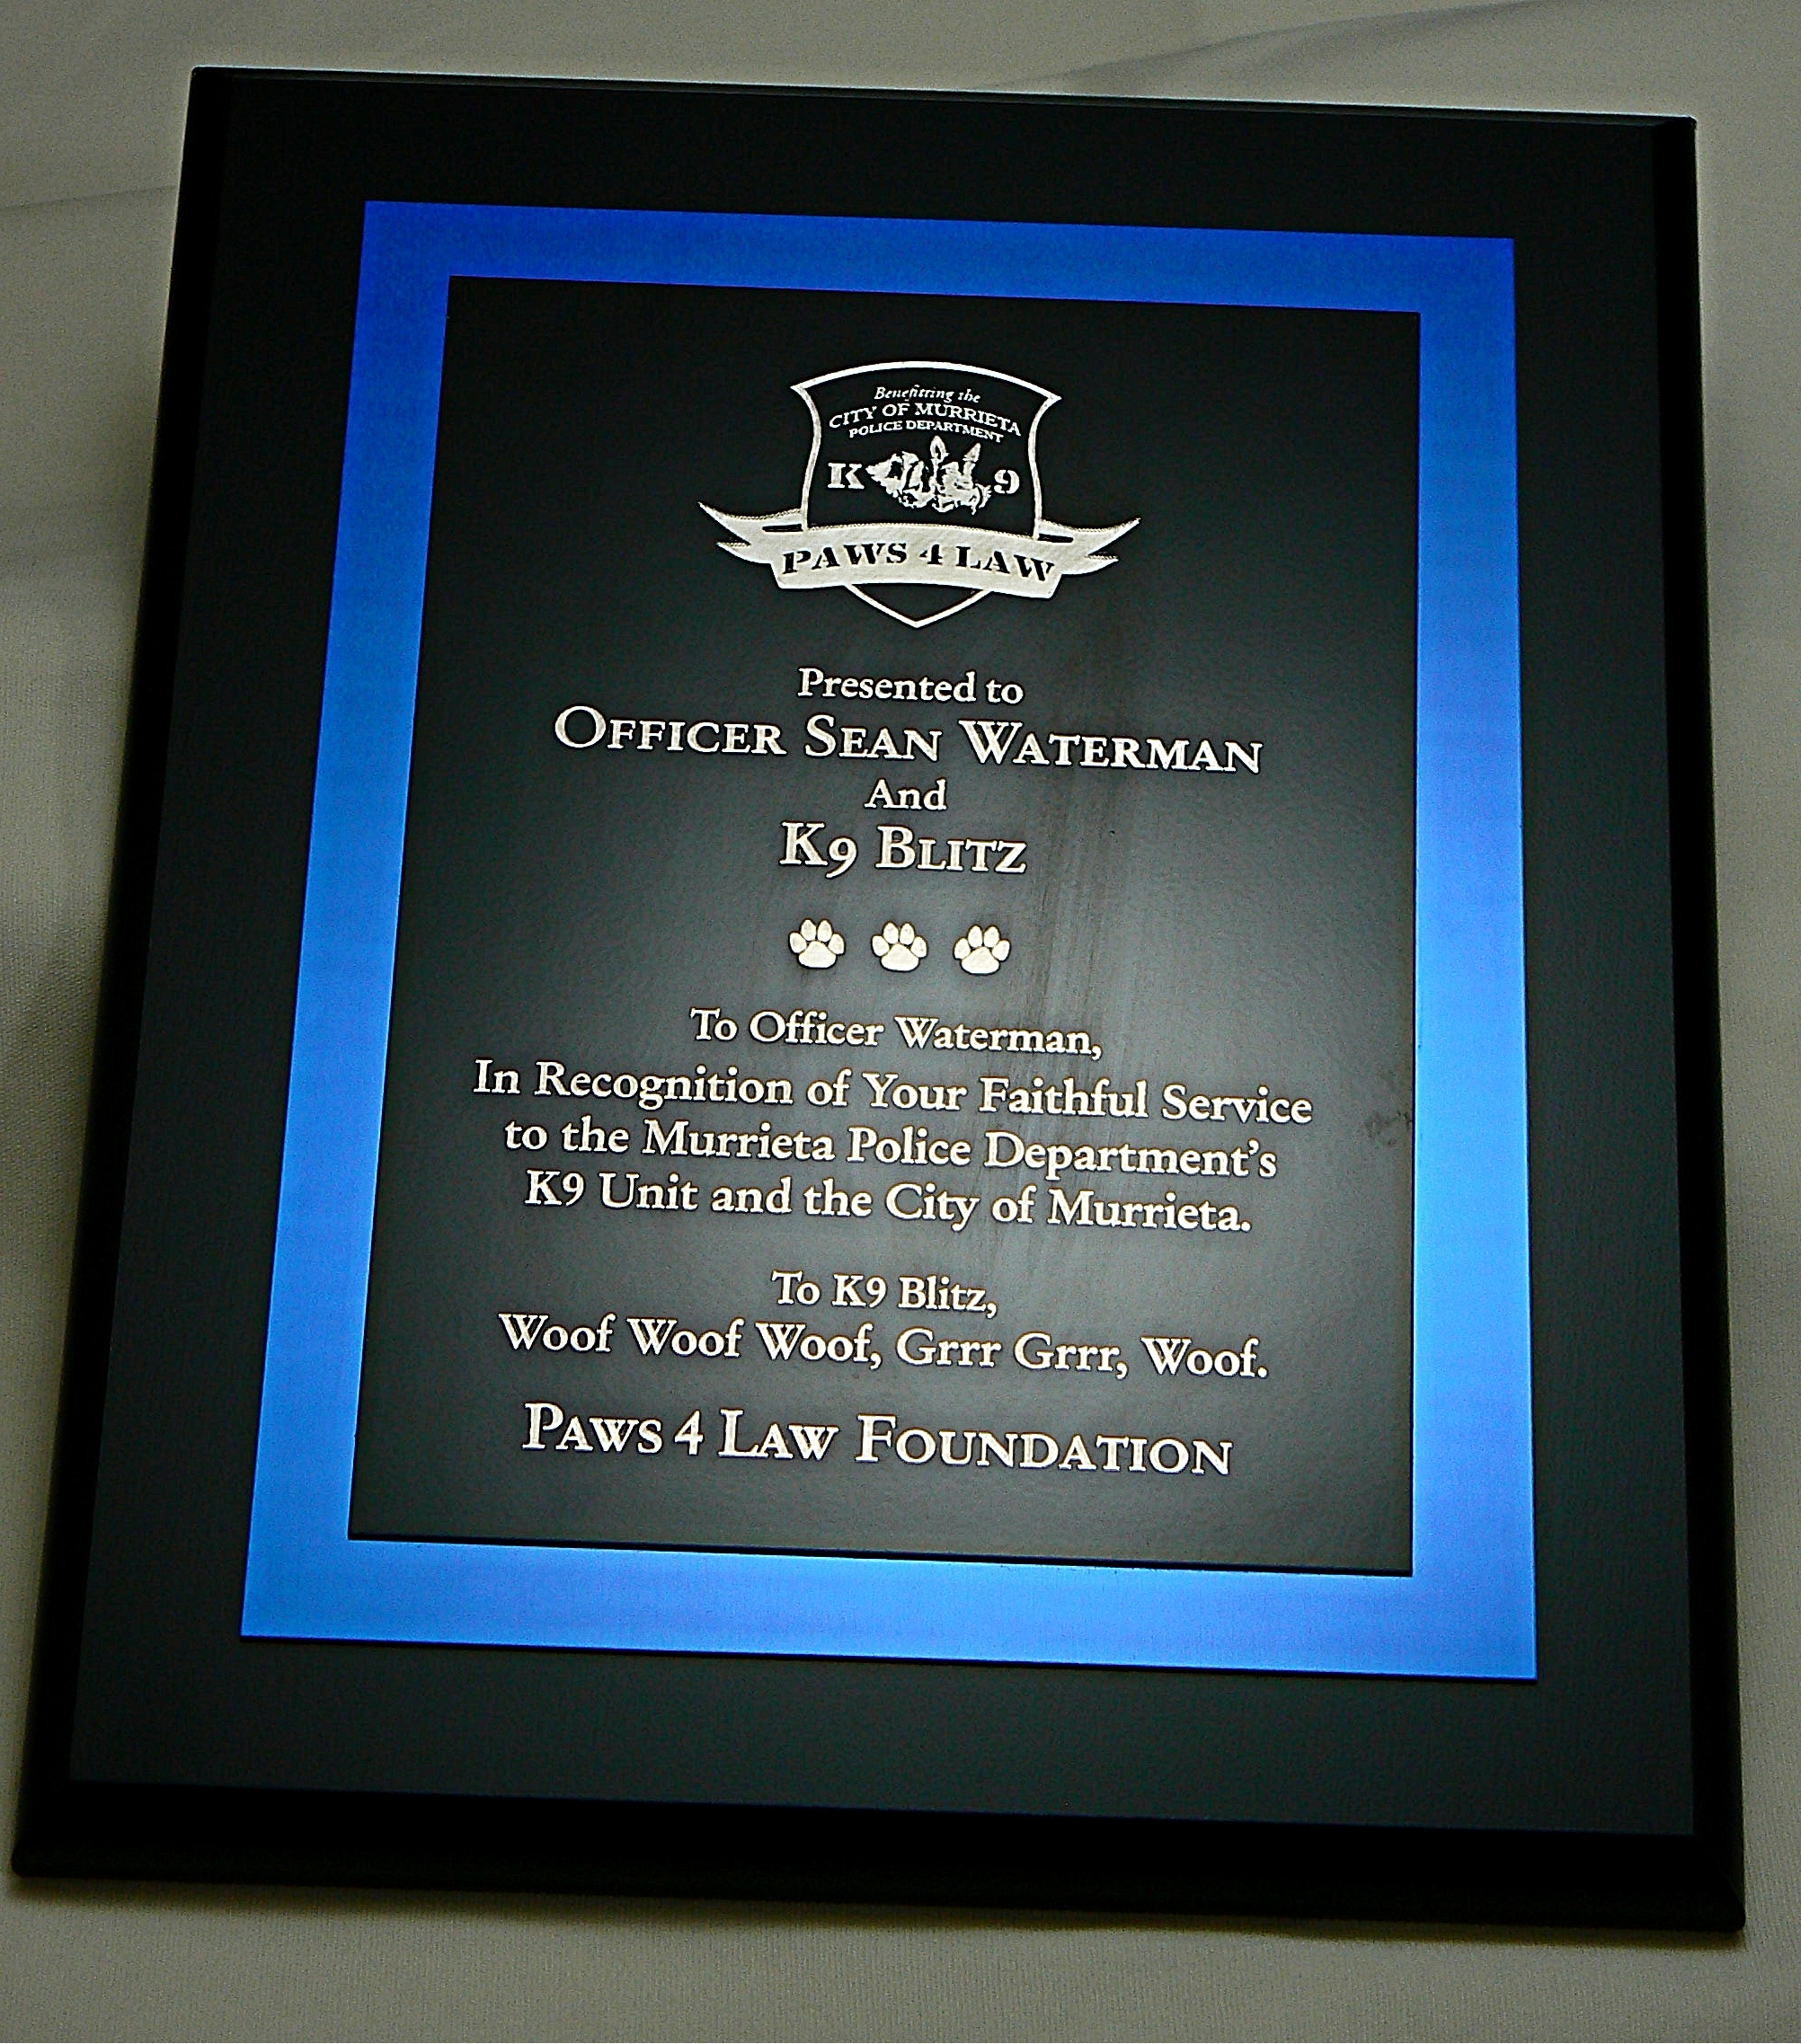
Pawprints are used as graphic ornaments for the plaque above.