Try This: Laser Process Acrylic Necklace Charms for Valentine’s Day
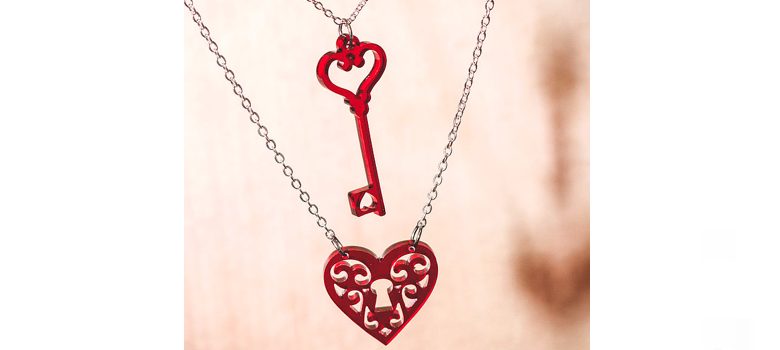
Enlist your laser to create this last-minute Valentine's Day gift.

When creating beautiful glass edges when cutting acrylic, using laser tape and an acrylic cutting grid table help to create a nice down draft. Having a good down draft is important for creating beautiful glass edges when cutting acrylic.
Required materials:
- 1 sheet of 3mm-thick acrylic
- Laser tape
- Necklace chain
- 6mm jump rings
- Needle nose pliers
Machine used:
- Speedy 400 120 watt
- 2″ lens
- Acrylic cutting grid table
Note: For this application sample, you can use any laser machine from the Speedy laser engraver series, or an equivalent from another manufacturer.
Extra tips:
- We used cast acrylic.
- We chose a darker colored acrylic for a more elegant look.
- When creating a glass edge, it is important to have a nice down draft, which makes laser tape (painter tape) an important tool to have.
Step 1: Import/create design template

(All images courtesy Trotec)
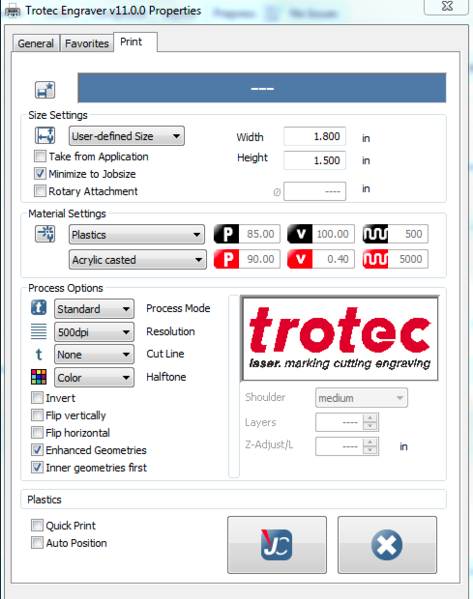
When creating a necklace charm, you can use our file template or create your own design. The laser parameters that are given might vary depending on material used.
Print settings:

Step 2: Laser process

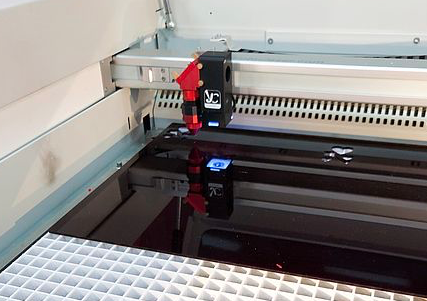
Use the acrylic cutting grid table for laser cutting acrylic. Place the material onto your laser and seal off the rest of the laser table with tape. This increases the exhaust power, creating a better down draft.
Laser parameters:

Note: The laser parameters may vary depending on the type of laser machine and available laser power. For all materials, we use our standard setting from JobControl.
Step 3: Post-processing

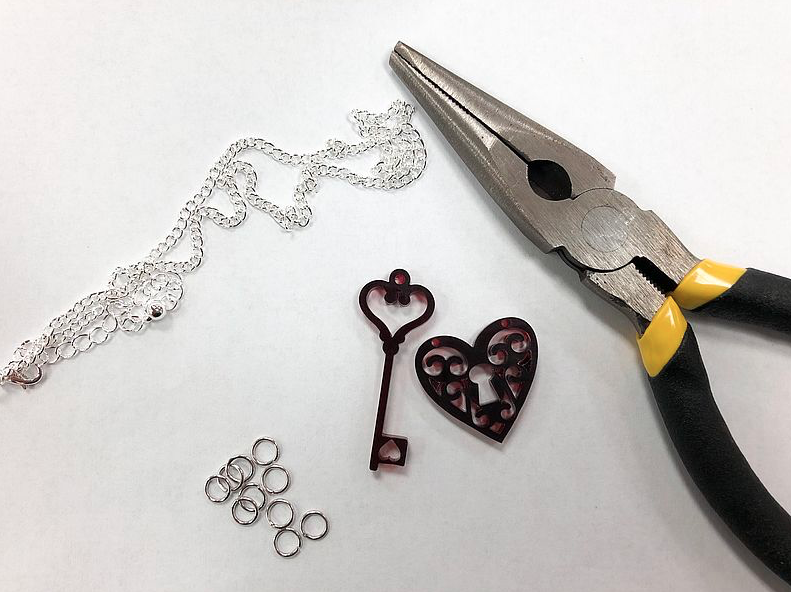
Insert the split rings into the eyelets provided and attach the chains to them. There are no limits to your creativity.