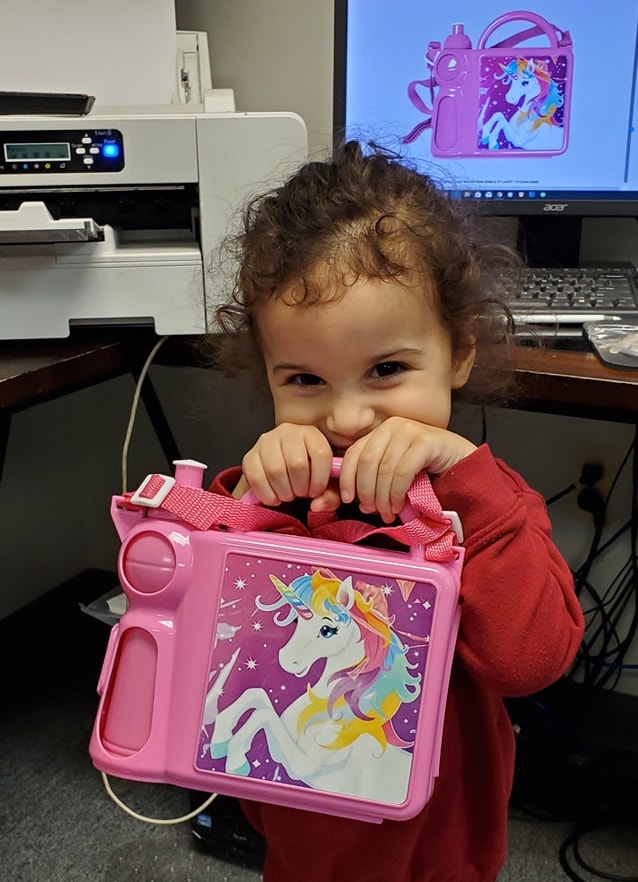
Try This: Sublimate a Children’s Lunchbox
Appeal to parents and kiddos with this personalization project.
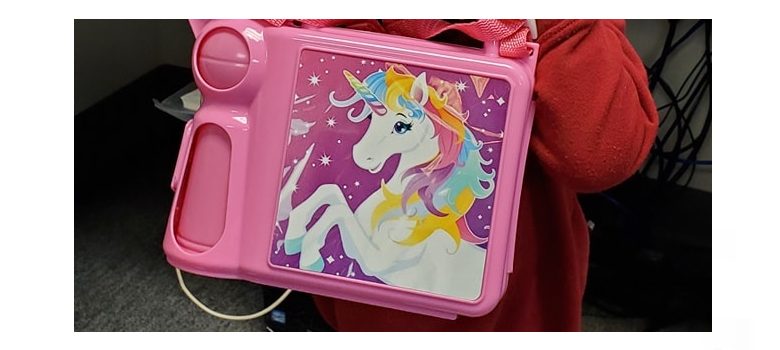
Learn how to easily sublimate an aluminum insert for a children’s lunchbox in the following tutorial.
Materials needed:
- Sublimation printer (a Sawgrass printer is used in this tutorial)
- Transfer paper
- Heat press
- Heat gloves
- Room-temperature water
- Handle lunchbox*
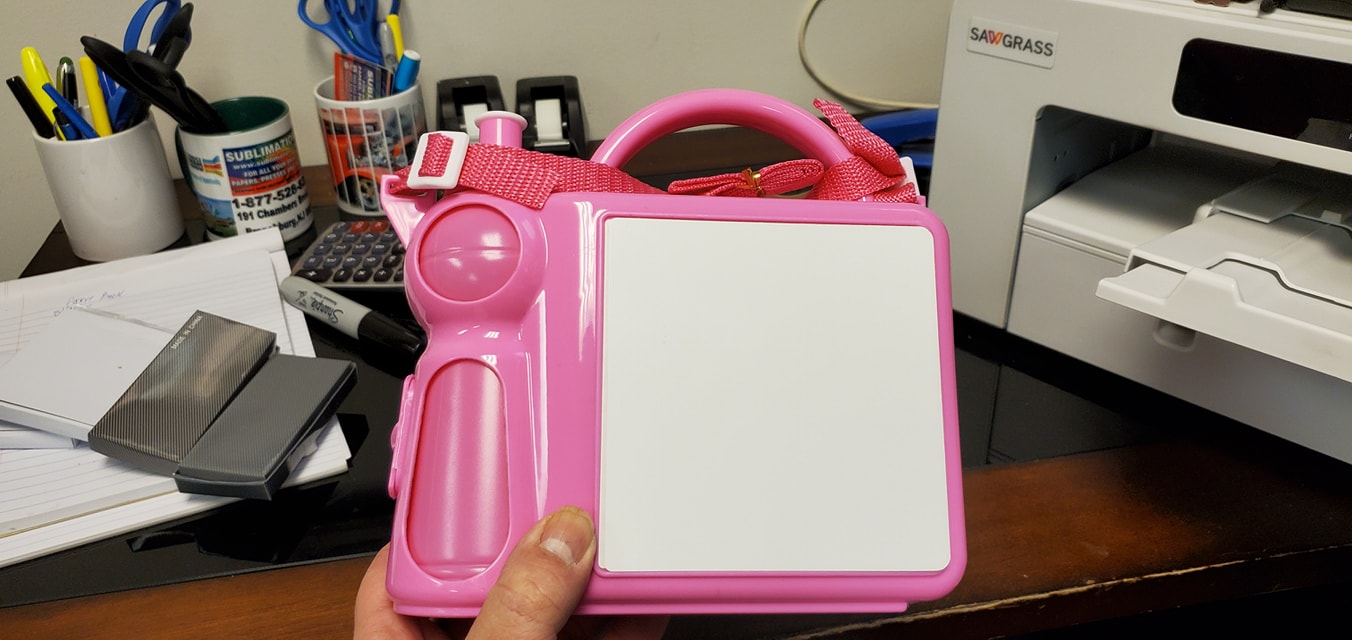
*Note: The lunchbox used in this example is available from Sublimation101; however, a similar lunchbox from another supplier can also be used. (All images courtesy Sublimation101)
Step 1: Set up the design
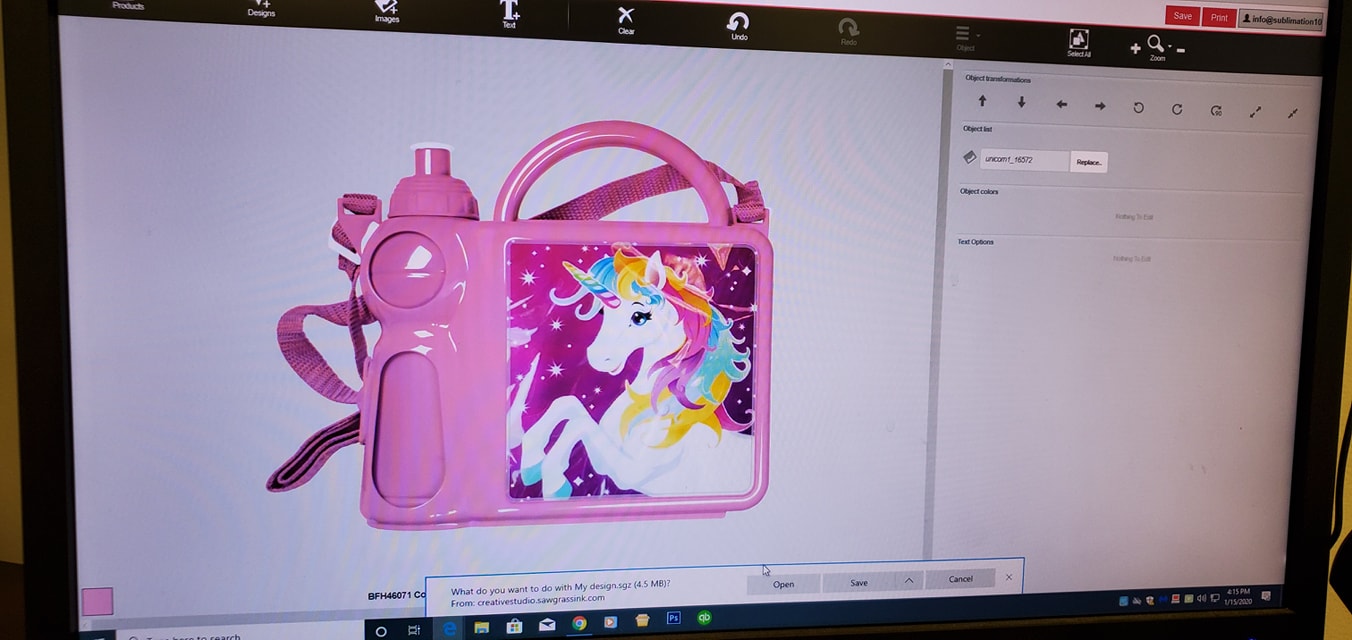
Open CreativeStudio (if working with a Sawgrass printer) and proceed to the template for the lunchbox. Size the image accordingly and leave about a 1/10″ border bleed.
Step 2: Prepare the aluminum
Remove the protective film from the aluminum (most aluminums have a protective film).
Step 3: Prepare to sublimate
Line up the transfer paper and aluminum in the designated area. Once lined up, use two pieces of heat tape to hold it in place.
Step 4: Press the aluminum
Because you’re working with an aluminum insert, you only want to press at 400 F for 30 seconds, rather than at 60 seconds as with most metal sublimation. The reason is the gauge of the metal is not as thick. If you press for a longer time, you can scorch the coding or make the image look distorted from too much time.
Step 5: Cool down
Remove the aluminum from the heat press and place it in room-temperature water to cool. Dry the aluminum.
Step 6: Complete the project
Remove adhesive cover from the lunchbox and apply the aluminum piece to the lunchbox. Once inserted, wipe off any fingerprints and you’re finished.
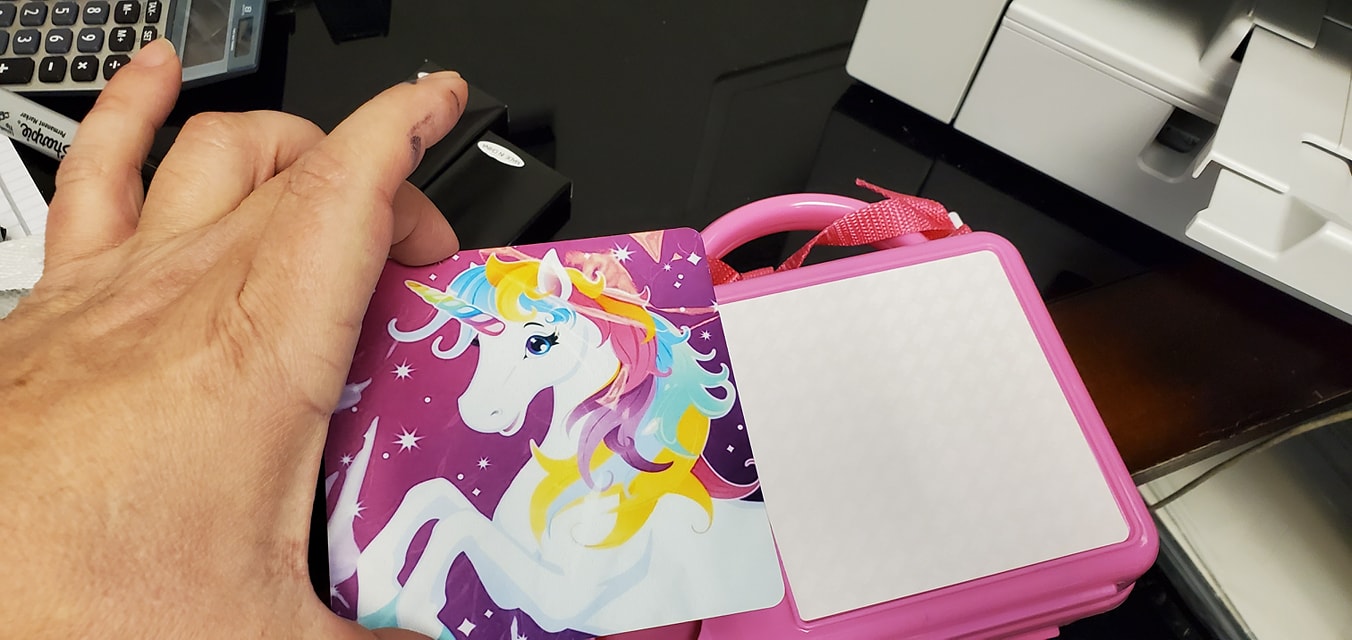
Extra tip: What I like to do before I secure the metal onto insert products, is do a practice insert run. Line up the metal and put it onto the item to make sure it’s secure, then remove the covering to remove the adhesive. Do this a couple of times until you’re comfortable.
