Add a Powerclip Bitmap to an Image in CorelDRAW
This method may prove to be the best option to remove a background and power-clip a bitmap to your image.

To remove a background from an image in CorelDRAW, one possibility is using the bezier tool to draw around the desired image in CorelDRAW. Then you can Powerclip a bitmap into that object to enhance the image.
Sometimes this works best, especially if you need an outside contour or outline applied to the image. PHOTO-PAINT is not needed for this process as it is done entirely in CorelDRAW.
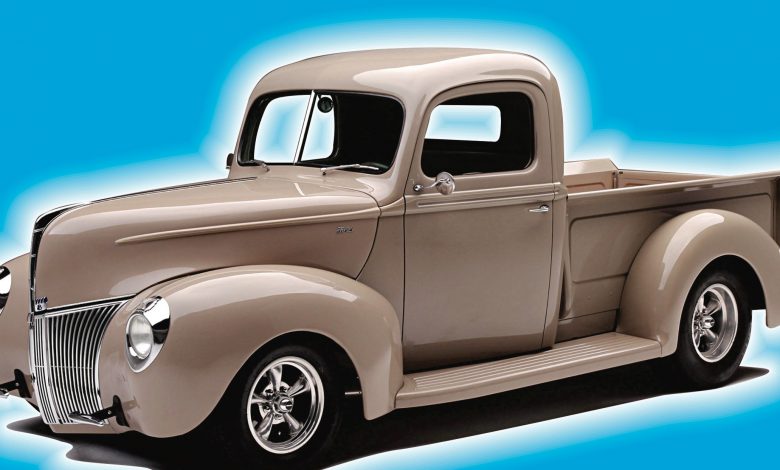
This is the process I used to create the image in the figure above – after drawing the outline shape with the bezier tool and being as accurate as possible (after my initial drawing, I had to edit nodes to clean up irregularities). I drew around the inside windows, again with utmost accuracy, and then combined those inside objects with the outline I had drawn, and finally, when satisfied with my drawing, I power-clipped the bitmap into my drawn vector object. (Depending on the level of accuracy needed, this method may prove to be the best option.)
I then added an outside 20-step contour, adjusting Contour offset to my liking to simulate a glow around the image, having chosen white as my primary color and my ending color to match the background; in this case, I chose cyan. (If the image is to be re-sized, it is imperative to break the contour apart prior to resizing to retain the proper faded look.)
Keep reading to learn how to obtain a segment of a photo in PHOTO-PAINT without a background.