Try This: Engrave a Slate Cheese Board

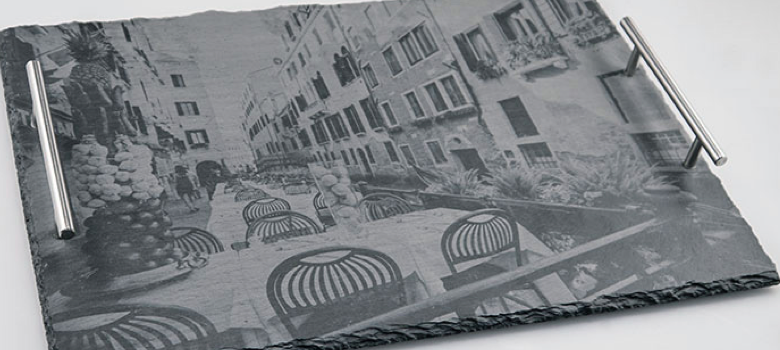
Slate produces a nice contrast when engraved, which makes it a popular substrate for etching. These custom slate cheese boards are a fun and festive addition to any party or gathering.
Here we’ll walk you through the steps of customizing this slate cheese board. Whether you choose one of Epilog’s designs or use your own artwork, these customizable pieces will be a hit with customers and make a great addition to your sample collection.
Materials Needed:
- Slate Cheese Board (We purchased ours from Overstock.com)
- Phillips head screwdriver
- Laser System (Used here: Epilog 50-watt Helix)
Recommended Settings:
- Raster
- Speed: 100%
- Power: 20%
- DPI: 300
- Stucki Dithering Pattern
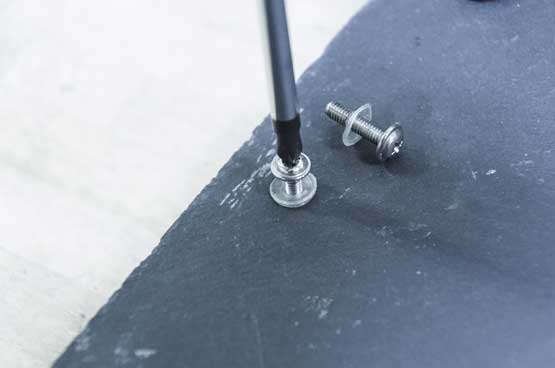
Step 1: Preparation: Start by removing the handles from the cheese board using the screwdriver. Then, in your graphics software, open your file and modify it as necessary.

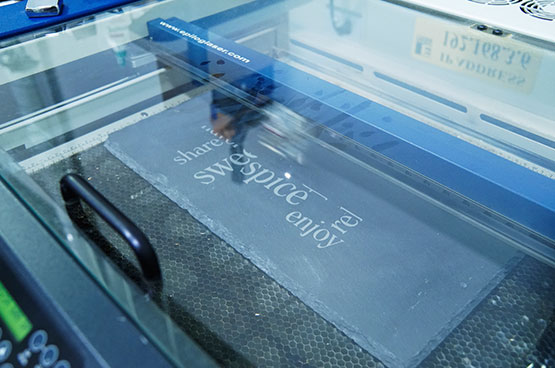
Step 2: Engrave: We’re using the Center-Center engraving feature for this project, so insert the slate board into the machine and move the home position to the center of the item. Place in your system and send the job to the laser.

Step 3: Final touches: Reassemble the hardware and your customer is ready for a great party!