Mirrors are all around us. From a small compact mirror to large home décor pieces and furniture – there are so many applications for mirrored surfaces. So why not engrave on them? You can engrave complex artwork, names, messages – anything you want to create one-of-a-kind gifts and décor pieces. Personalization of mirrors is an excellent way to open up new possibilities for engraving shops and product designers.
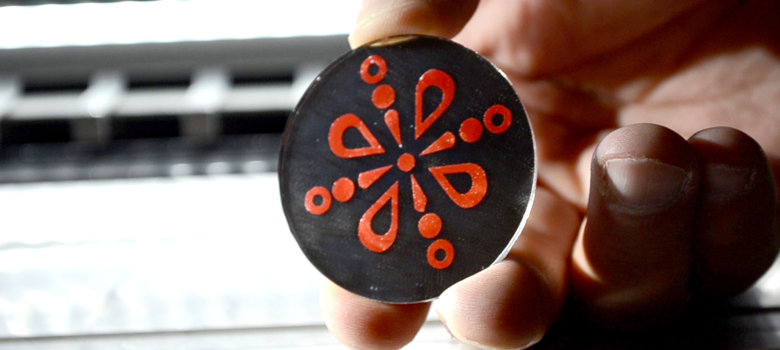
In this experiment, we engraved the back of a small mirror (subsurface) and filled it with paint. Your laser simply removes parts of the reflective layer to reveal your design.
Let’s try this together step by step.
Material Needed:
- CO2 laser
- Round compact mirror
- Paint pen
Settings Used:
- Power: 80 percent
- Speed: 40 percent (40 inches per second)
- dpi: 400
- Wood preset: on
Step One: Prepare engraving surface
Clean the back of your mirror and place it into your laser. If you want, you can add some masking tape to the back for faster cleanup.
Step Two: Prepare graphic
In your graphics software, reverse the artwork for subsurface engraving. The image we used in this example was a solid black fill and we used the parameters at the top of the page.
Step Three: Engrave
Send your job to the laser and start engraving.
Step Four: Paint (optional)
Once the job is finished, fill your design using the paint pen. If you used masking tape in Step One, you can simply peel off excess paint after coloring.
-Elena Iogha, Gravotech


