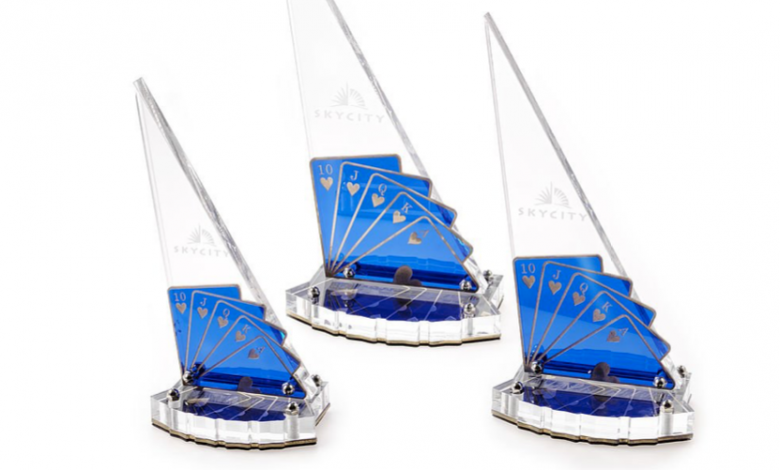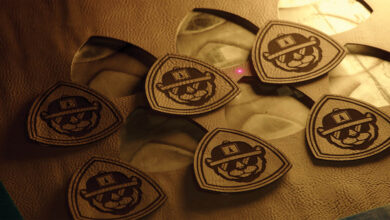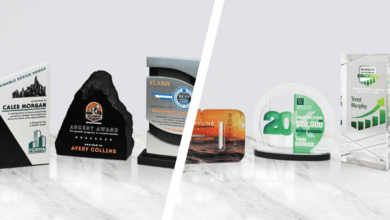
Problem: Contrast cannot be achieved when surface engraving acrylic. This often happens when the acrylic being used is not a cast acrylic (though it is possible to produce some contrast on extruded acrylic).
Try this: Convert the digital design file to around 60-70 percent grayscale first, then engrave the acrylic with the modified file. This creates a halftone similar to dithering and produces a prism effect with contrast.
Problem: The cast acrylic does not produce contrast (engraving clear). This is often caused by the laser beam being out of focus.
Try this: Double-check that the laser beam is in correct focus and that enough laser power is used. Adjust the power settings as needed to produce the desired level of contrast.
Problem: There are visible tic (reflection) marks on the acrylic edge. This is usually caused by the cutting table.
Try this: Elevate the acrylic over the cutting table surface by using pins or blocks and speed up the laser system to reduce the excess power from reflecting.
Problem: Cracks form on the acrylic after it is finished and cleaned. This is caused because the cleaner or paint used on the acrylic likely contains alcohol. Alcohol causes micro-fractures to form in the areas that have been cut or engraved.
Try this: Use a cleanser specifically made for acrylic such as Hexanes.
Problem: Excessive odor while laser processing acrylic. Not all acrylics are the same. Some produce more odor than others, and any acrylic that has been laser processed can still be fragrant up to 48 hours after processing.
Try this: Keep all laser parts including the cut scraps in a well-ventilated area during the 48-hour outgas timeframe. This will not eliminate acrylic odor all together; however, it reduces the overpowering odor that is present.


