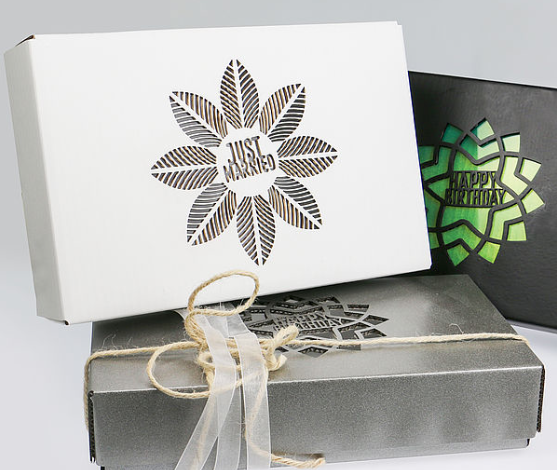
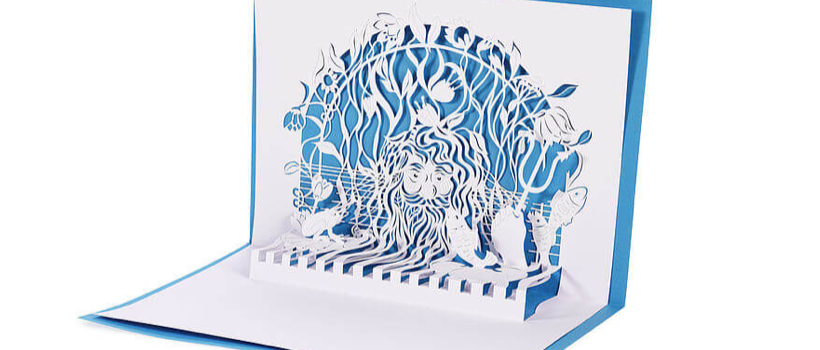
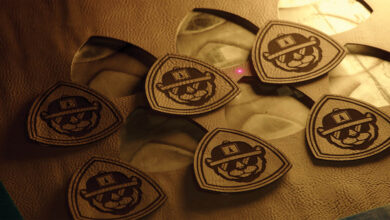
With a laser cutting machine for paper finishing, you can create invitations, table cards, or high-quality packaging with a creative, individual engraving. You can create even the smallest lettering and detailed graphics consistently with laser engraving. Delicate, laser-cut patterns give cards or packaging that special touch. You can also make unusual shapes from printed papers with the laser contour cut.
Consider these steps below to get started…
Materials Needed
(Note: additional supplies/equipment may be required depending on what product you choose to make.)
- Suitable paper: fine paper, art paper, uncoated paper, handmade paper, cardboard, corrugated cardboard
- Laser engraver
- Cutting table (honeycomb or aluminum vector grid)
Step One: Design
In your design software, develop a design that has intricate geometries, such as small lettering or detailed designs. Then, send the cut file to your laser.
Step Two: Laser Process
Place the paper into your working area and cut and engrave. Consider pairing multiple types and colors of paper to create a unique look.
Characteristics and settings may vary depending on what type of paper you use. Be sure to test the laser parameters before you begin processing.
Step Three: Assembly
Some projects may require further steps. For example, if engraving a notebook cover or creating a multidimensional greeting card, you will need to apply the engraved paper to the other elements of the product before completion.
-Josh Stephens, Trotec Laser
