Shop Talk: Using a Laser for a Wordy Wall Sign Job
Acrylic signage totaling over 175 pieces
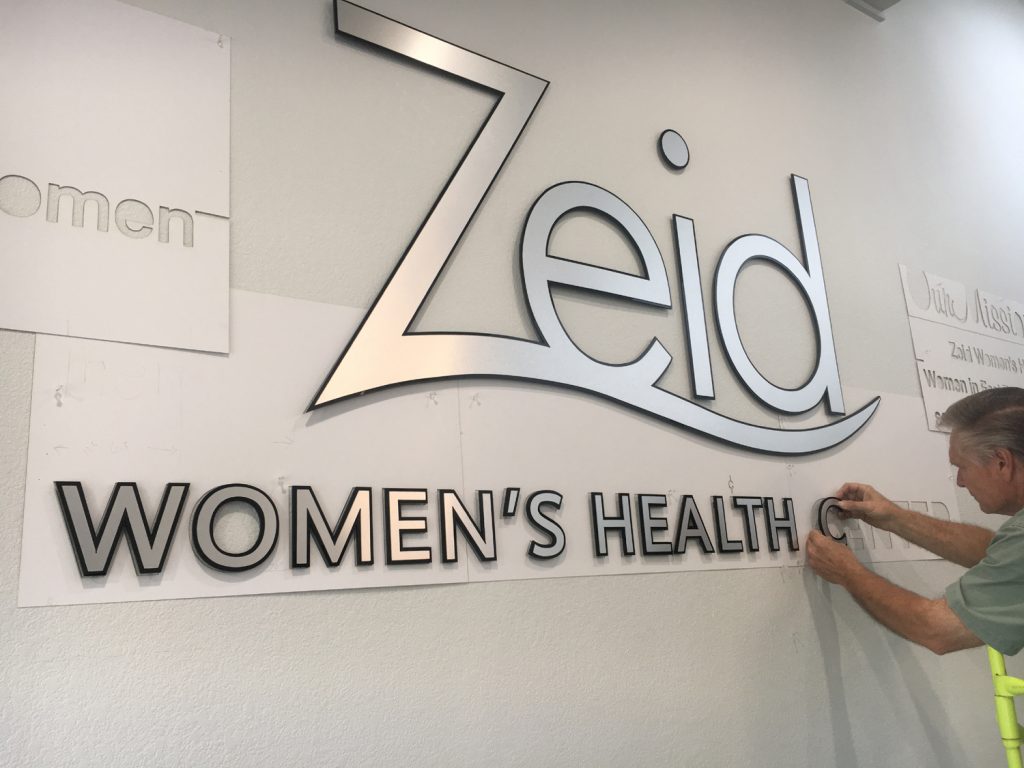
Not long ago, we completed one of the wordiest sign projects of individual letters and logos I can remember doing. It was for a women’s medical clinic in a nearby city, and the staff wanted to decorate a large interior wall with a custom raised logo and also their entire mission and vision statements and more.
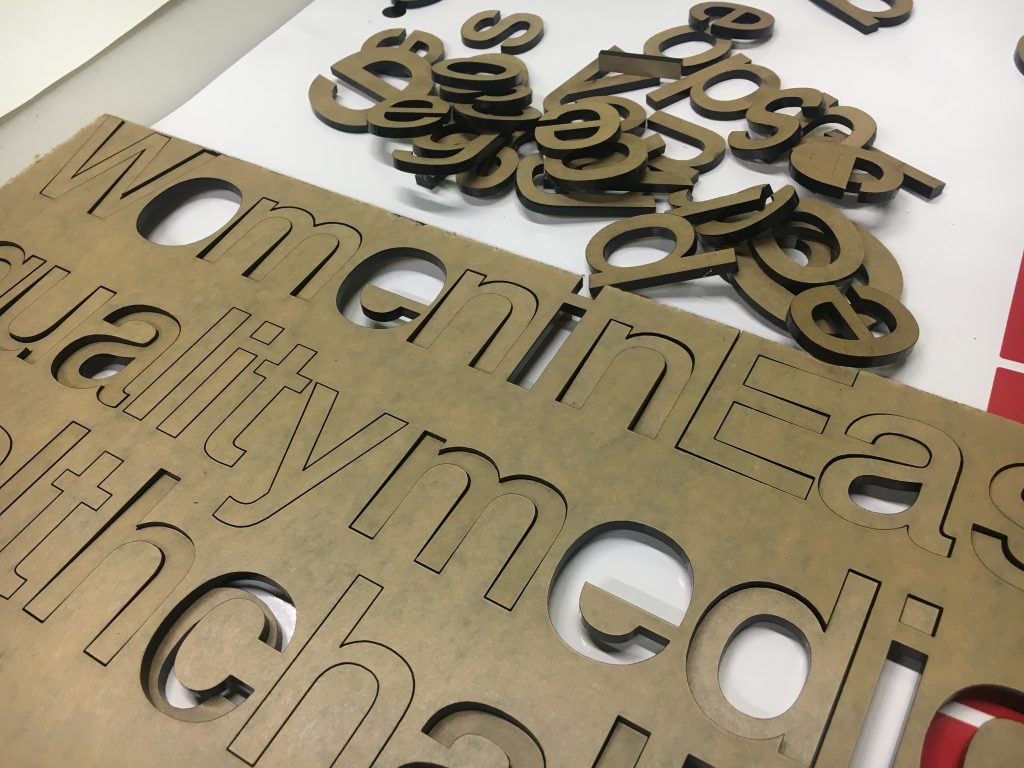
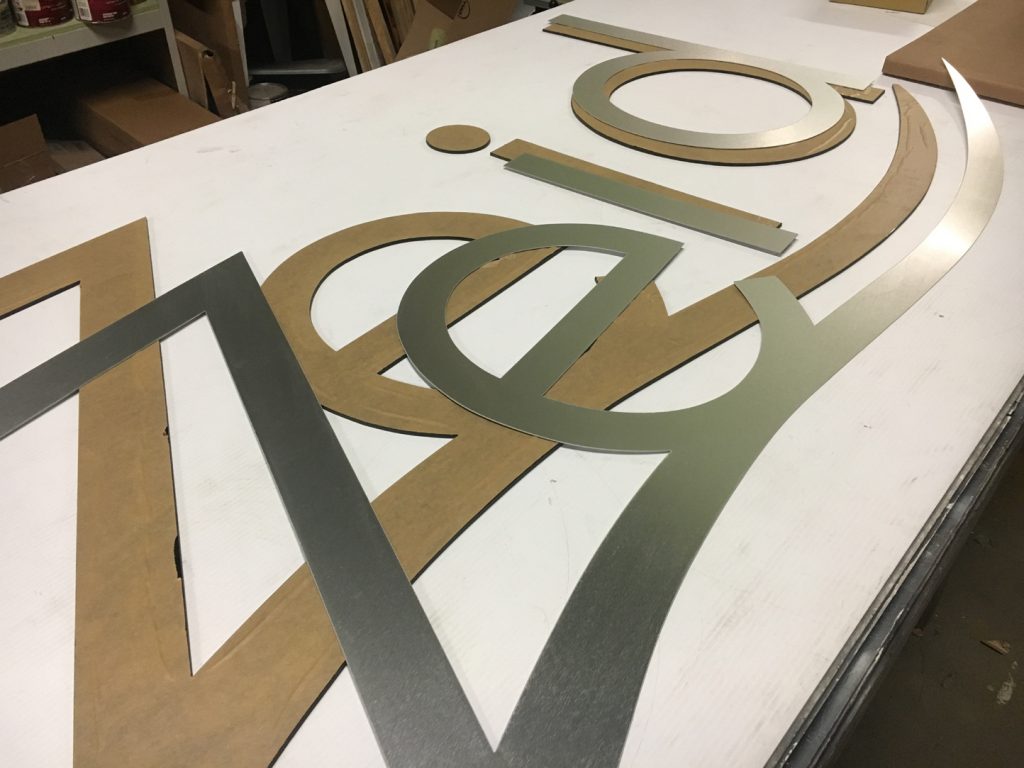
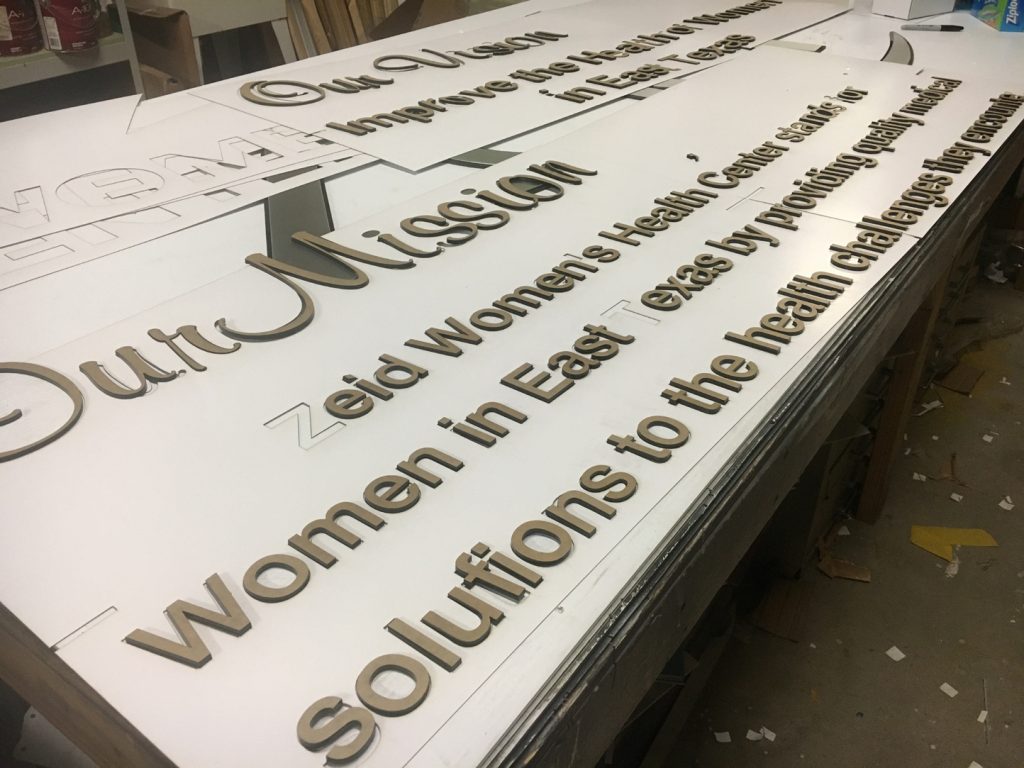
I believe in the end it was made of more than 175 items, mostly black acrylic but some of it would be two-tone with elements overlaid with .040 brushed aluminum sheet. The unwieldy number of parts was made more manageable by using a laser to easily cut the vast majority of the lettering, and also laser cutting perfect poster board installation patterns to aid the work in the field.
In the end though, just handling the multitude of parts was somewhat time-consuming, but the project went quite well and absolutely predictable, and our client loved the results. Some of the exact methods used and illustrated here may help other sign makers save time or avoid mistakes on projects that may be similar to this one.
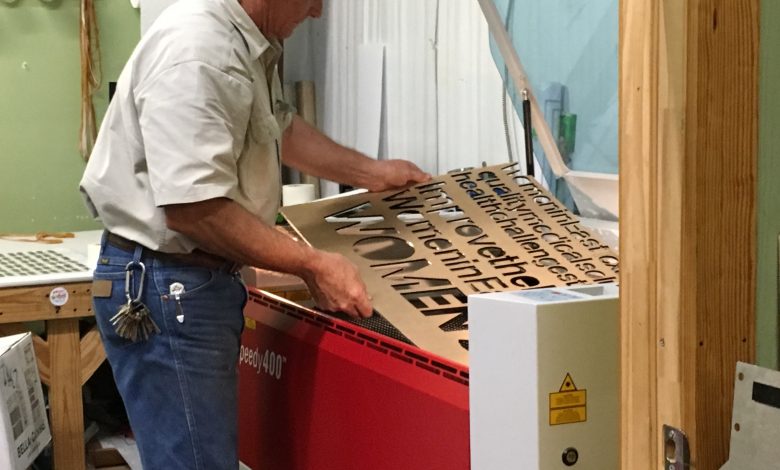
As one can tell from the photos, some of the elements we made for this project were fairly large, and most sign shop lasers, including ours, are not. Our Trotec 120-watt laser handles sheets approximately 24″ X 39″ in size, and the large “Zeid” logo was well over that size. Also, the metal overlays on that logo and the lettering, which went below it, featured brushed aluminum centers, which cannot be cut on the type of laser we have.
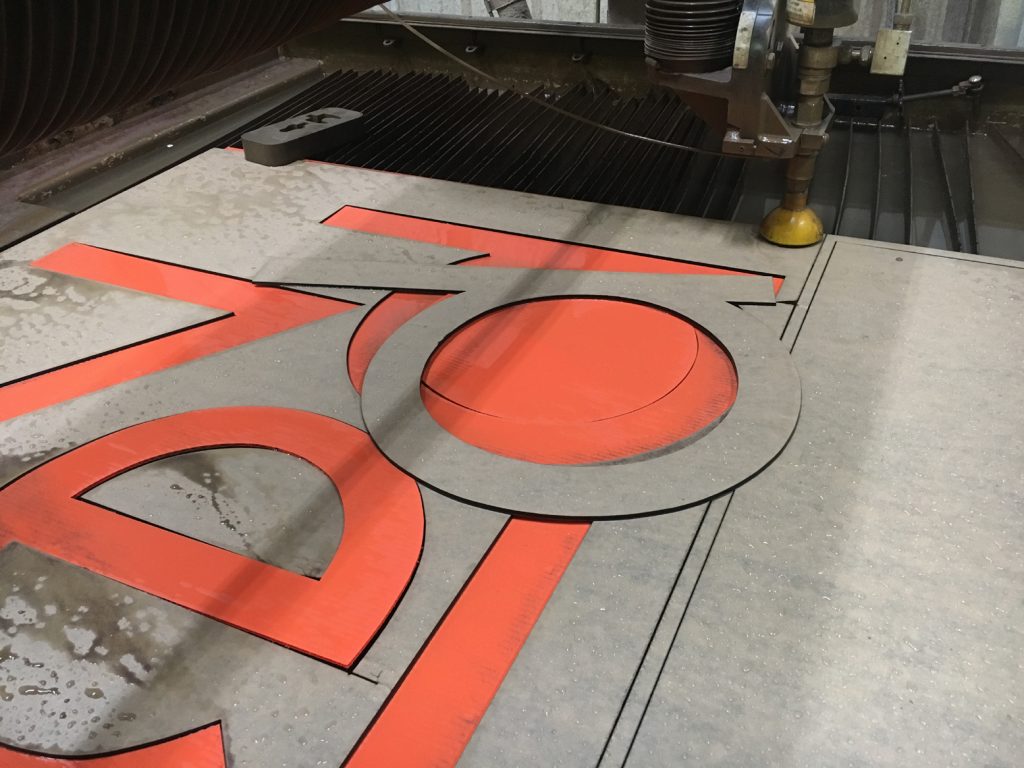
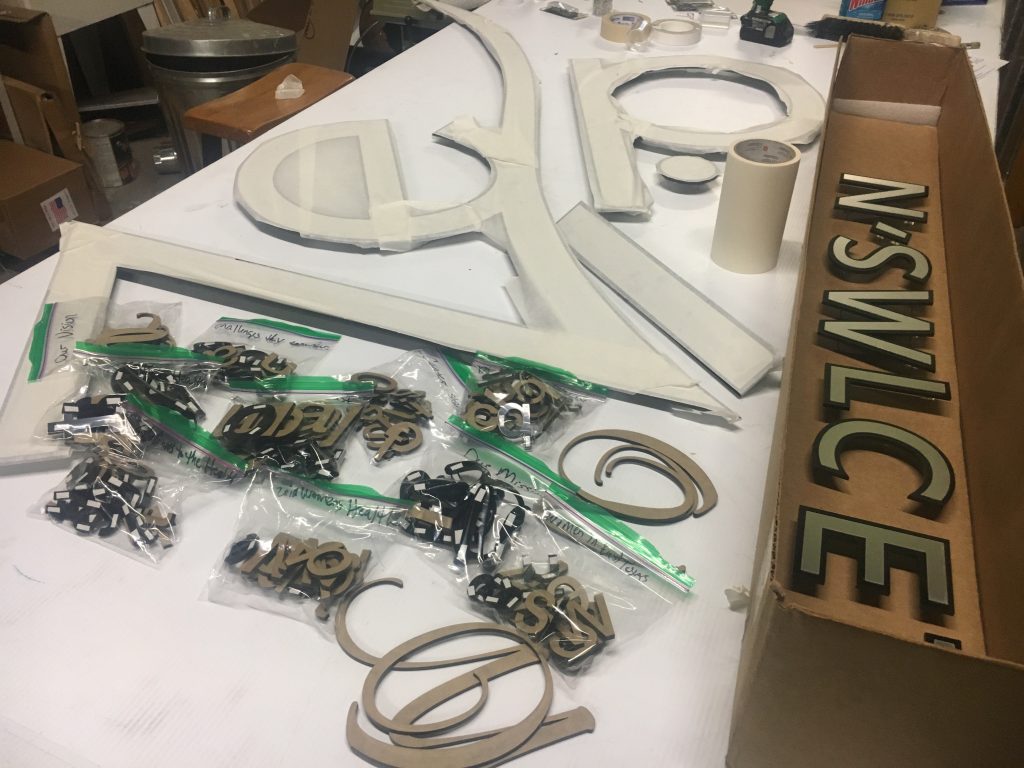
So, the large items of black acrylic, and the overlay parts that were actually made of metal were cut on a CNC waterjet. The other vast number of parts were cut on our laser. The acrylic used for the entire project was simply 3/16″ thick gloss black. A small amount of clear acrylic, also 3/16″ thick, was used to make special mounting hardware. This custom mounting hardware was made in-house using the laser.
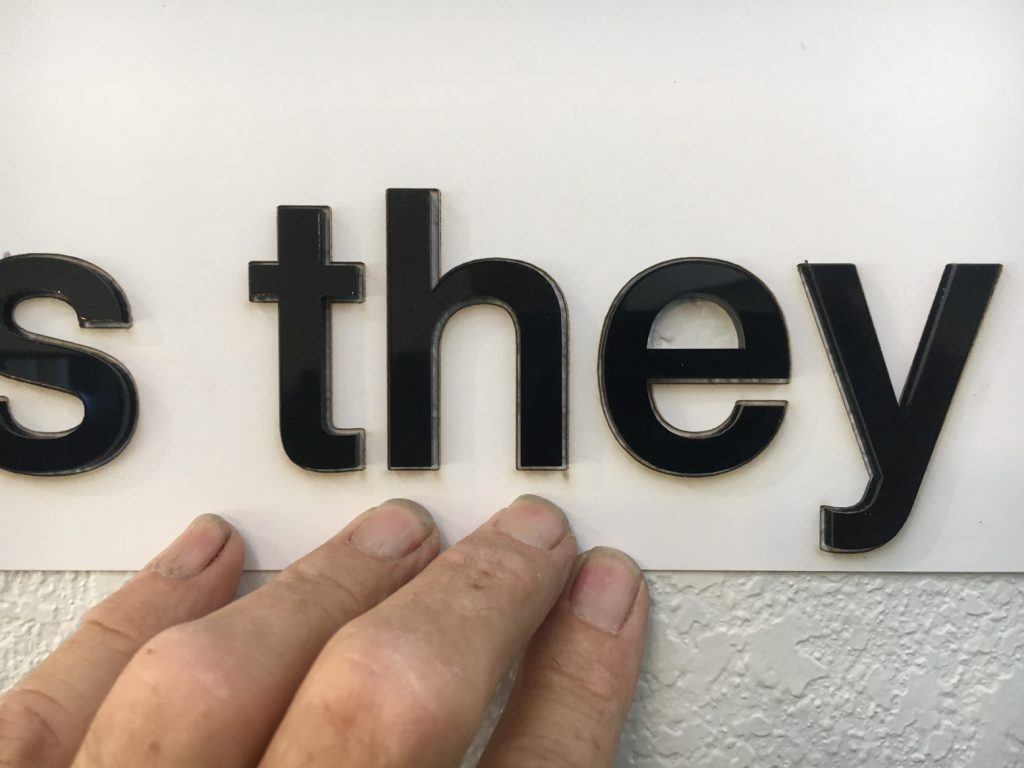
For the install patterns we used regular white poster board, which is easily and rapidly cut on a laser, and of course, patterns made this way are incredibly accurate. The letters in the poster board patterns were made 1/16″ thicker in stroke width so the patterns could easily be removed away from the lettering after installation.
Though the largest acrylic parts also had to be cut on the waterjet, the .040 brushed aluminum parts were too, and for both of them, a sacrificial sheet of coroplast (which happened to be orange in color) was used to reduce potentially damaging splashback when the stream of water crosses over the slats that support the work. This is fairly harmless with thicker metal but can be damaging to plastic and thin aluminum sheet and may cause edge flaws that can be seen from the front.
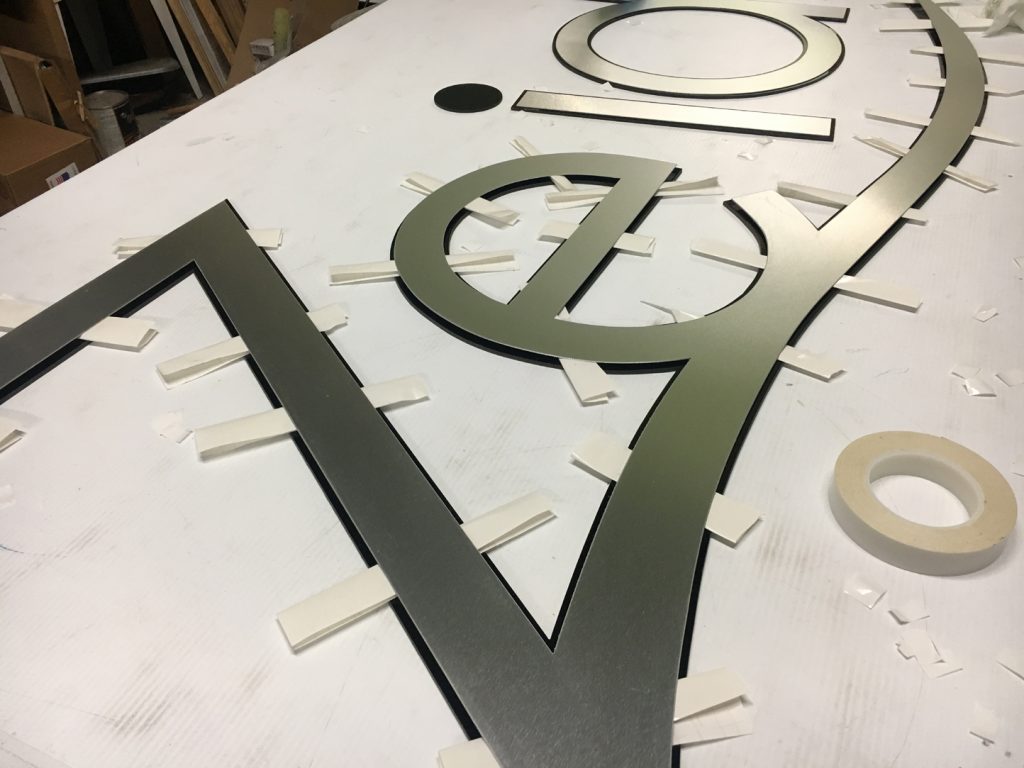
Actually, the cutting of the many parts of this job was the easiest part of the work. However, putting the metal parts over the logo and accompanying lettering needed to be done right the first time, since repositioning them would be impossible without damaging the parts made of thin .040 brushed aluminum sheet.
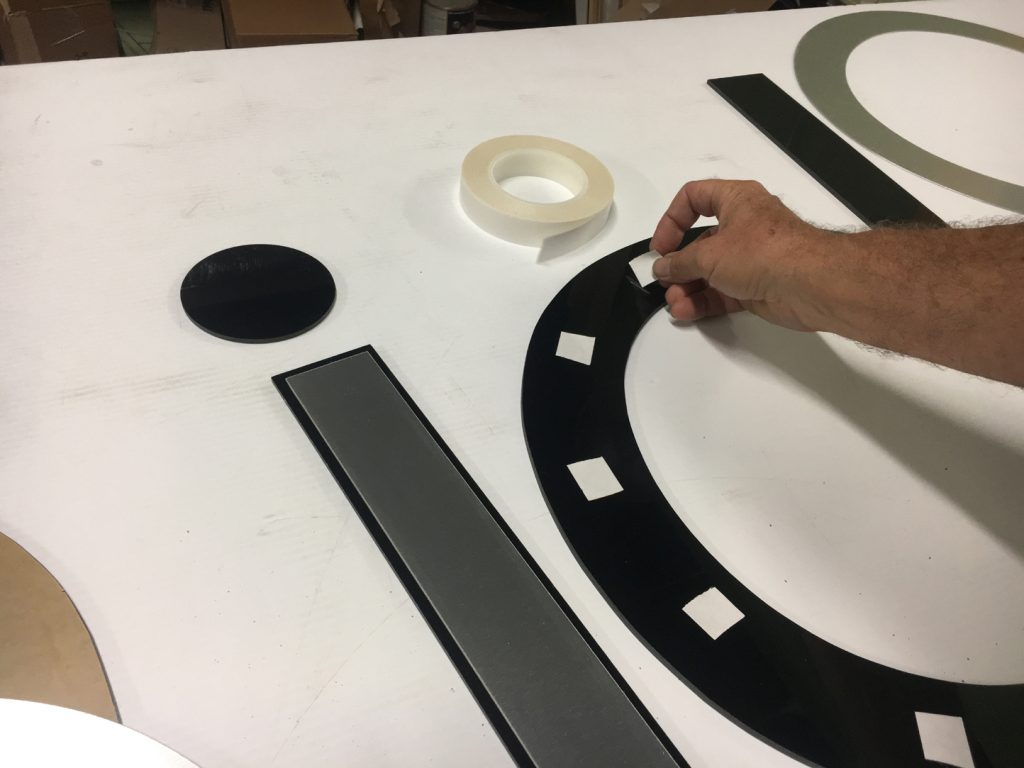
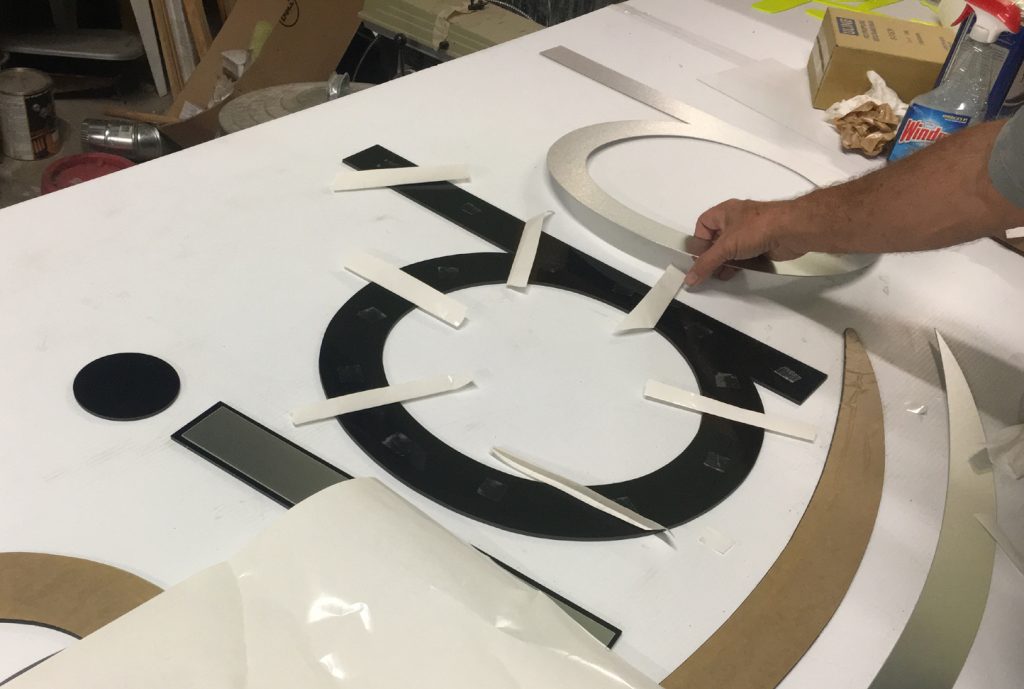
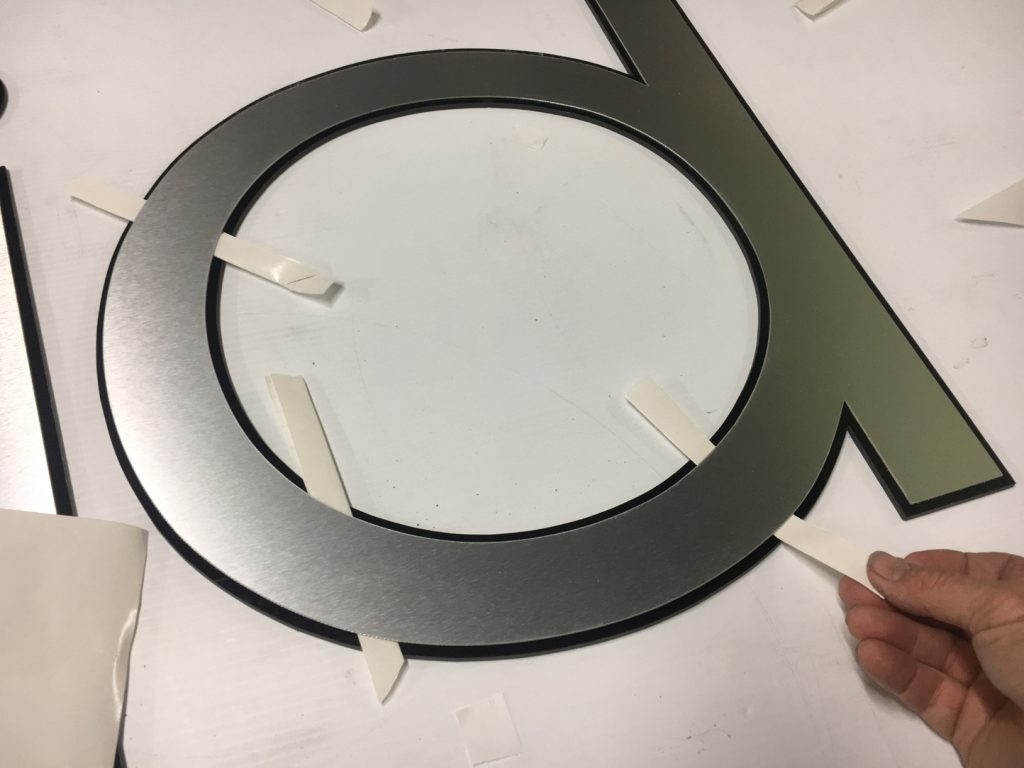
This step, however, was carefully dealt with by using a simple method of putting temporary paper spacers between the metal and acrylic parts, and only when absolutely certain they were aligned perfectly would the spacers be removed, allowing the double-sided adhesive to bond the parts in place.
The spacers were made from release paper saved from laminating digitally printed graphics. The paper was cut in strips, which were folded once to double their thickness and expose the slick silicone surface, and multiple spacers were placed between the layers. Then, once the top metal overlay was sure of a perfectly centered fit, they were simply slid out of the way one at a time. The process was simple, predictable, and produced perfectly aligned graphics.
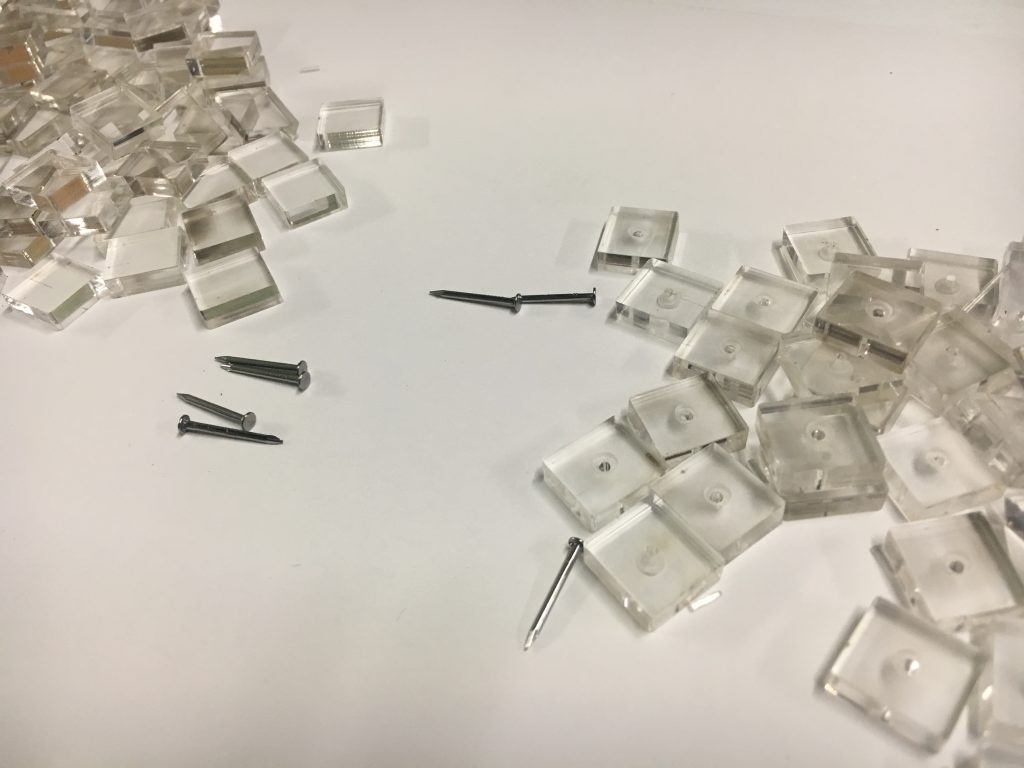
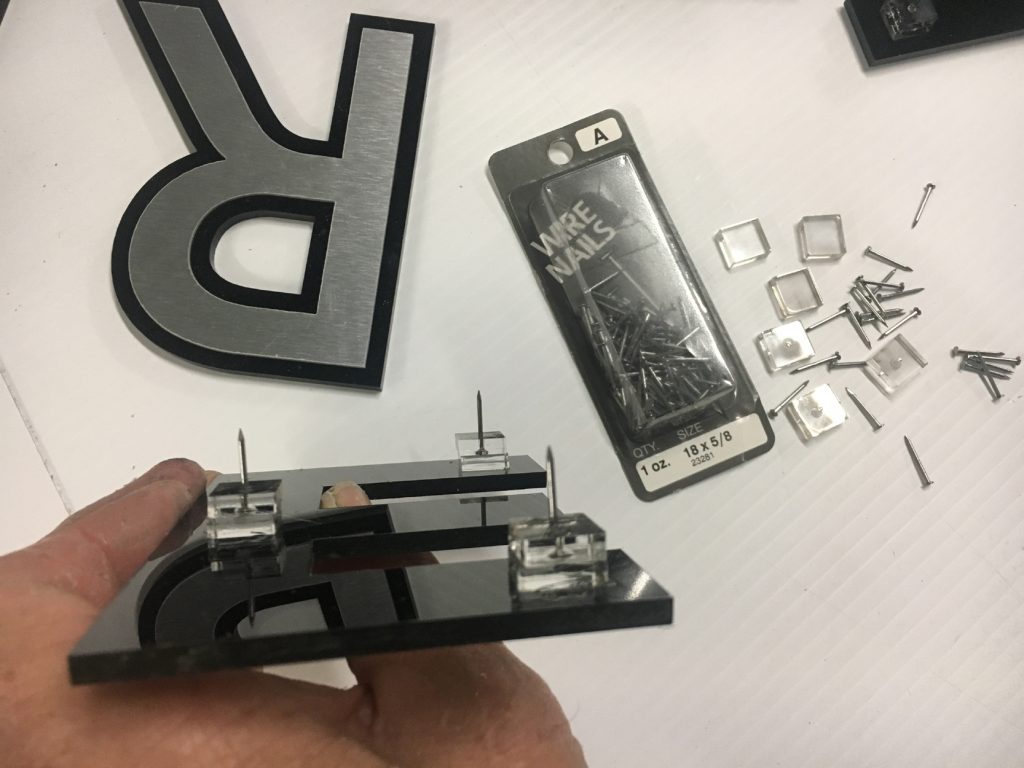
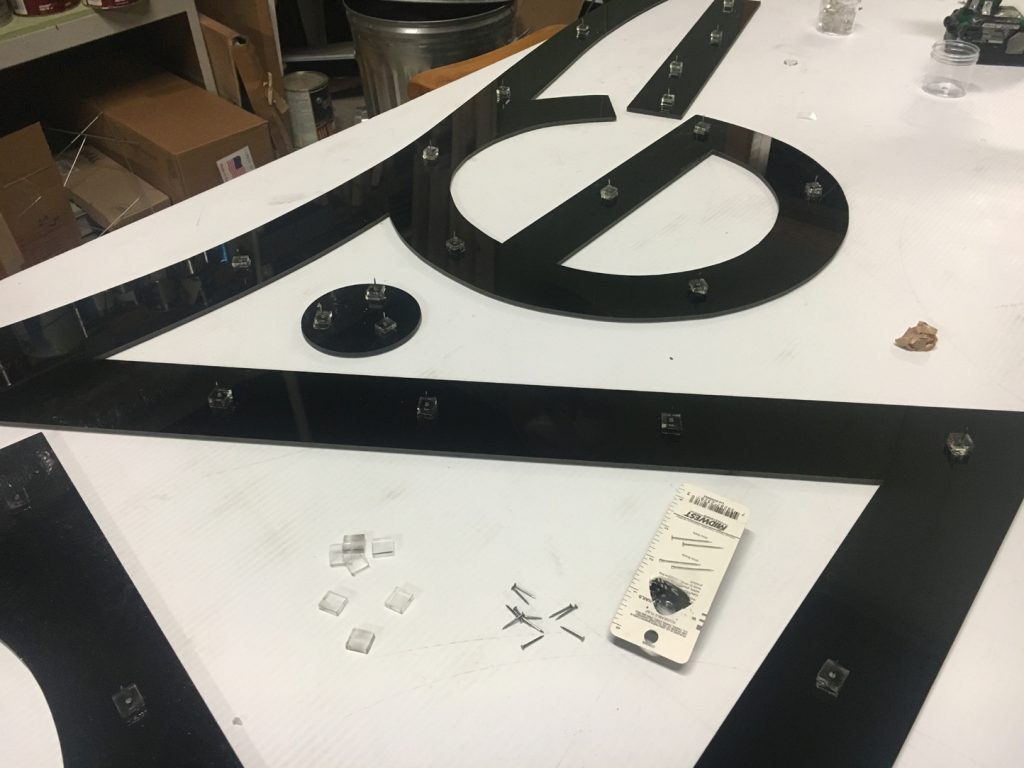
Though all the smaller black acrylic letters would be mounted flat to the wall with double-sided tape, the larger letters and large logo would be spaced off the wall 3/8″. So special small acrylic spacer blocks were cut on the laser, half with holes and half without. The spacers with holes would also be engraved with dots in the center to countersink a small nail that would become sharp small studs to secure them to the drywall when installed.
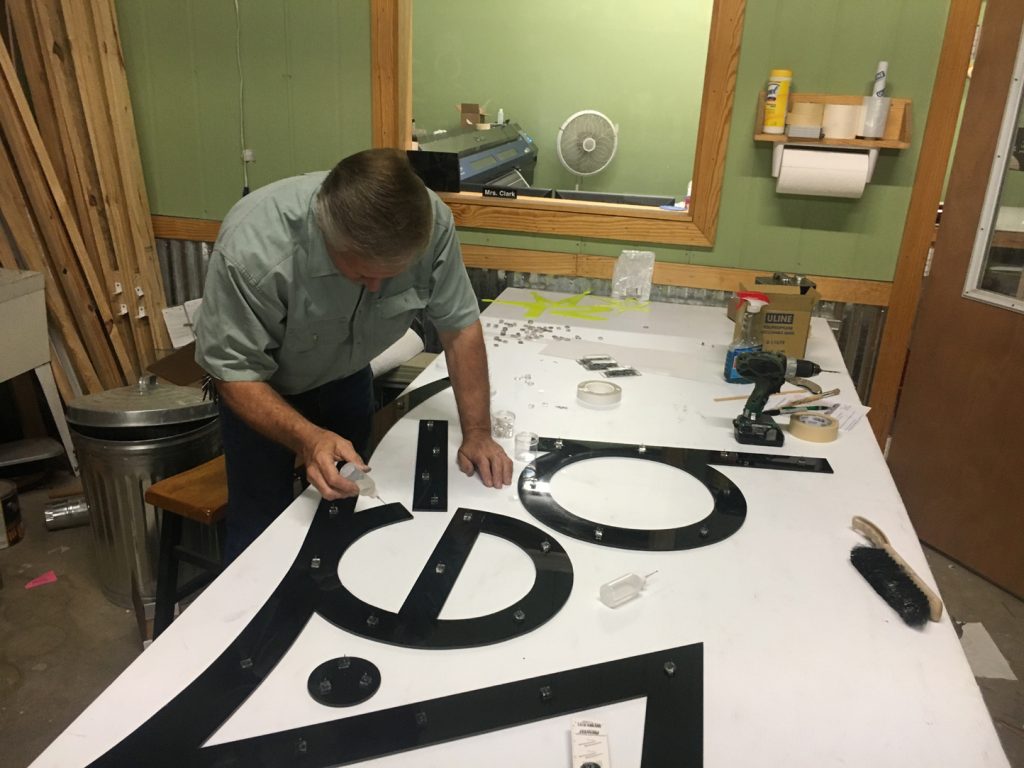
I have shown similar mounts we used on another Shop Talk project, but these new ones had an engraved dot, which once the laser settings were determined, made them fit together perfectly, glued together with acrylic glue. The countersunk nail head allowed gluing the blocks together, which trapped the nail in place and made perfect self-piercing studs.
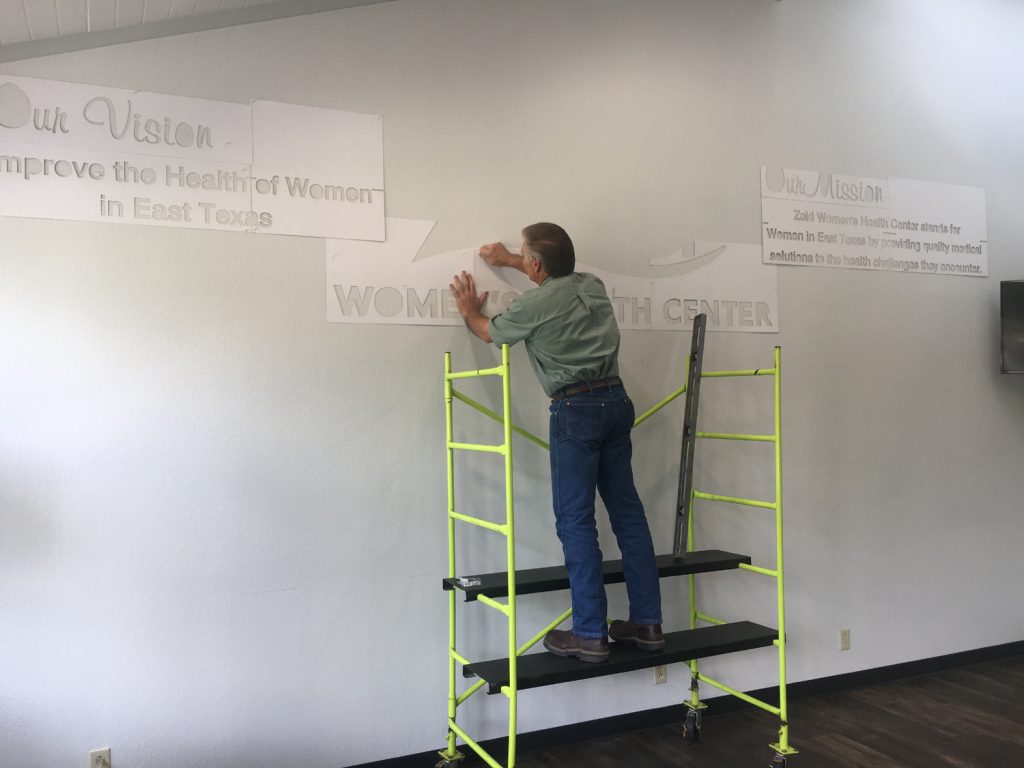
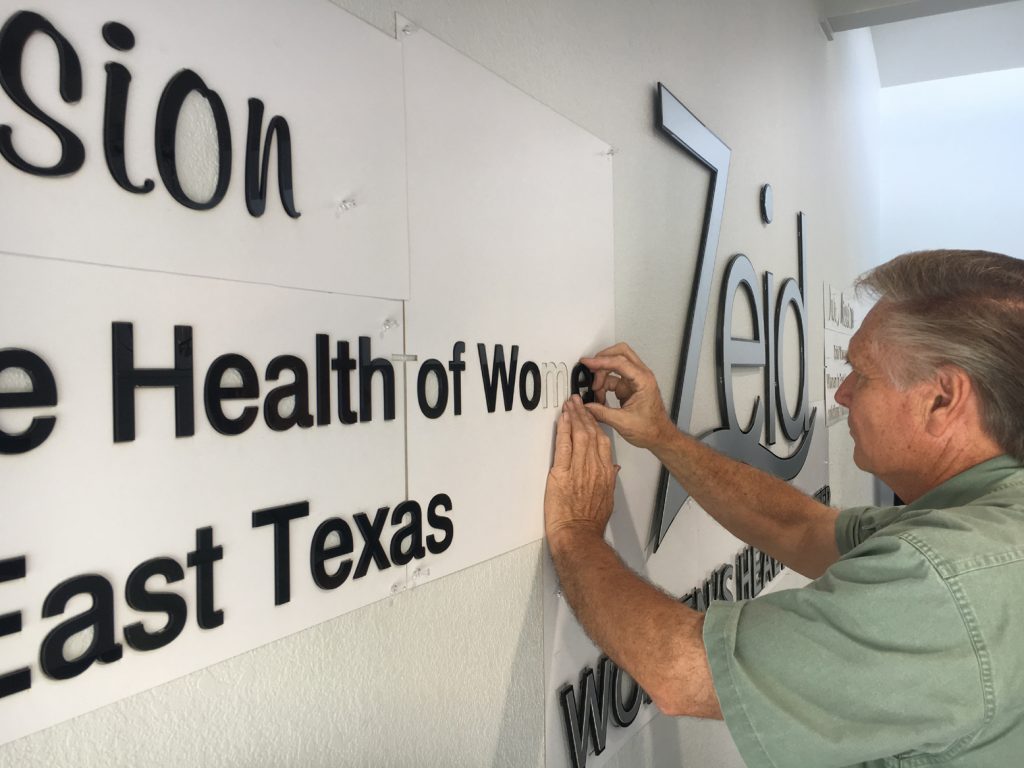
Once on the job, the first step was of course to install the patterns very carefully and very accurately, double and triple-checking measurements and leveling carefully. We have a small but ideal rolling scaffold unit, and it was perfect to work off of on a project like this.
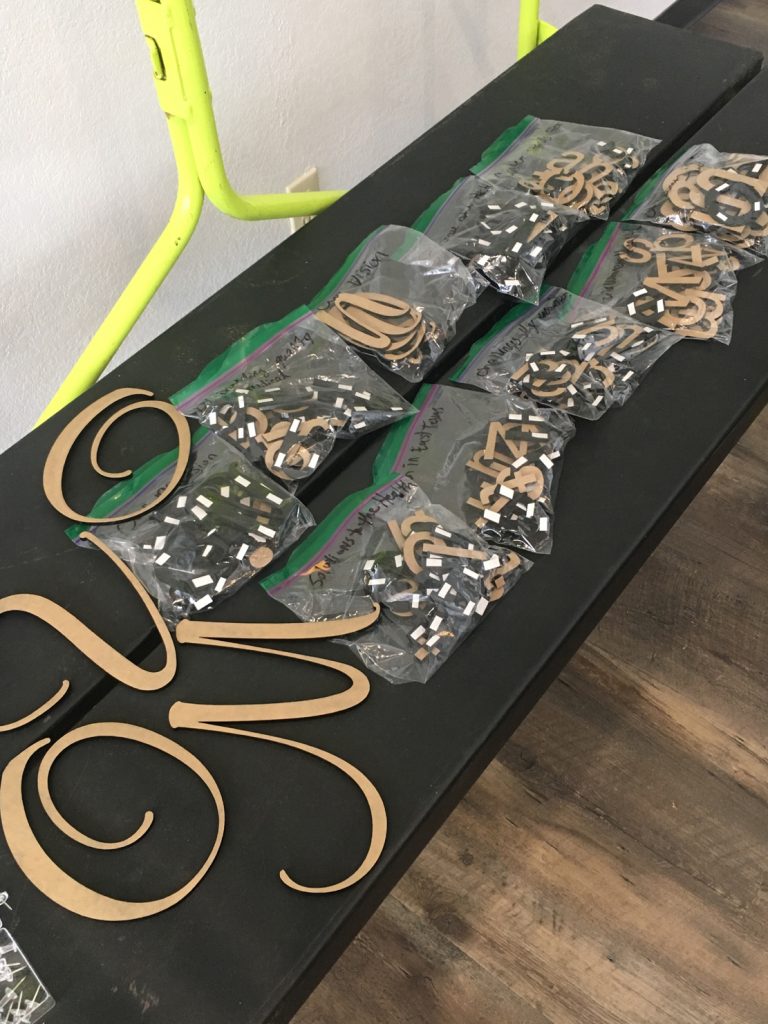
Once patterns were in place, it was just a matter of putting in the time of handling so many parts and bags of parts, which had been organized by lines of text. Working steadily with no breaks, it would take about five hours of diligent work to get everything in place.
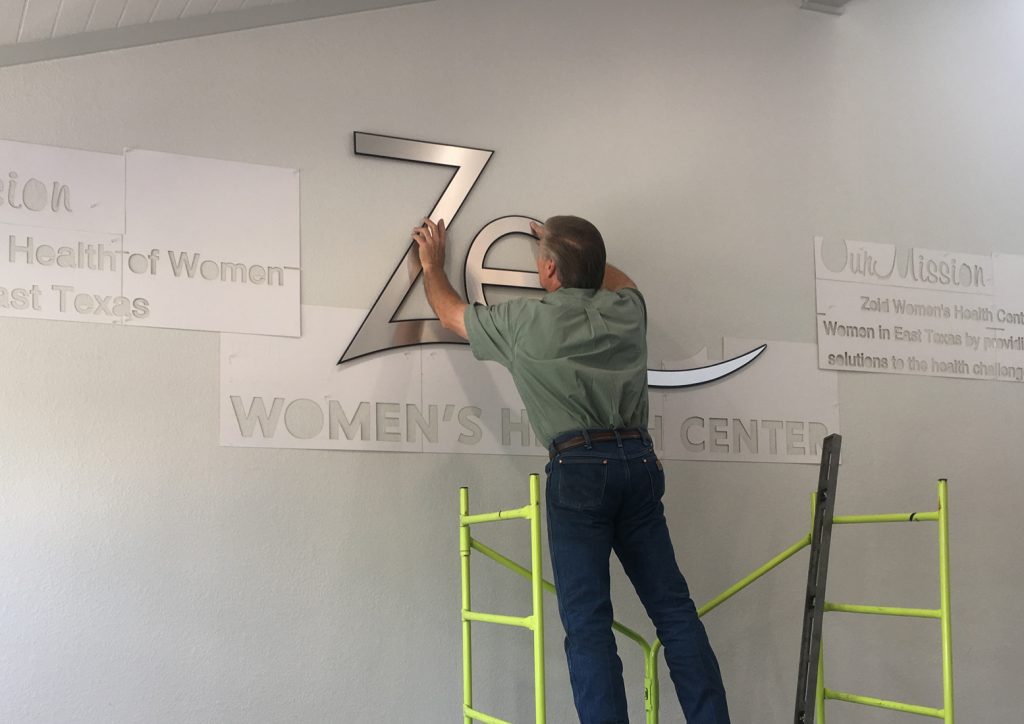
The large logo, approximately 6′ wide, and the larger two-tone letters, were actually installed first and simply pressed into place, allowing the many sharp small studs to bite into the drywall. No adhesive was used or needed for the large logo and the larger lettering that went just below it. These items were offset from the wall by the clear acrylic blocks 3/8″ thick and approx. ½” square. Using the patterns we’d created, the installation of the larger parts was extremely easy, accurate, and quick.
All the small letters were installed with strips of double-sided clear tape (actually banner tape). But because the wall had plenty of texture, this meant that only high spots were being contacted. But we didn’t want to use thicker tape which would be more visible, so at the end, a very, very small dot of clear silicone sealant was placed at the top edge of each item as insurance against any coming loose.
Even though the install was not fast, it was simply a step-by-step process of merely following the patterns and getting each individual item set accurately in its place. The rolling scaffold helped, and so was the quiet of working on a Saturday in a medical clinic that was closed for business on the weekends. And since there was no one around, there were no distractions either (totally impossible on a normal workday).
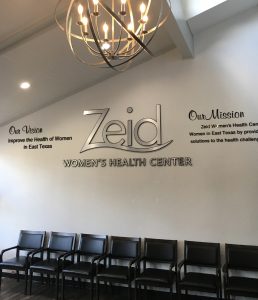
This was actually a fun project and the results were what we were after, and more importantly, what the client was after as well. In the future, we’ll know exactly how to go about doing a job like this one. Projects like this one mean good, clean inside work, and an amazing machine does a lot of the work for us. What’s not to like about that?
