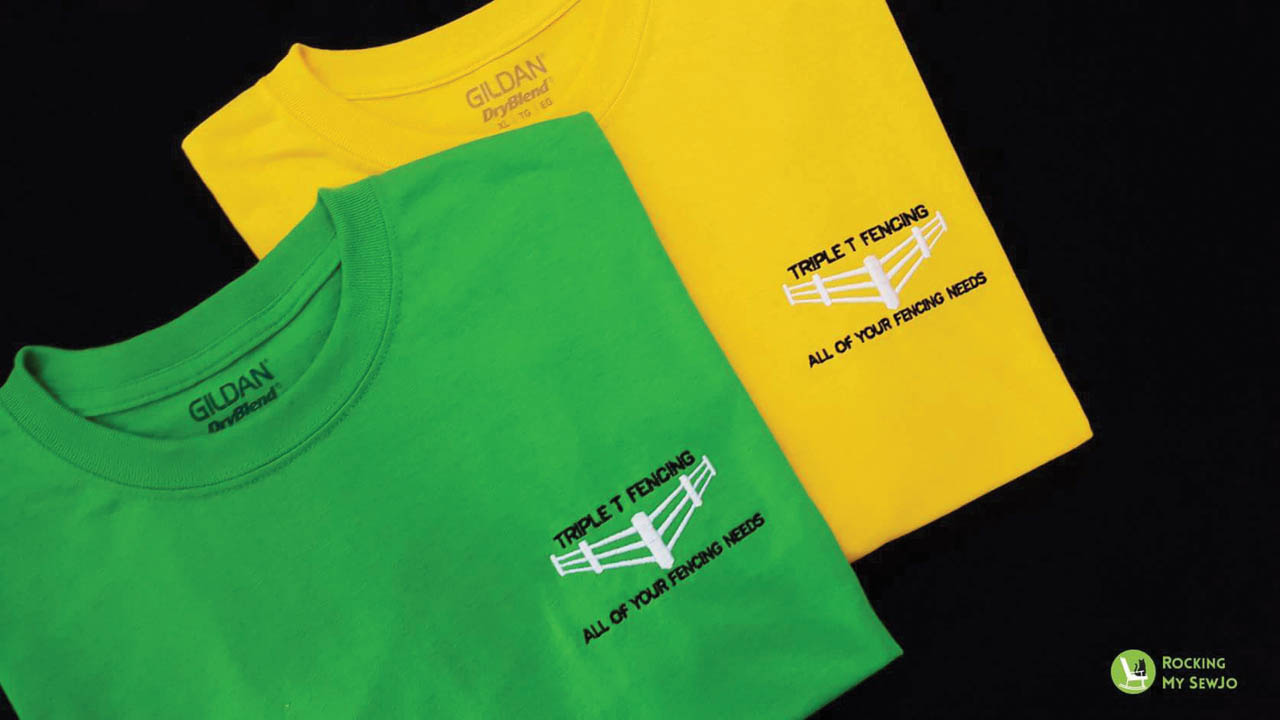
Adding embroidery on T-shirts may seem counterproductive. After all, T-shirts are perceived to be a low-end and more disposable garment than most. There is a tendency to think that T-shirts should always be printed or decorated using DTG, vinyl, transfers, or DTF rather than embroidered. There are times when adding embroidery to T-shirts is the best option, based on what the customer is trying to accomplish with these custom shirts.
Choosing the right shirt is the first step to creating quality embroidery on a thin garment like a T-shirt, go with high-quality cotton or cotton-blend shirts that have a smooth, stable, and consistent knit. Avoid the lightweight, slubbed, or more sheer shirts, as they will not hold up well to the embroidery process. Work with mid to heavy-weight shirts that have at least a 5.5 oz. or higher weight for the best results.
As is true with all embroidery, the quality of the final product is directly a result of the digitizing. Designs that are sewn onto lightweight knits need to be digitized differently than designs that will be added to a sweatshirt or a hat. Ideally, your digitized design will have an underlay that will help the embroidered area remain stable and flat. The stitch density will be adjusted to generate enough stitches to make a good-looking design while not adding any bulk. No one wants to wear a T-shirt with bulletproof embroidery, take my word on that.
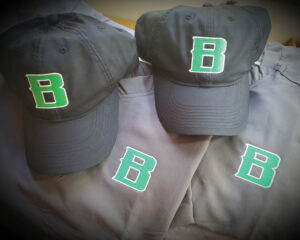
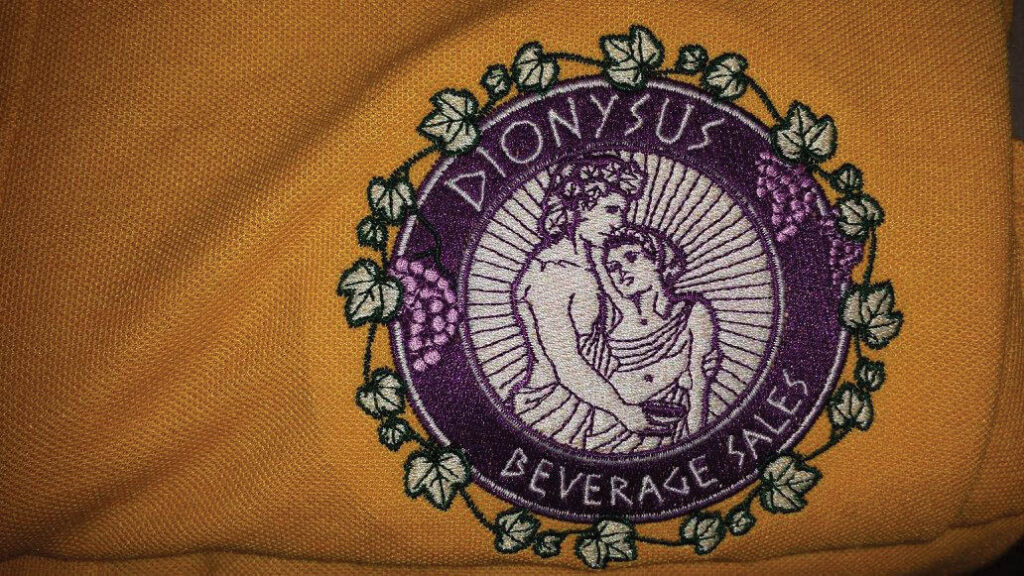
Some designs may need to be modified to create a good-looking embroidered T-shirt. Tiny lettering often does not fare well on T-shirts, as the stitches fall into and between the ribs of the knit fabric, making the lettering unreadable. Recommend that the tiniest lettering not be included in this particular design or ask if there is a simplified version of the design available. Can any of the layers of the background be eliminated or combined into a single layer? Sometimes walking stitches and outline stitches can make the finished design look messy if there is too much detail. Can the detailed elements be simplified, with less detail in that part of the design? Having an example of a great-looking design adapted for embroidery on T-shirts and a sample of that same design that has not be adapted sewn next to it is a great way to demonstrate the value of modifying a design for this product.
Customers often indicate that they want the design to be a certain size, and that size is often larger than may look good on the finished T-shirt. How often do we hear them say, “Make it as big as possible.” In reality, a left chest design that is roughly 2″ high by 3″ wide looks right. Larger designs tend to not look as good in that location. One way to demonstrate this design size is to hold up a business card over the design on your customer’s shirt, or on your shirt (you ARE wearing a shirt with your company’s logo on it, right?). Most of the time, the design (or most of it) fits behind the business card, reinforcing the concept that this is an ideal size for this location.
Selecting the right stabilizer is the next step. T-shirts, by their very nature, are made of a fabric that is supple and has very little body to it. Because of this, you need to add a stabilizer that will provide enough support so that the embroidery stitches have something to hang on to and remain where they are placed when the shirt is washed and worn repeatedly. If you are working with a white or light color T-shirt, a traditional cutaway backing creates a shadow behind the embroidered area. For that reason, using a non-woven no-show mesh cutaway stabilizer works well, as it will not create a footprint behind the embroidered design while providing enough body to create quality embroidery. Several manufacturers offer a no-show mesh product that is also fusible. These are versatile and work well for lightweight and stretchy fabrics like T-shirts. If you are working with a shirt made with performance fabric, use the stabilizers created for this particular fabric, as that backing is designed to support this kind of slippery, stretchy fabric specifically. No-show mesh backings are well-suited for designs worn directly against the body, as they are not at all abrasive.
Needle and thread selections also impact the overall quality of the finished product. Use ballpoint 75/11 needles, as they slide between the fibers of the knit fabric instead of piercing them. If you have not changed out your needles in a while, check them for burrs, as they can snag the fabric and lead to quality issues such as skipped stitches, irregular stitches, and thread breaks. Polyester threads are the way to go on T-shirts, particularly if they are white shirts. Poly threads will hold up to harsher laundry chemicals without fading.
How you hoop the fabric is the next key component to creating excellent embroidery. Once you have fused the stabilizer to the shirt, hoop the T-shirt tightly, evenly, and completely. This is not the time to “cheat” and use a smaller piece of stabilizer. It needs to cover the entire hooped area to effectively stabilize the sewing area. The shirt should be taught in the hoop, yet not stretched out to the extent that the ribs of the knit are no longer straight. By its very nature, knit fabric has stretch. If you stretch it too much in the hoop, the resulting embroidery can sag. If you hoop the fabric too loosely, the embroidery stitches can pull the knit fabric together, creating puckering or curl the design so that the shirt will not lay flat when worn. Using a hooping station will help you achieve consistent hooping and design placement.
Some embroidery equipment runs just about any hooped product well at the same speed. Other machines are more sensitive to the materials that are being run, requiring that you adjust the sewing speed to create the best embroidery. Our multihead machine ran at its regular speed, while we had to slow down our older single-head machine by at least 200 smp to create the same results. Keep track of the sewing speeds and the results generated to make it easy to get those same results on similar orders in the future.
One of the final steps for embroidery on T-shirts is the removal of the excess cutaway backing. Few things undermine the impression of quality as quickly as backings that have not been removed or that have been removed poorly, leaving jagged edges of backing. Hold the excess backing in your non-cutting hand and let the shirt fall away from you and the backing you are holding. With a sharp pair of fabric shears, not the embroidery nippers, slice away the excess backing around the design. This will help you avoid cutting the shirt and create a smooth edge on the backing that remains on the shirt.
Understanding why your customer wants to order embroidered T-shirts will help you recommend the best products and make design modification suggestions so that they meet their objective. A limited-edition embroidered T-shirt gives a much different impression than a printed one. Embroidered T-shirts may be the best choice for an organization that needs a lower cost but long-lasting shirt for its staff. Businesses that sell their branded apparel products may like the higher perceived value of an embroidered T-shirt, as they will get more profits from these shirts as compared to printed shirts. Knowing how to create top-quality embroidered T-shirts will ensure that your customers keep coming back for all their decorated apparel needs
