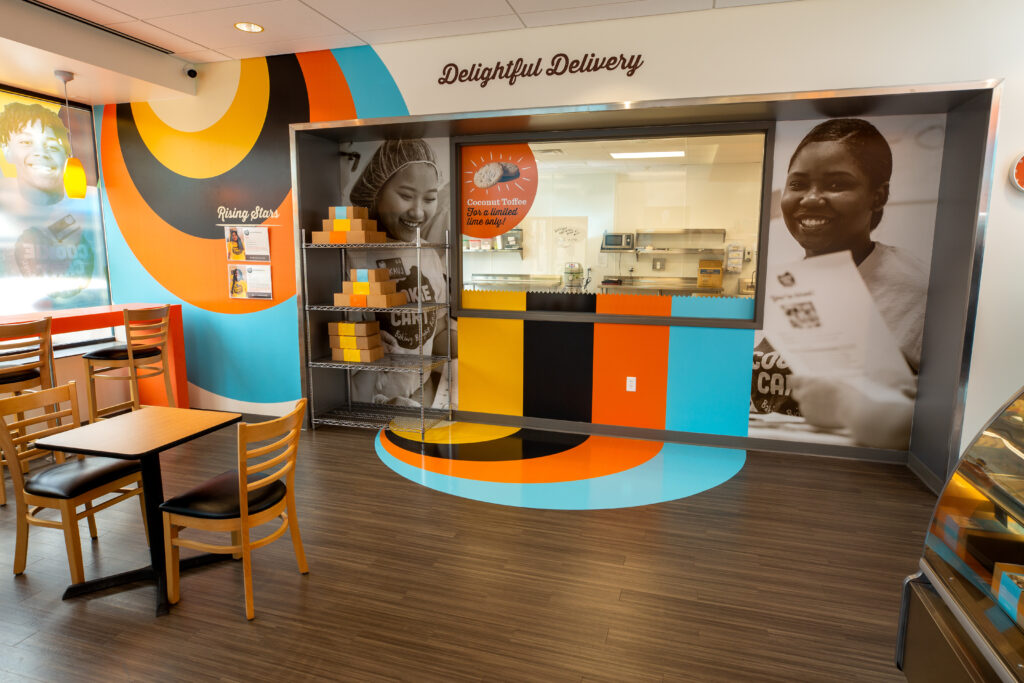
Interior wall wraps provide a unique opportunity to use a variety of indoor surfaces as a blank canvas to extend, strengthen, and showcase branding — or turn walls into works of art. To ensure optimal results, it’s integral to keep several considerations top of mind before, during, and after installation.
Before wrap installation
Before installation, it’s important to properly prepare the wall surface
Test the wall surface prior to installation. Use a test kit to ensure the initial adhesion capability measurement is suitable for the film chosen.
- Pro tip: If the measurement is low, clean the surface using an advanced cleaning method. Using a mixture of 70% Isopropyl alcohol and 30% water, scrub the surface of the paint to remove all additives/contaminates. Be sure to change cleaning cloths frequently. Once the surface is clean, wait 15 minutes and perform another adhesion test.
If the measurement still isn’t where it needs to be, coat the wall with a high-quality paint primer or sealer from any paint or hardware store. Make sure to follow the manufacturer’s recommendations for cure time before installing the film.
It’s also important to consider the location of the wall before installation. Is it by an HVAC vent or in direct sunlight? Will it be located in a high-touch and high-traffic area? All these factors may impact what wall film you choose, whether it’s permanent, removable, or ultra-removable.
Choosing a wrap film
The length of the installation will impact film choice. If the graphic is short-term or promotional, a removable or ultra-removable film is an option.
Removability is dependent on the product choice. For example, removable wall films may require heat for removal; ultra-removable graphics shouldn’t require heat for removal and permanent wall films may damage the surface when removed. Although, keep in mind removability is not warranted.
The appearance of the graphic is determined by the choice of an overlaminate. Overlaminates are available in gloss, luster, matte, and ultra-matte as well as various textures and patterns. An added benefit of overlaminate is also to protect the print surface from damage.
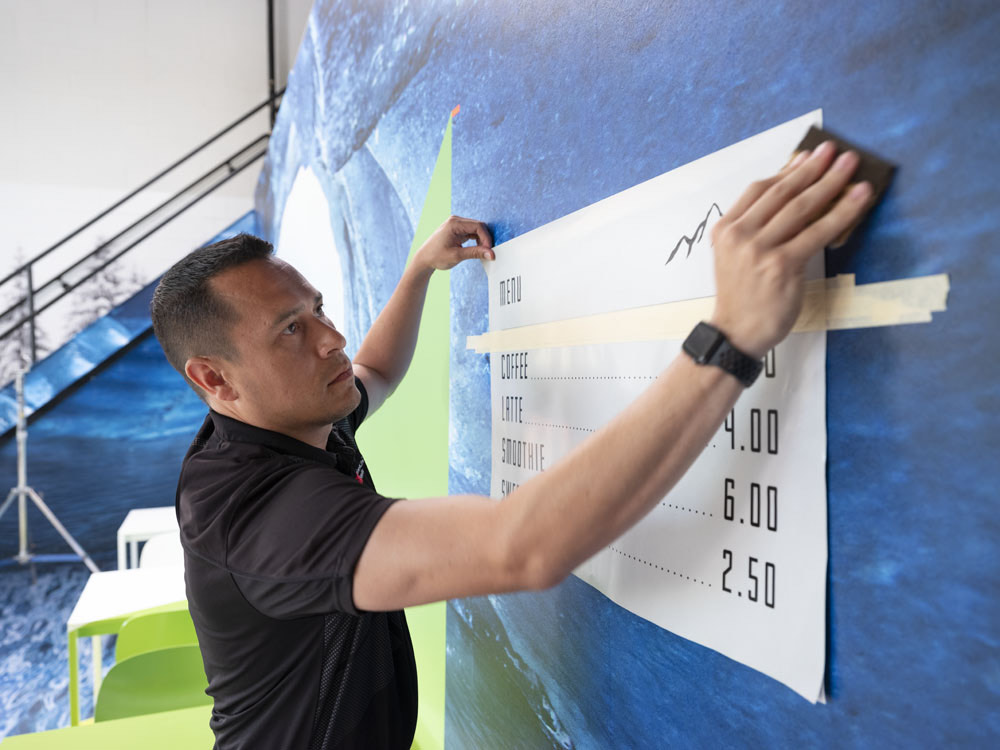
During wrap installation
During installation, an installer needs to be diligent in the techniques they’re using to ensure the best results.
- When wrapping corners, avoid placing seams at the corner. It’s ideal to wrap the graphic around the corner and place the seam on the flat surface.
- Add a tape primer to corners and edges (especially at the top edge) to minimize the risk of lifting at these locations.
- Avoid seams as much as possible. Try to use the widest films available.
- Remember to re-squeegee every surface. Your graphic installation isn’t complete until all air bubbles have been removed.
Trends in interior wraps
As the graphics industry quickly evolves, multiple trends have appeared in interior wraps driven by increased demand as companies explore other ways to market their brand. Some of these trends include:
- Textured films: Using overlaminates that add depth and dimension to flat wall graphics will invigorate any wall. Common laminates popular with architects and designers include classic linen, riverbed, and white fir — which gives a wood grain look to the graphic.
- Designer trends include bright and brilliant graphics, focused on fun-loving art expression.
- Sustainable films are a solution if you’re looking for an eco-friendly or “greener” solution.
- Did you know? Sustainable, non-PVC films contain no phthalates, chlorine, or halogens and have less of an environmental impact.
Interior wall wraps are the perfect opportunity for businesses to brand themselves in a unique and colorful way. Using consistent installation techniques and surface preparation will ensure the best possible installation.
Learn more about interior graphics in The Inside Job.