Add extra revenue to your printing business with custom-printed mouse pads. Think about it: more than 90% of the population uses computers. Who wouldn’t want a custom photo gift to show off their family or business?
Below is the six-step guide you can use to print mouse pads.
Step 1: Purchase DTG-compatible blanks
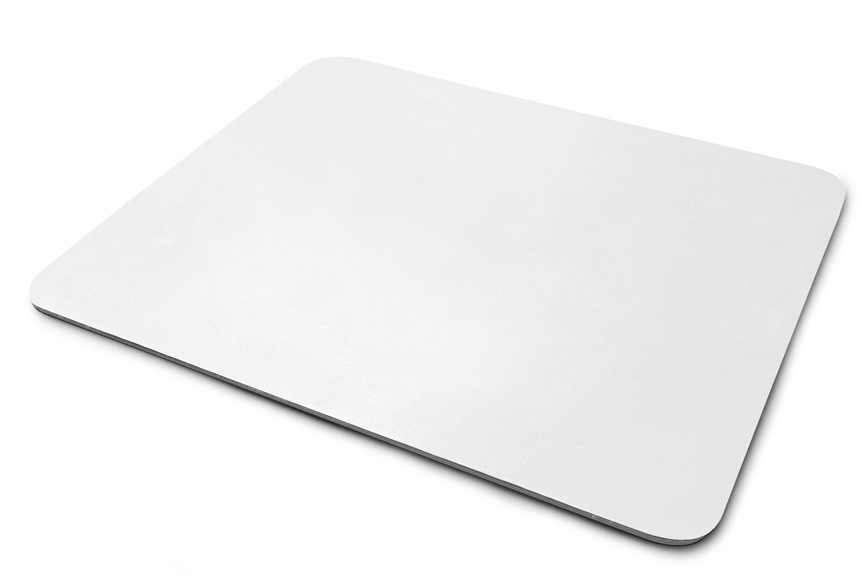
Buy your mouse pads in bulk to save money. Most of our customers can sell custom mouse pads for $10-15, and if you’re buying them for $5 each, that’s $5-10 in profit per item!
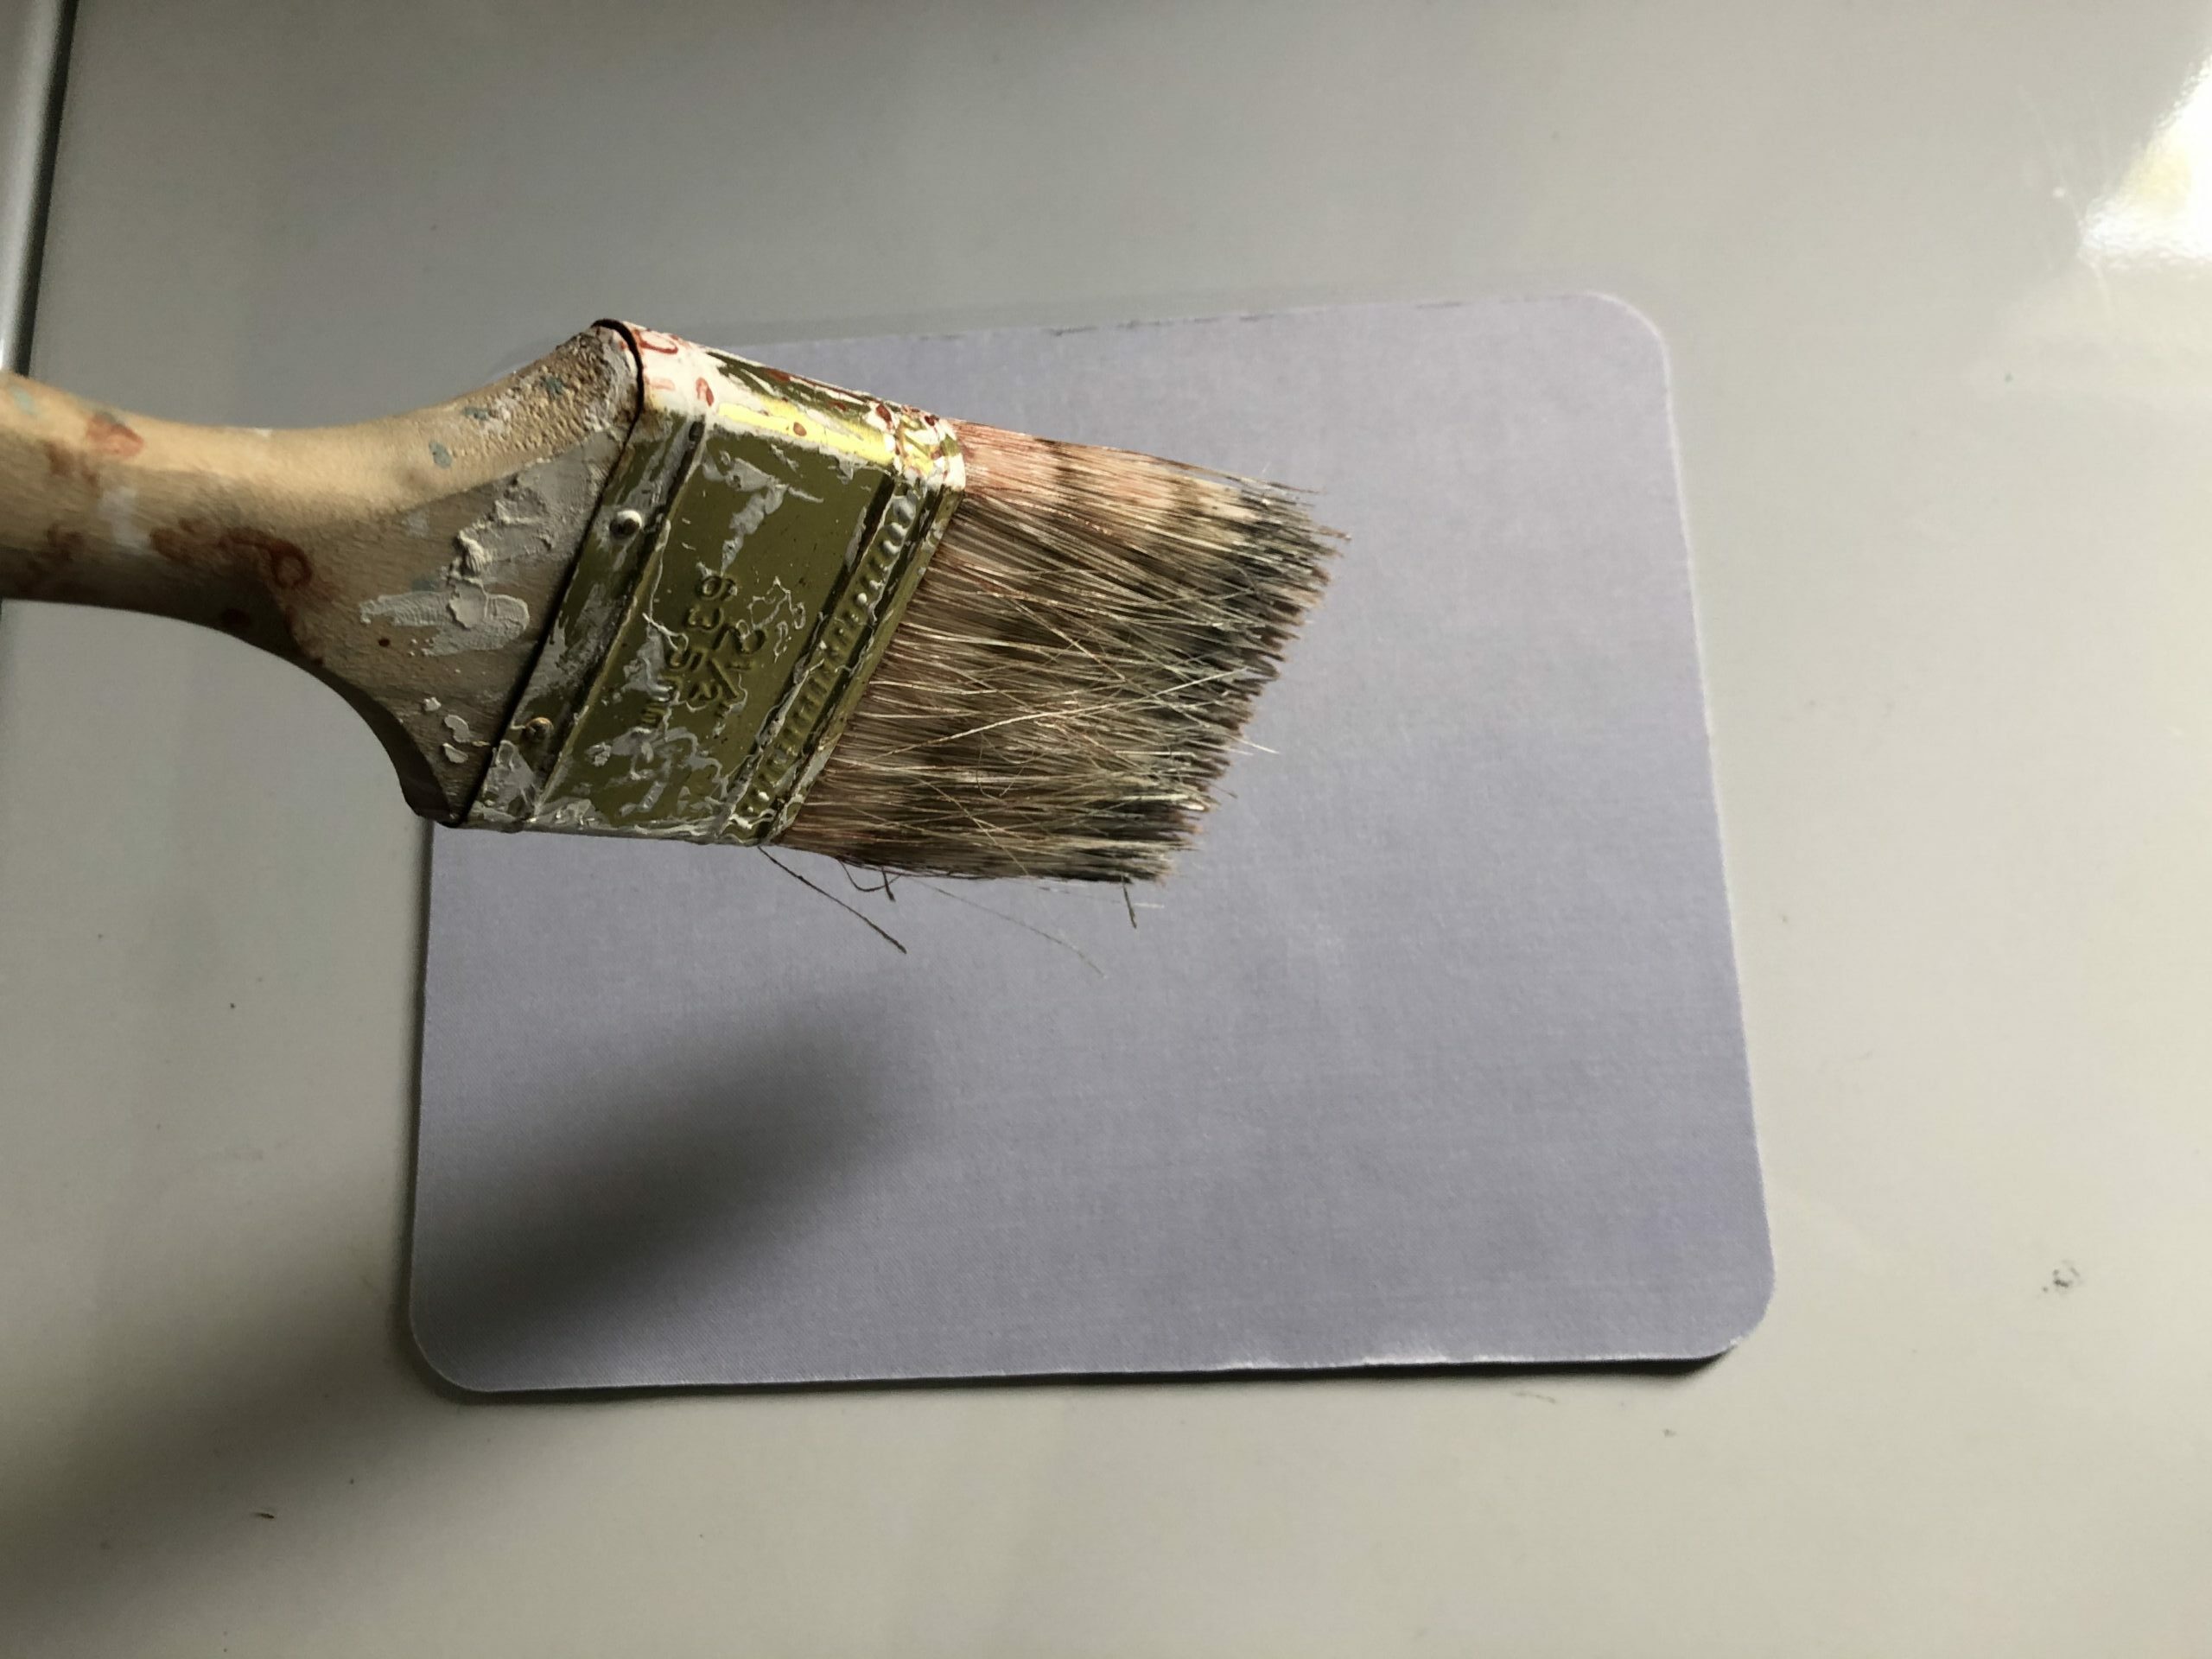
Step 2: Pretreat the mouse pad
Pretreat your mouse pads using a paintbrush or roller to prepare the polyester to bond with ink. Be sure to completely cover the mouse pad, end to end. You want to ensure you have an even-looking print, so cover those edges. For our project, we used Image Armor ultra pretreatment fluid.
Step 3: Load the graphic into the RIP software
Load your graphic into your RIP software and make sure the graphic is larger than the print area. This will ensure you have an edge-to-edge print, which will be a nicer finished product. Then send the print to the printer.
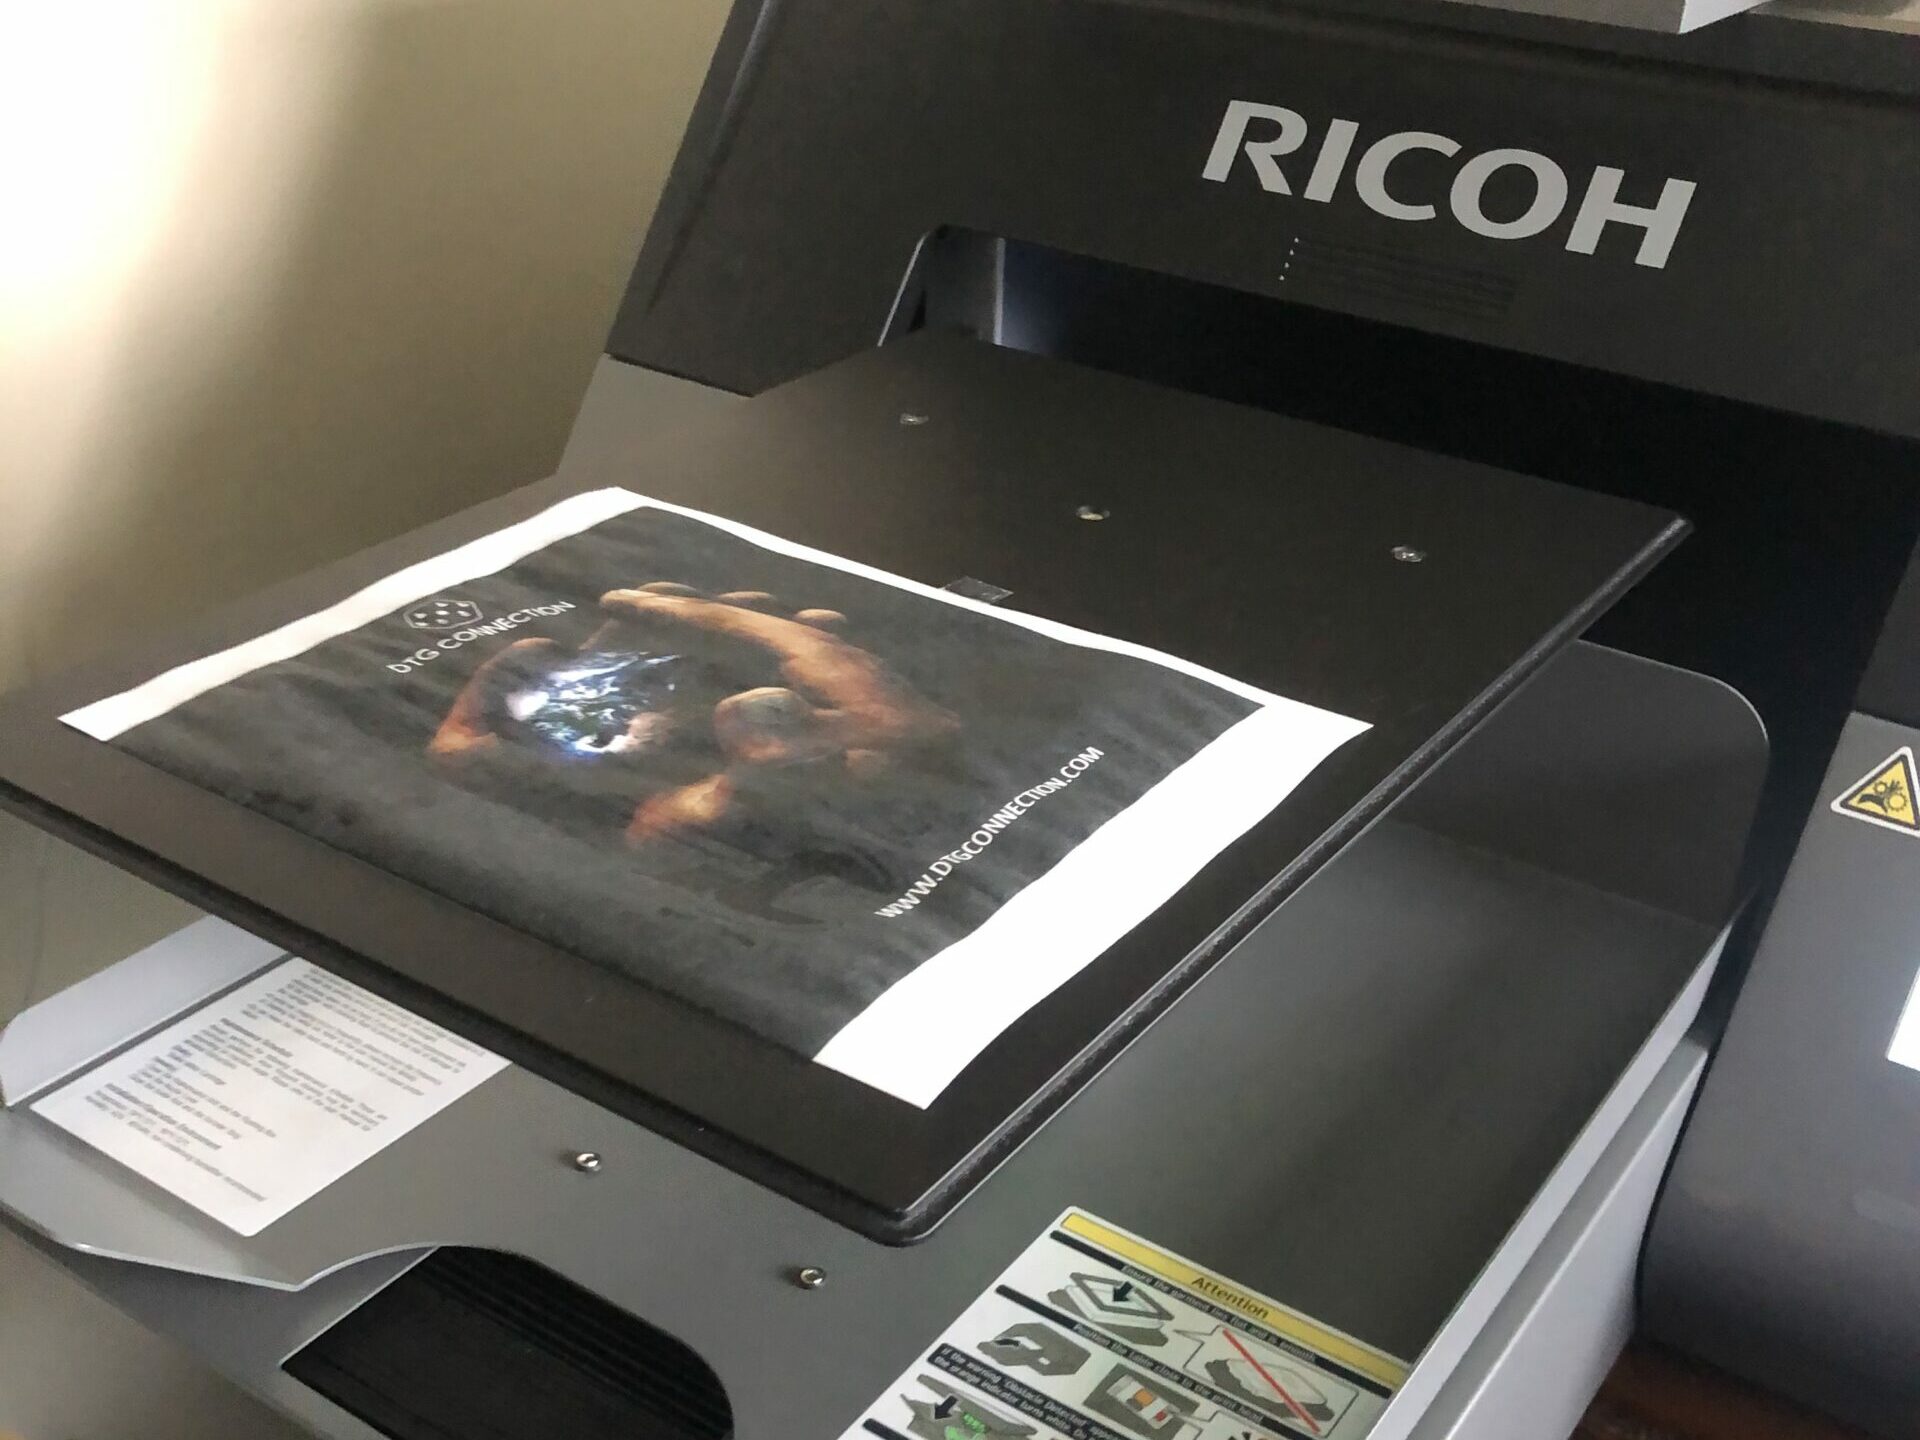
Step 4: Test the print for positioning
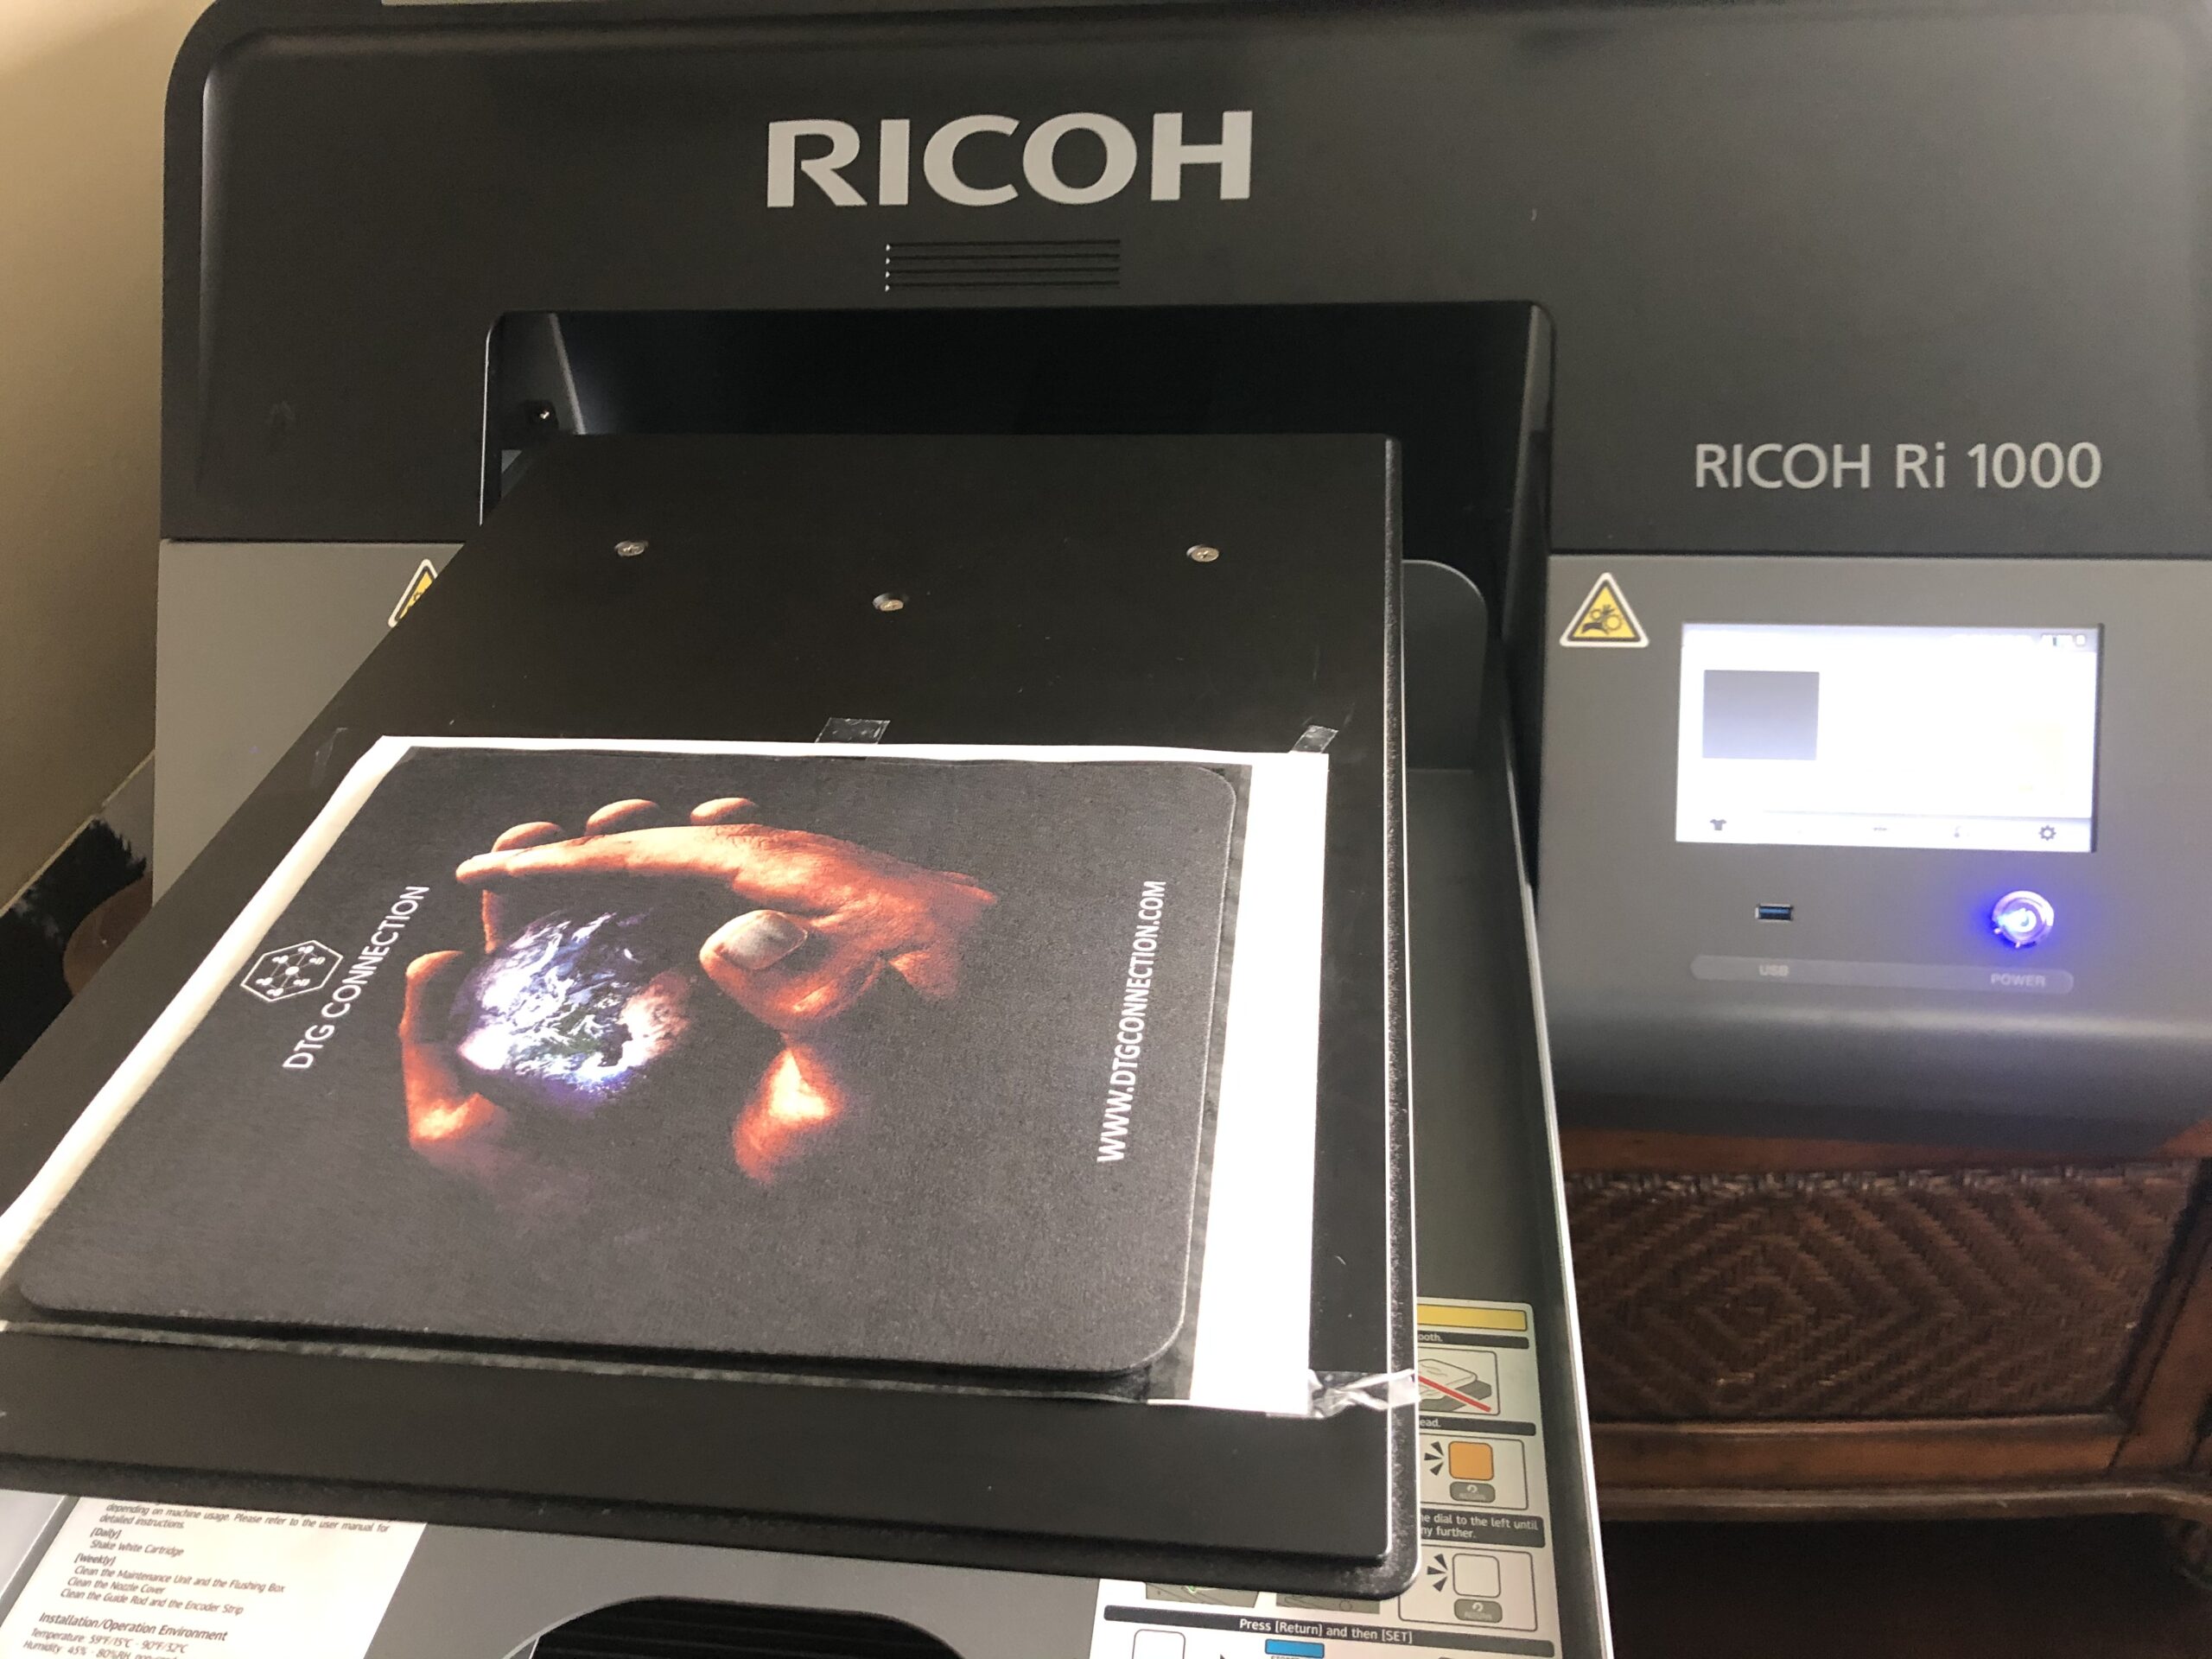
Tape a piece of paper to the print table in the approximate space you sent the print. You will then print the image on this paper first to line up the graphic print area.
Step 5: Print the mouse pad
Once the print is on the paper, you now know where the graphic will end up. Place the blank, pretreated mouse pad on the paper inside the print area. You may need to adjust the table height for thicker mouse pads. Go into “stored jobs” and select the print file or resend the print job.
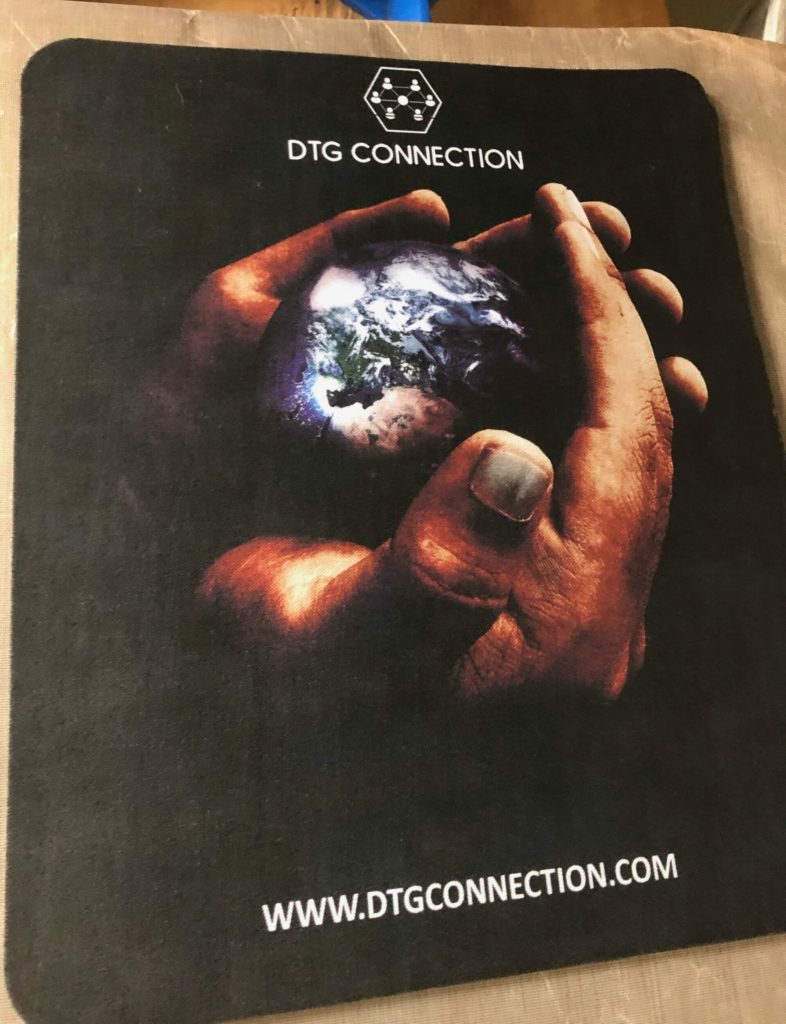
Step 6: Cure the ink with a heat press
Cover your mouse pad with a heat press paper sheet and cure at 330 F for 35 seconds.
Congrats! You now have a beautiful finished product you can sell for $12 per piece or give away to new customers as a thank you for their business.
