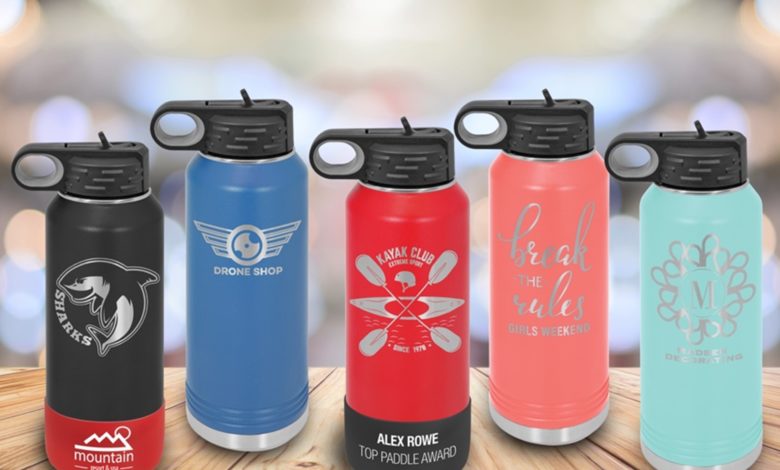
Your first order has arrived. A full case of 32-oz. Polar Camel water bottles. You’re excited to fire up the laser and go to work when you ask yourself, “Are there any do’s and don’ts I should know before I start personalizing?”
The short answer is, yes, there are a few guidelines you should follow. Experts in the JDS Fabrication Department have been experimenting with these water bottles for months and made some discoveries. Here are their seven tips to help flatten your learning curve.
Setup
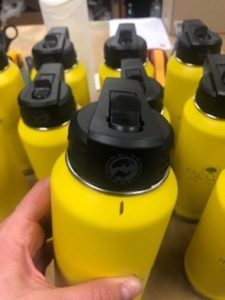
- Decide what will be the back and the front (relative to the bottle’s handle). This will allow you to be consistent for customers. It will also make production notes more straightforward, ensuring the artwork is on the correct “side” each time.
- Mark the center of the “side” you’re engraving with a pencil, expo marker, tape, or pen. This is especially important when doing mass-production jobs. The mark indicates the center of that “side” of the bottle, not the artwork’s center.
- When lasering, remove the lid for the best weight distribution. The top will go back on the bottle in the same spot every time.
Dimensions
The bottle’s circumference is 11″ with a total height of 8.25″ from the bottom of the rings to the top. If a bottle boot is used, your design area is 6″ high. You can find templates online by visiting the JDS website, navigating to Dealer Login, and clicking on the Resources button.
File types
You can view artwork that is about 4″ W when a bottle is stationary. Some artwork file tips:
- 100% black vector-based art is going to laser the best
- Bitmap files can leave jagged edges and not cleanly break through the coating
Stationary vs. rotary
You can use either. However, to maximize the engraving area, rotary engraving is recommended.
- If you go stationary, you can engrave multiple bottles per run, but the artwork must be smaller. The laser will go out of focus on images wider than 3″.
- Tension-based rotaries can be run in the same way as other cups. Secure the bottle between the cones so that it doesn’t slip.
- When using wheel-based rotaries, position the bottle with the opening on the right and base on the left, and make sure the bottle is level and parallel with the bottom of the laser. This positioning will allow for a smoother and more consistent rotation. Position the bottle against the rubber bumper on the left. Place the support wheel an inch from the top of the taper on the right. The rotary clip is not needed.

Art placement
Center engraving is best. If that isn’t an option, you’ll want your artboard at 11″ H and 8.25″ W. Turn your artwork 90 degrees to the right instead of the “normal” left.
Settings
Use high power and mid-speed (same as other powdered-coated Polar Camel products). There will be some residue left after initial lasering. Clean with LA Totally Awesome all-purpose cleaner (part no. AWE32) and a microfiber towel. If your laser is not fully breaking through the coating, lower your speed.
Bottle boot
Made with JDS-exclusive silicone, this accessory slides onto the bottom of a water bottle. It delivers a better grip, sound control, and additional space to personalize.
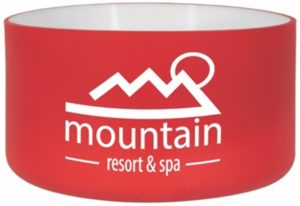
Some points to know:
- Laser the boots while on the bottle
- The personalization area is just over 1.75″ tall
- Use mid to high power and mid to low speed at 600 DPI
- Clean with LA Awesome
Now that you have our top tips, it’s time to personalize the newest Polar Camels like a seasoned pro.
If you still have questions about personalizing water bottles or any other JDS product, call our fabrication team at 855-537-2228 or send an email to art@jdsindustries.com.
